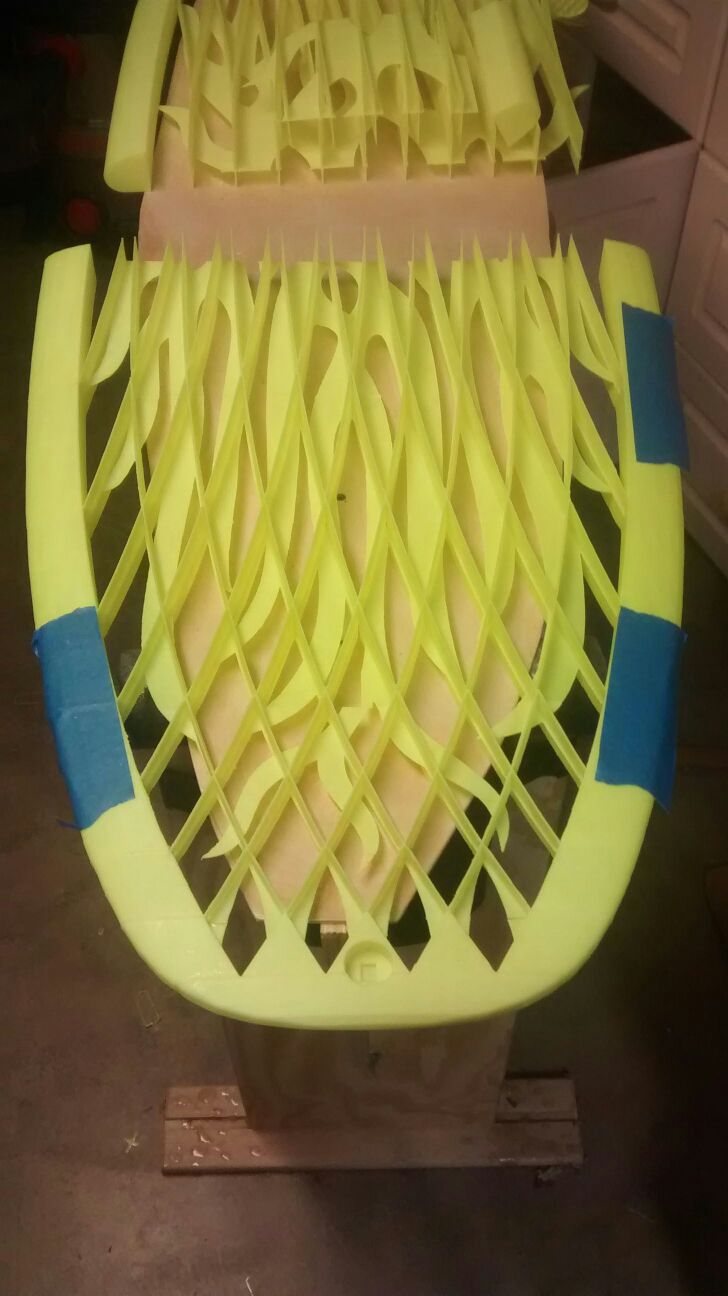
After a long and just brutal struggle with the 3d printer…
It is on the way… Write up to follow…
After a long and just brutal struggle with the 3d printer…
It is on the way… Write up to follow…
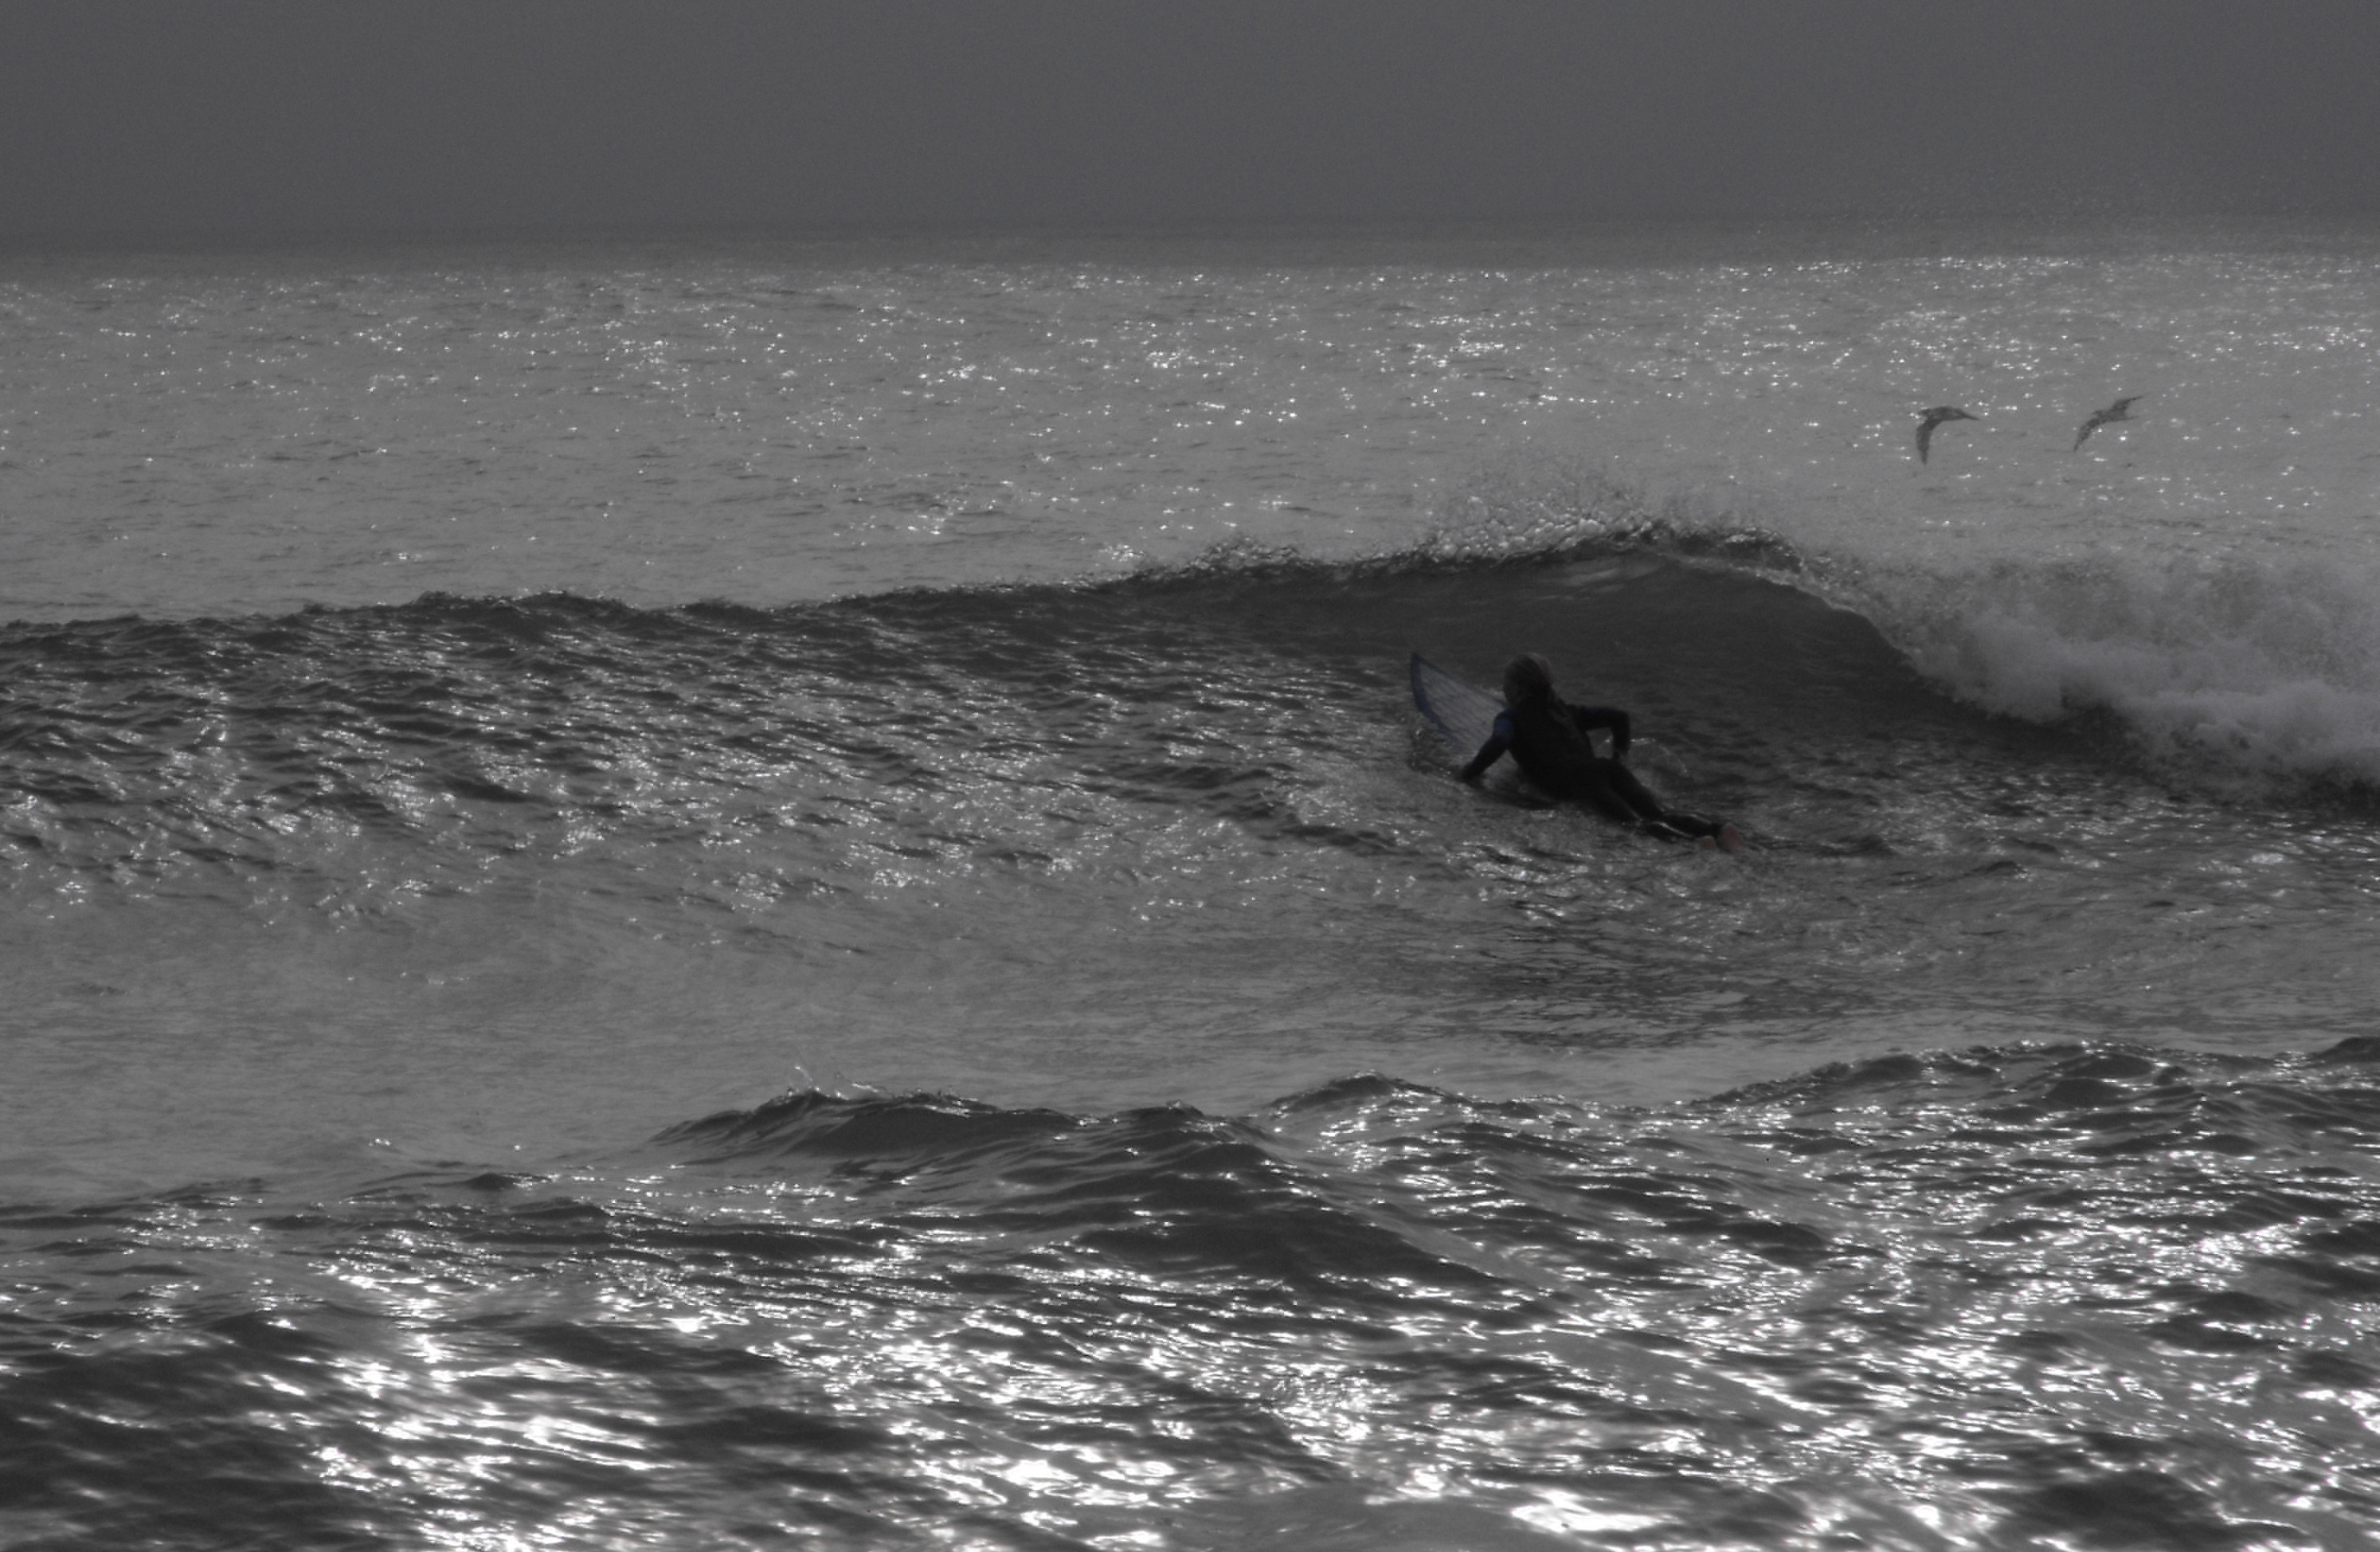
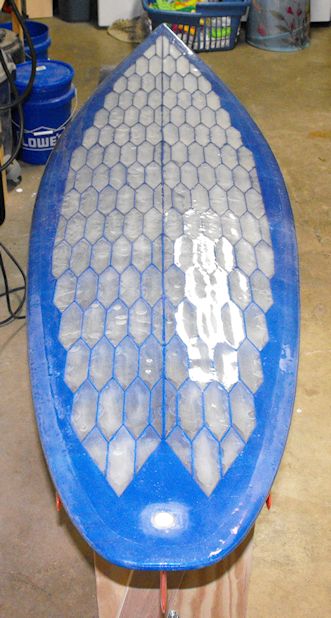
I coaxed Ally into taking the board out during an incredible Veteran’s Day swell. The overhead surf was intimidating to her but she braved crashing waves and paddled out. I couldn’t stand to see her having all the fun so I paddled her board out and switched with her. We didn’t have someone on the camera so pics are limited.

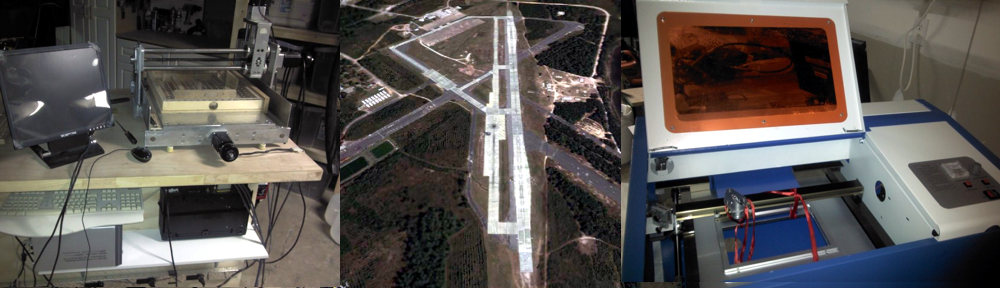
I’ve been working a long time on this. Go check out the full details on this page.

Notes to self on setting up an IoT network using Raspberry Pi as Web and Node servers and Arduino/nRF24L01 modules as clients in a large mesh-type network:
I picked up a couple Nordic nRF24 modules and want to see how they might be used in an IoT capacity. Initial tests with the RF24, NRF24, and RH-NRF libraries went well with modules communicating and LED’s lighting up. That’s all good for the local net but now I need to get the Internet aspect working and that is where all the real work is to be done.
I set up my Raspberry Pi using the project instructions located here. In order to install NodeJS, I had to use the Adafruit instructions located here. So far, so good. This allowed me to control my Arduino via a web page on the local network. Technically this is good enough for a private network controlling a single nRF24 board. But I’d like to have some remote control/feedback over the internet so I can check on the system from afar and interact with multiple devices.
The Instructable located here looks to be a good starting point for incorporating a database to store collected data. But looks to still be on the local network.
Took some time while waiting for the additional extrusions to arrive making a control plate for the I2C panel and power switch. The LCD, SD and encoder are currently being used on my Solidoodle so I’ll switch everything over toward the end. Wow, this is going to look much better than the 3d Printed housing and give me a power switch that the Solidoodle was lacking.
![IMG_20140415_214024766[1]](http://hobbies.boguerat.com/wp-content/uploads/2014/04/IMG_20140415_2140247661.jpg)
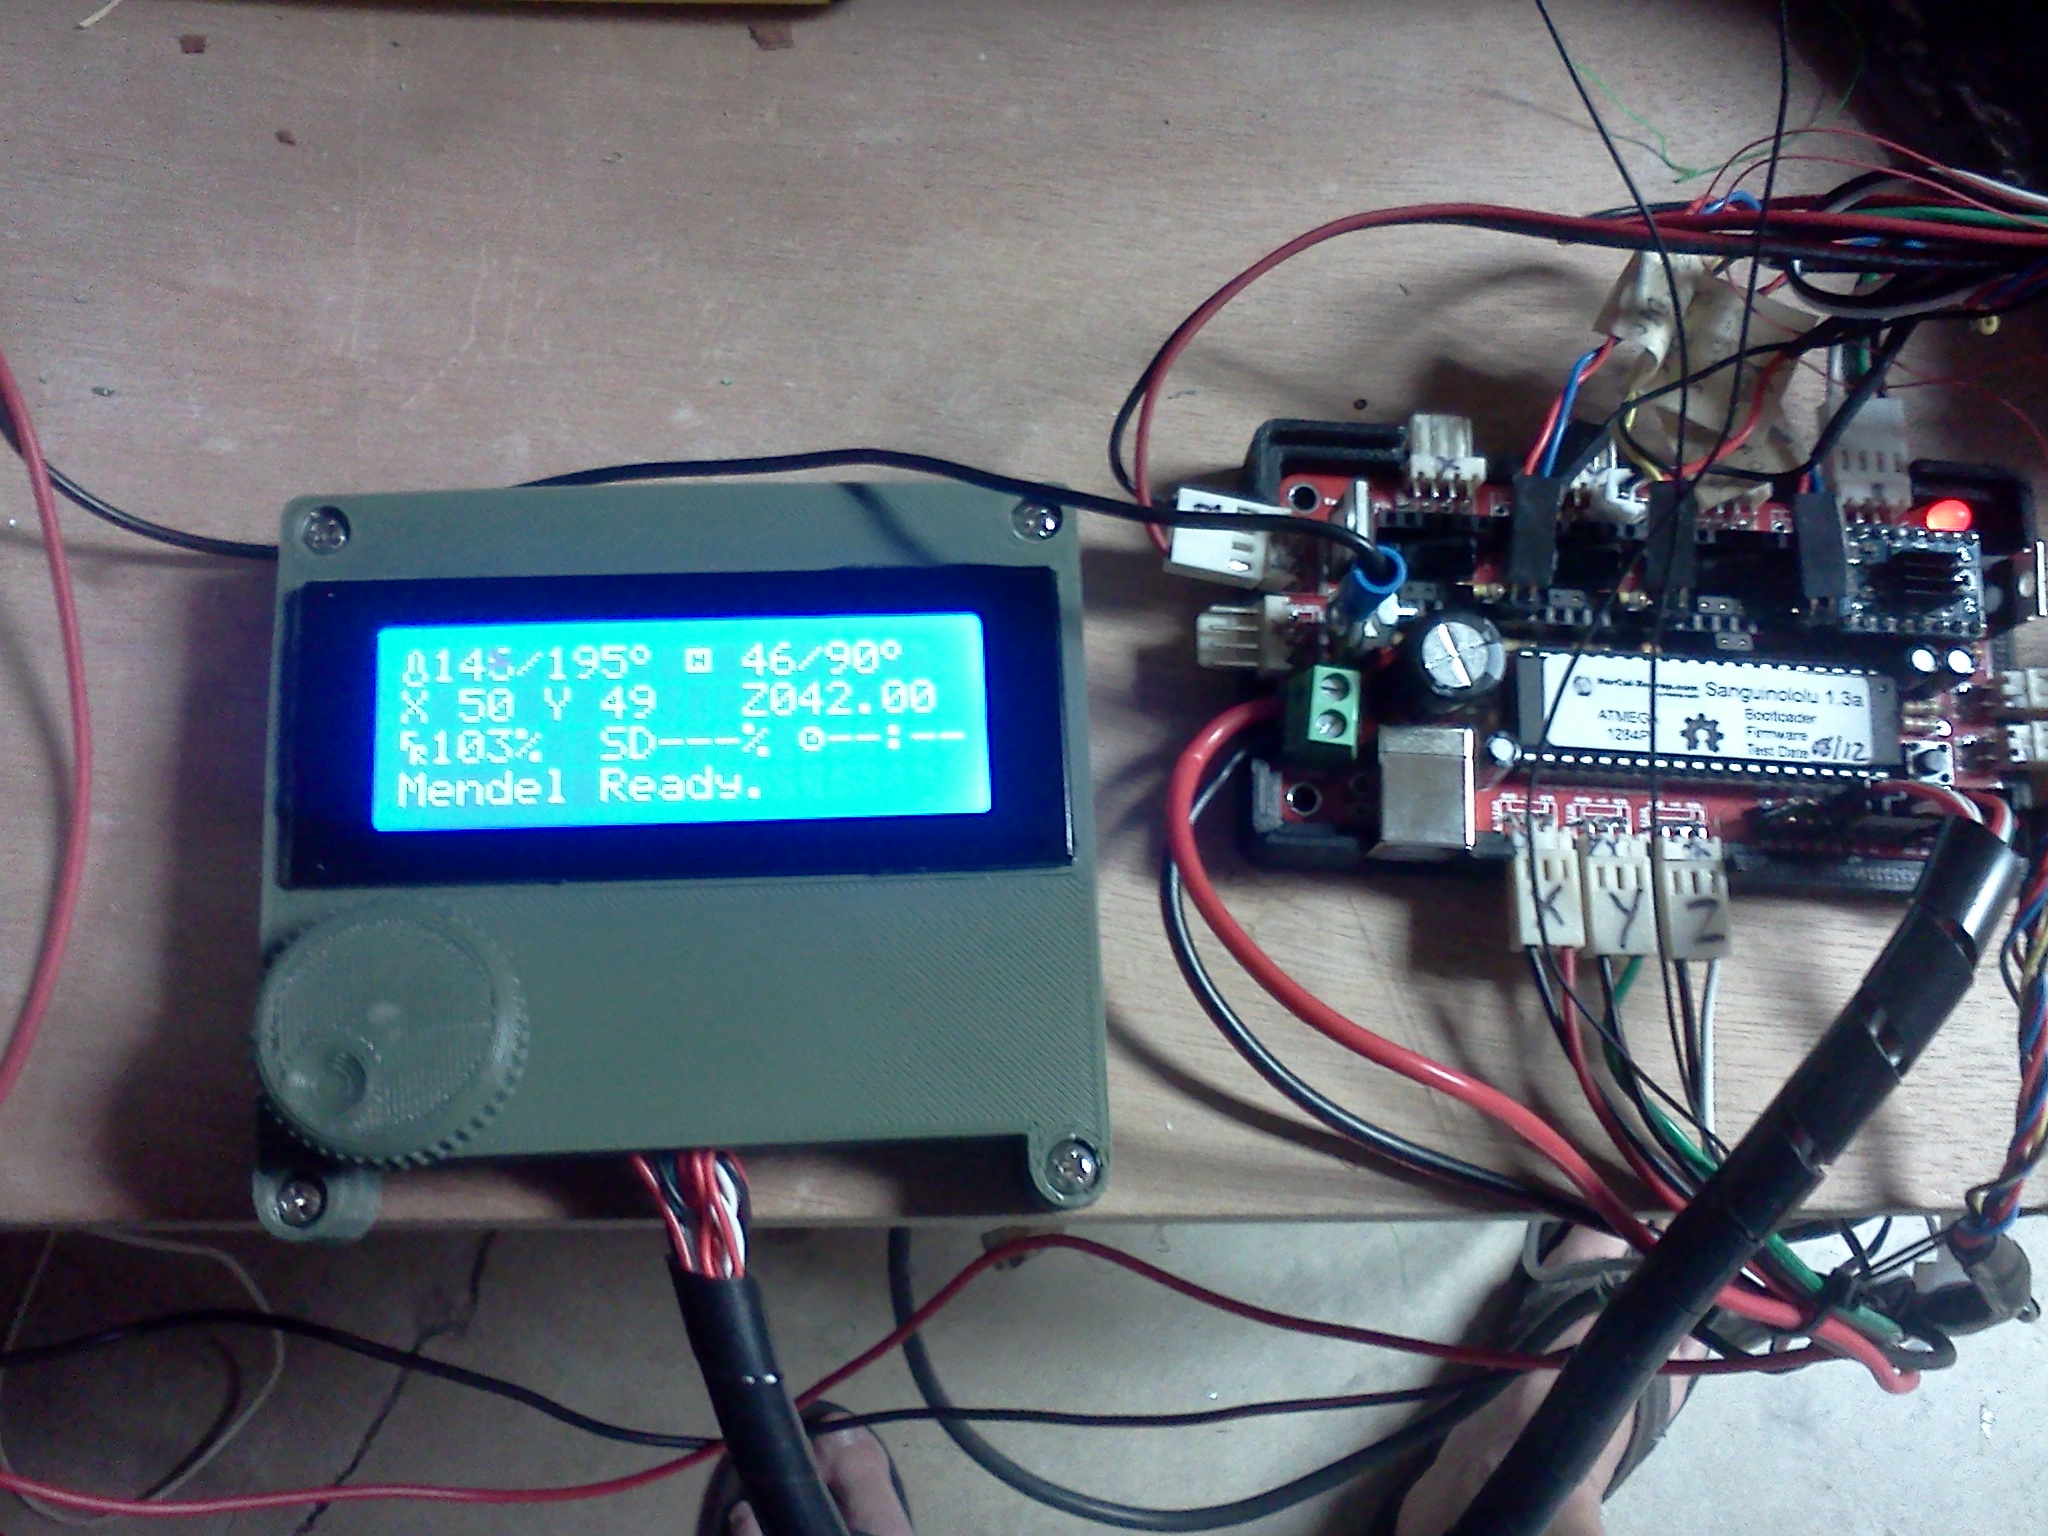
The plate was made from some black on white acrylic from Inventables. The graphics were put together in Corel Draw and cut on my 40W Laser. I put 5mm holes around the edge that will act as a mount and to stabilize the H-frame.
Since I’m creating something of my own design, I wanted to go big on the bed to make single prints from large objects instead of assembling from smaller parts. I had quadcopter and OpenRC builds specifically in mind. My Soilidoodle 2 is 6×6 and too small for many things I wanted to print. So this will be a 12×12 plate.
I looked around for some solutions for quick heating. Resistors looked too sketchy for something this big and the Solidoodle takes a long time to heat up with its single resistor. Etched PCBs don’t come this long and I didn’t want to design my own, the cost would be too high anyway. Silicone heat pads looked promising, in fact I have an 8×8 pad from QU-BD that I tested but it took over 10 minutes to heat just a piece of glass and barely attained 90c and had a large variation over the surface. I almost bought a hot plate used for pots and pans but determined that it would be too heavy for a mobile Z-Axis. That left Nichrome as the cheap and easy method. Continue reading
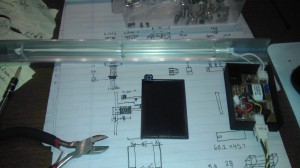
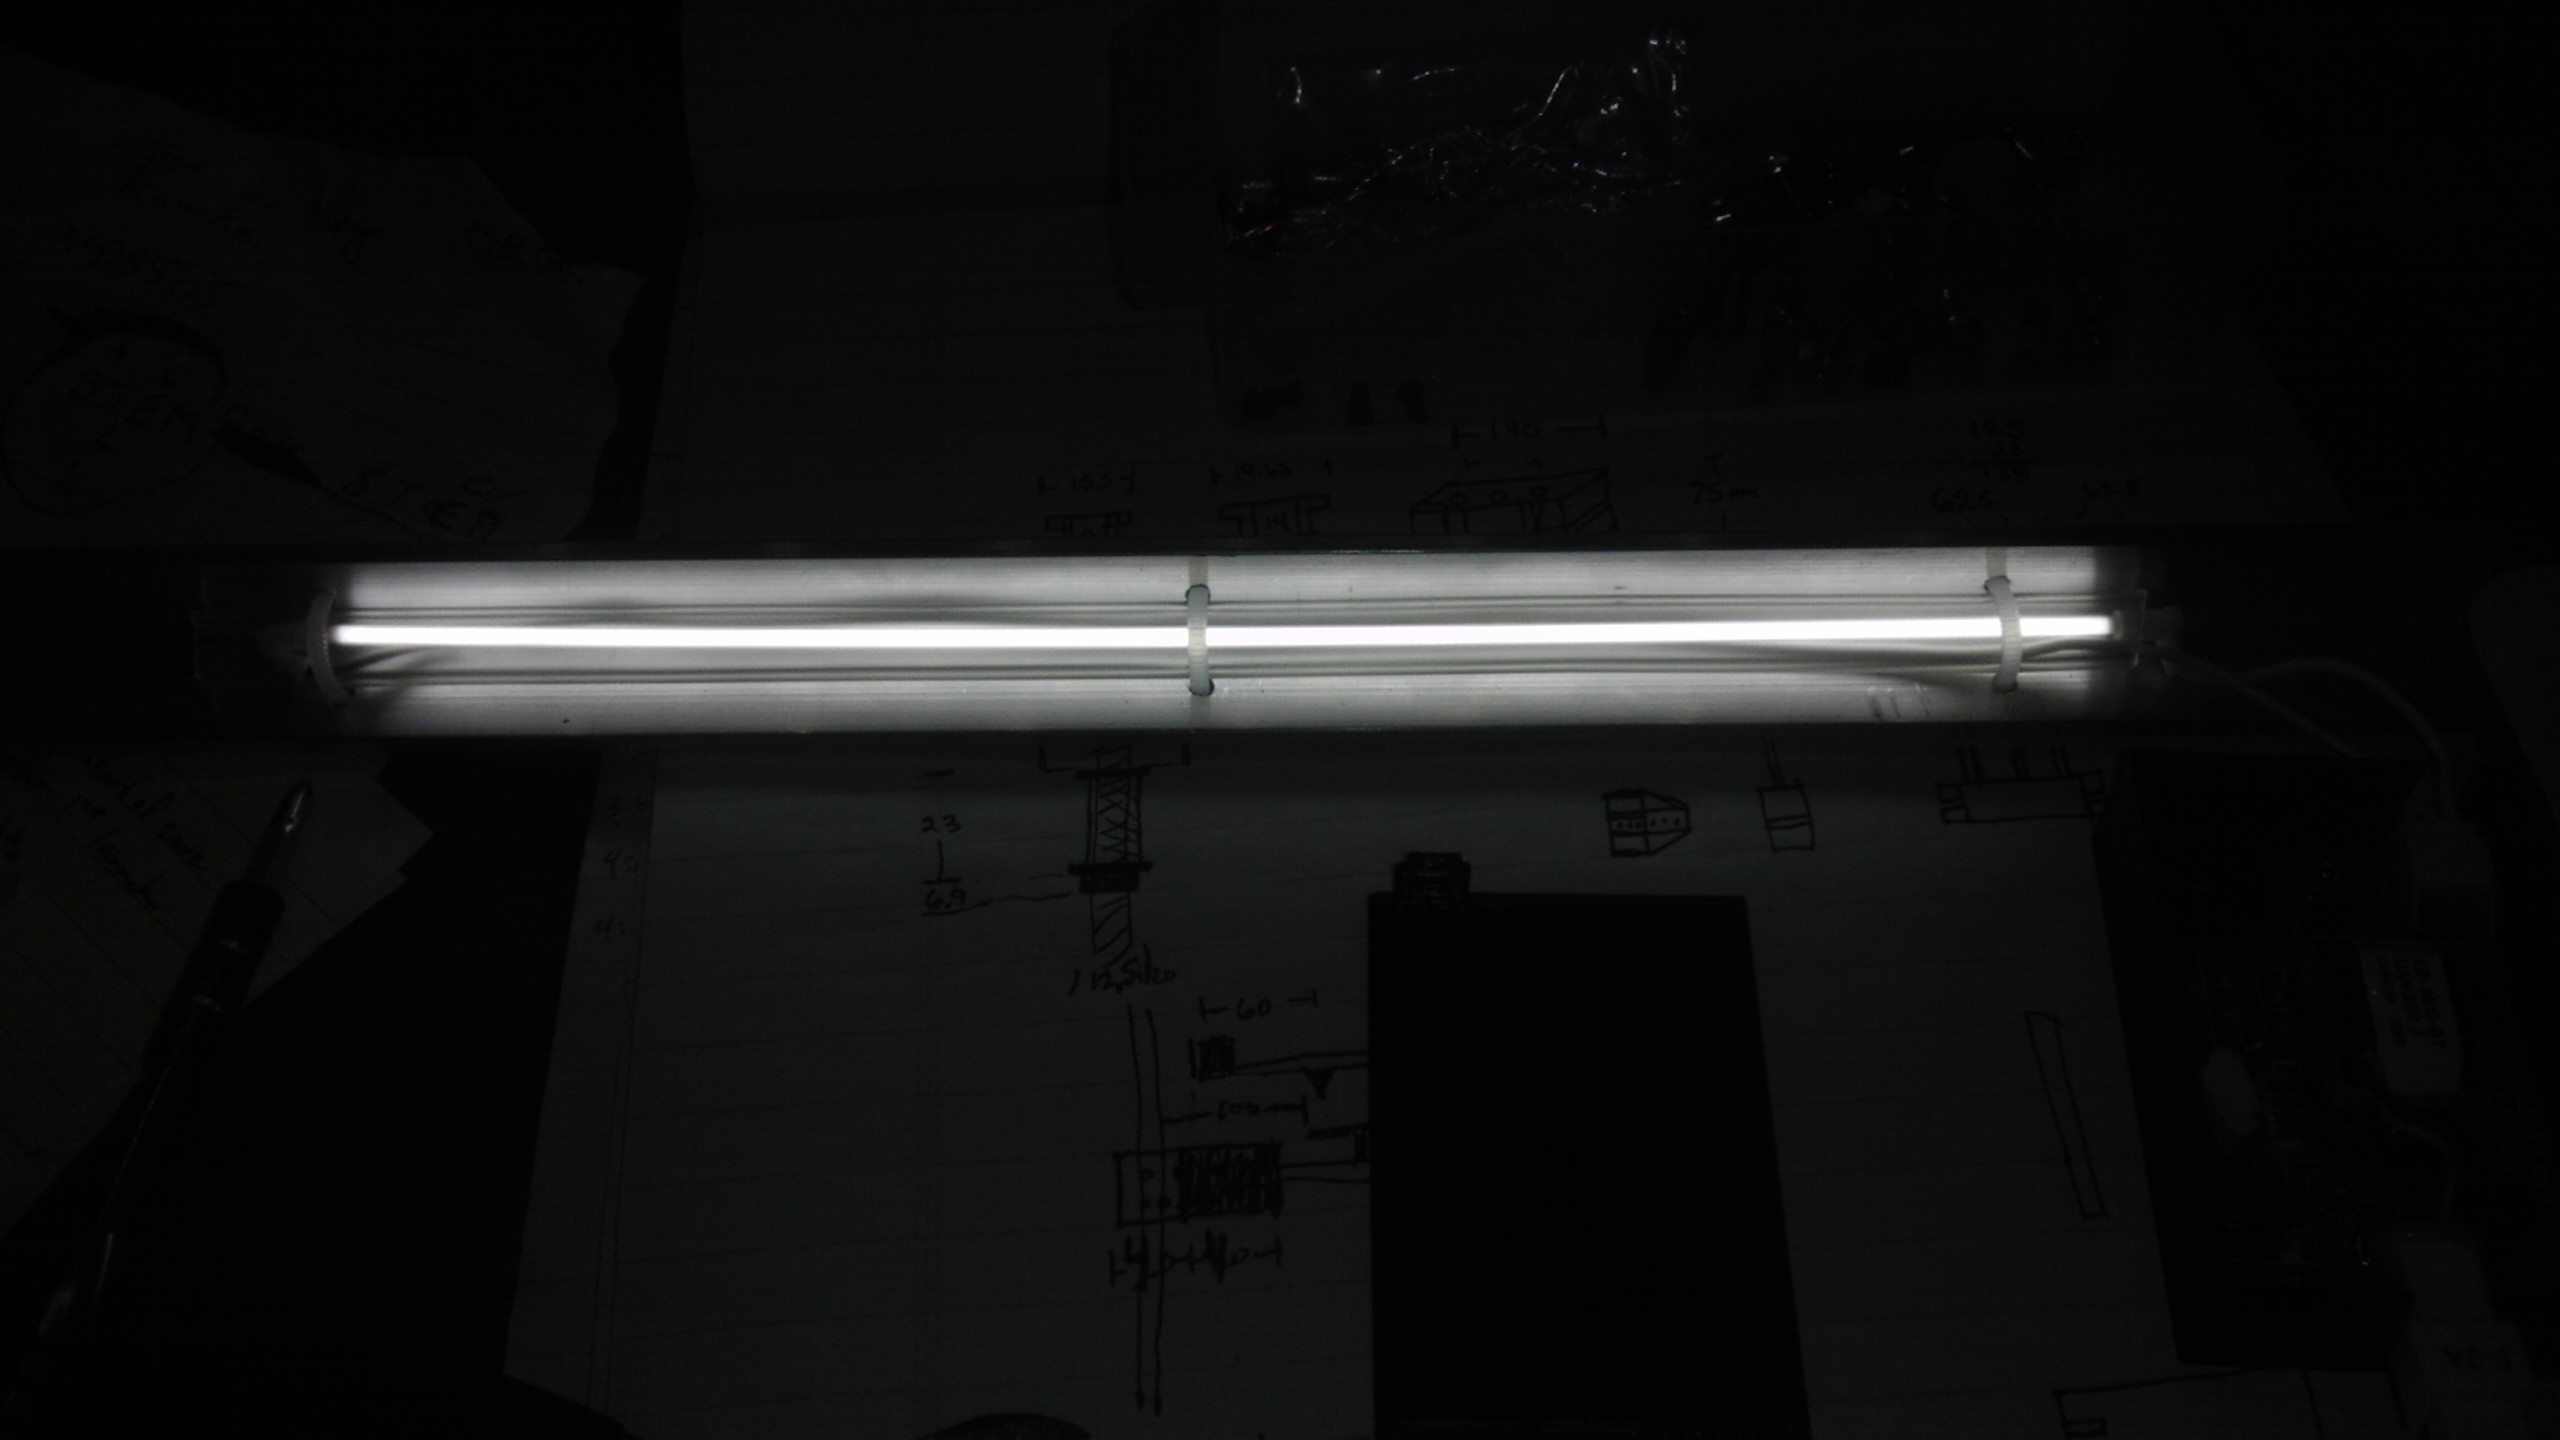
Sure, LEDs are pretty cheap these days but this light was free. After striping the parts out of an old scanner, I put the lamp in 1/4 inch clear tubing for protection and mounted it with zip ties to some 1″ aluminum angle that I had on hand.
The original board is housed in a custom printed enclosure and runs off 12v. It is a little dim and should probably run off 24v but I don’t have a way to test that right now. I still need to create an extension so the box doesn’t have to be mounted so close to the lamp. I’ll take care of that when it comes time to mount it to the new 3d printer.
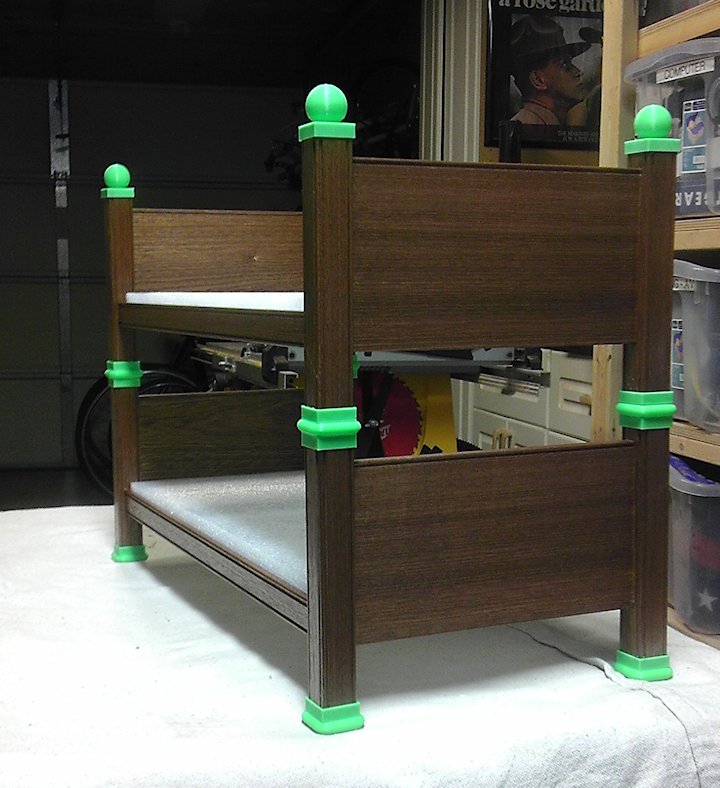
My daughter was looking at some doll beds in a catalog, you know, the one with the $350 car. So back to the garage for a little woodworking. I managed to get some good detail on the headboard and rails with a beading bit on the router. This is also the first time I used traditional mortise and tenon joinery; they just don’t make pocket screws small enough for a project like this. The post feet and caps were made on the 3d printer to save me some time. Before I had the printer I probably would have bought or made a small lathe to turn out the small parts.
Worked out great, I printed extra parts so she can split the beds into two singles. We spent some time with a Singer hand-held sewing machine and some fabric to make a couple mattress covers and pillows. YouTube showed us how to close up the pillows so that the thread didn’t show at the seams.
Baby girl is happy, daddy’s happy.

I just bought a new filter for my shop vac and after one session with the planer it was caked in dust and chips. Tired of cleaning this out, I decided I would make a chip separator to keep the bulk of the material away from the VAC.
The 3d Printable parts and instructions are located over at Thingiverse.
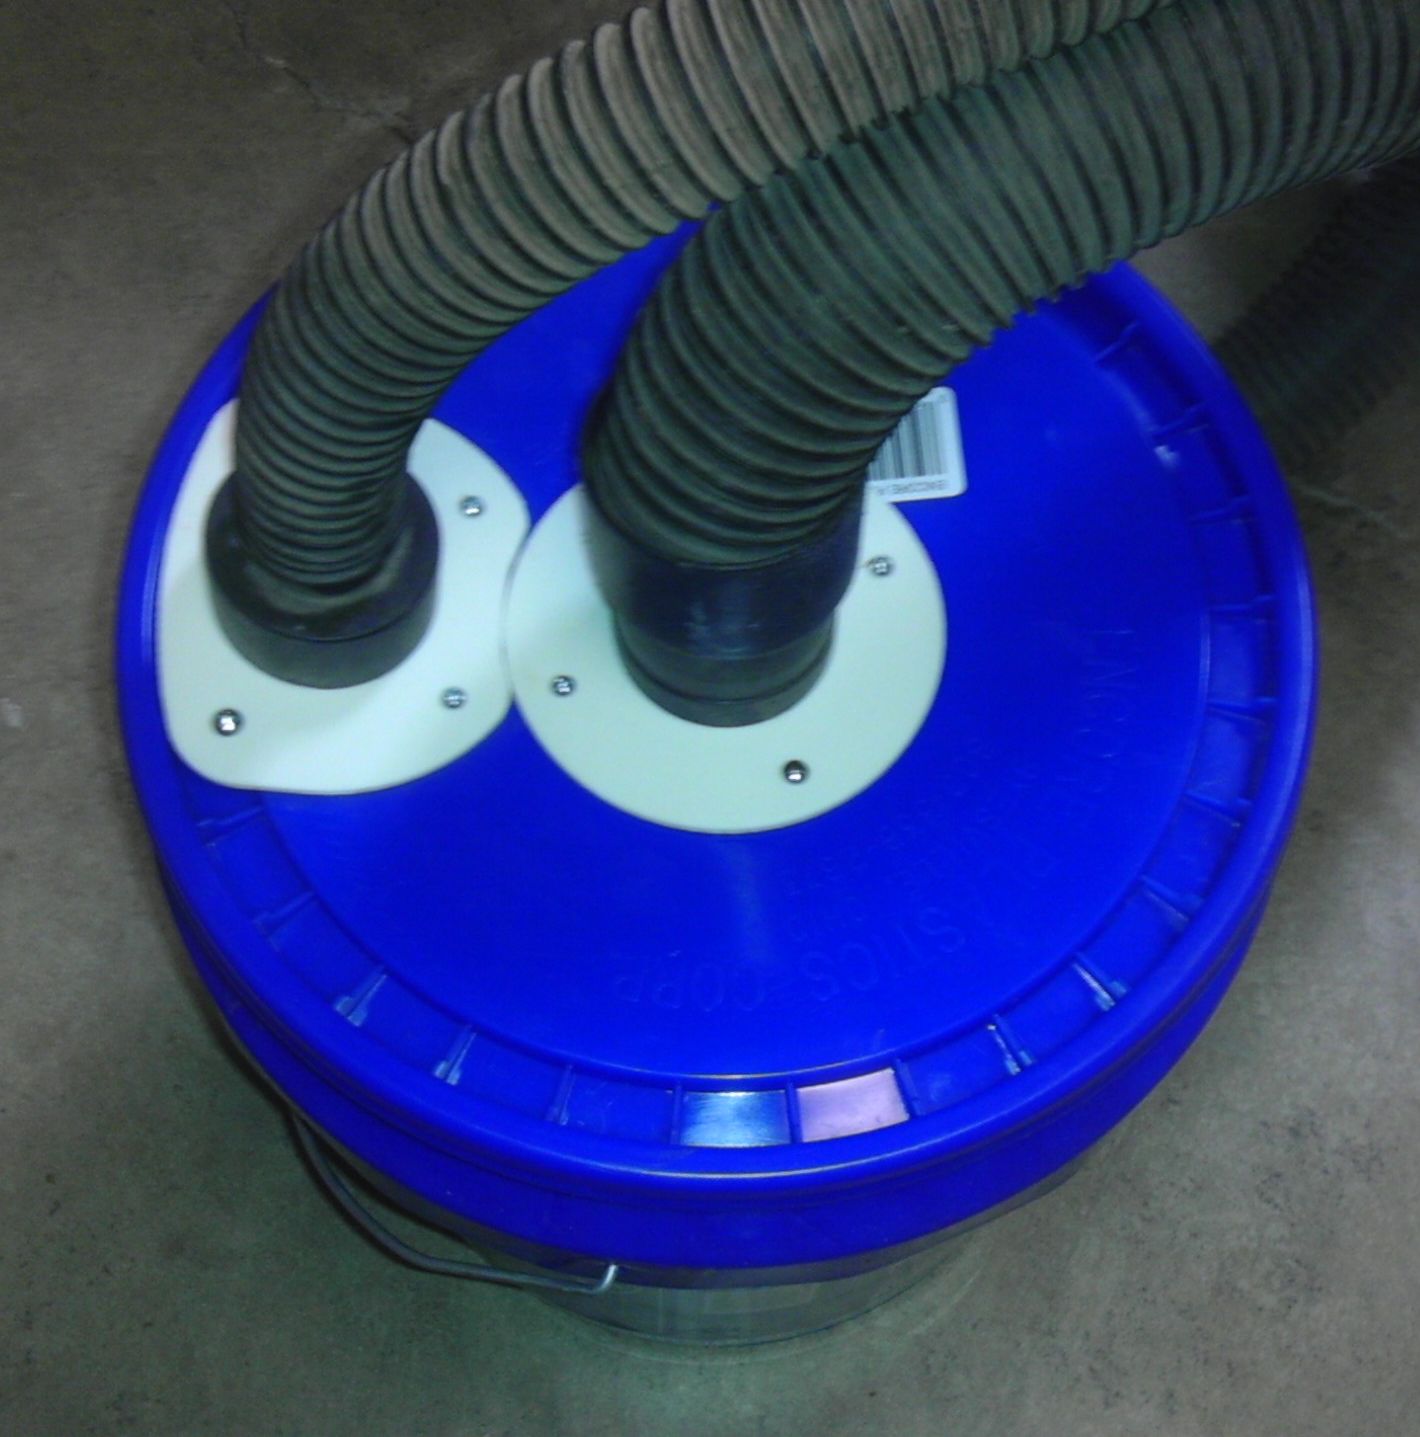
Left Hose – Intake
Right Hose – to Shop Vac
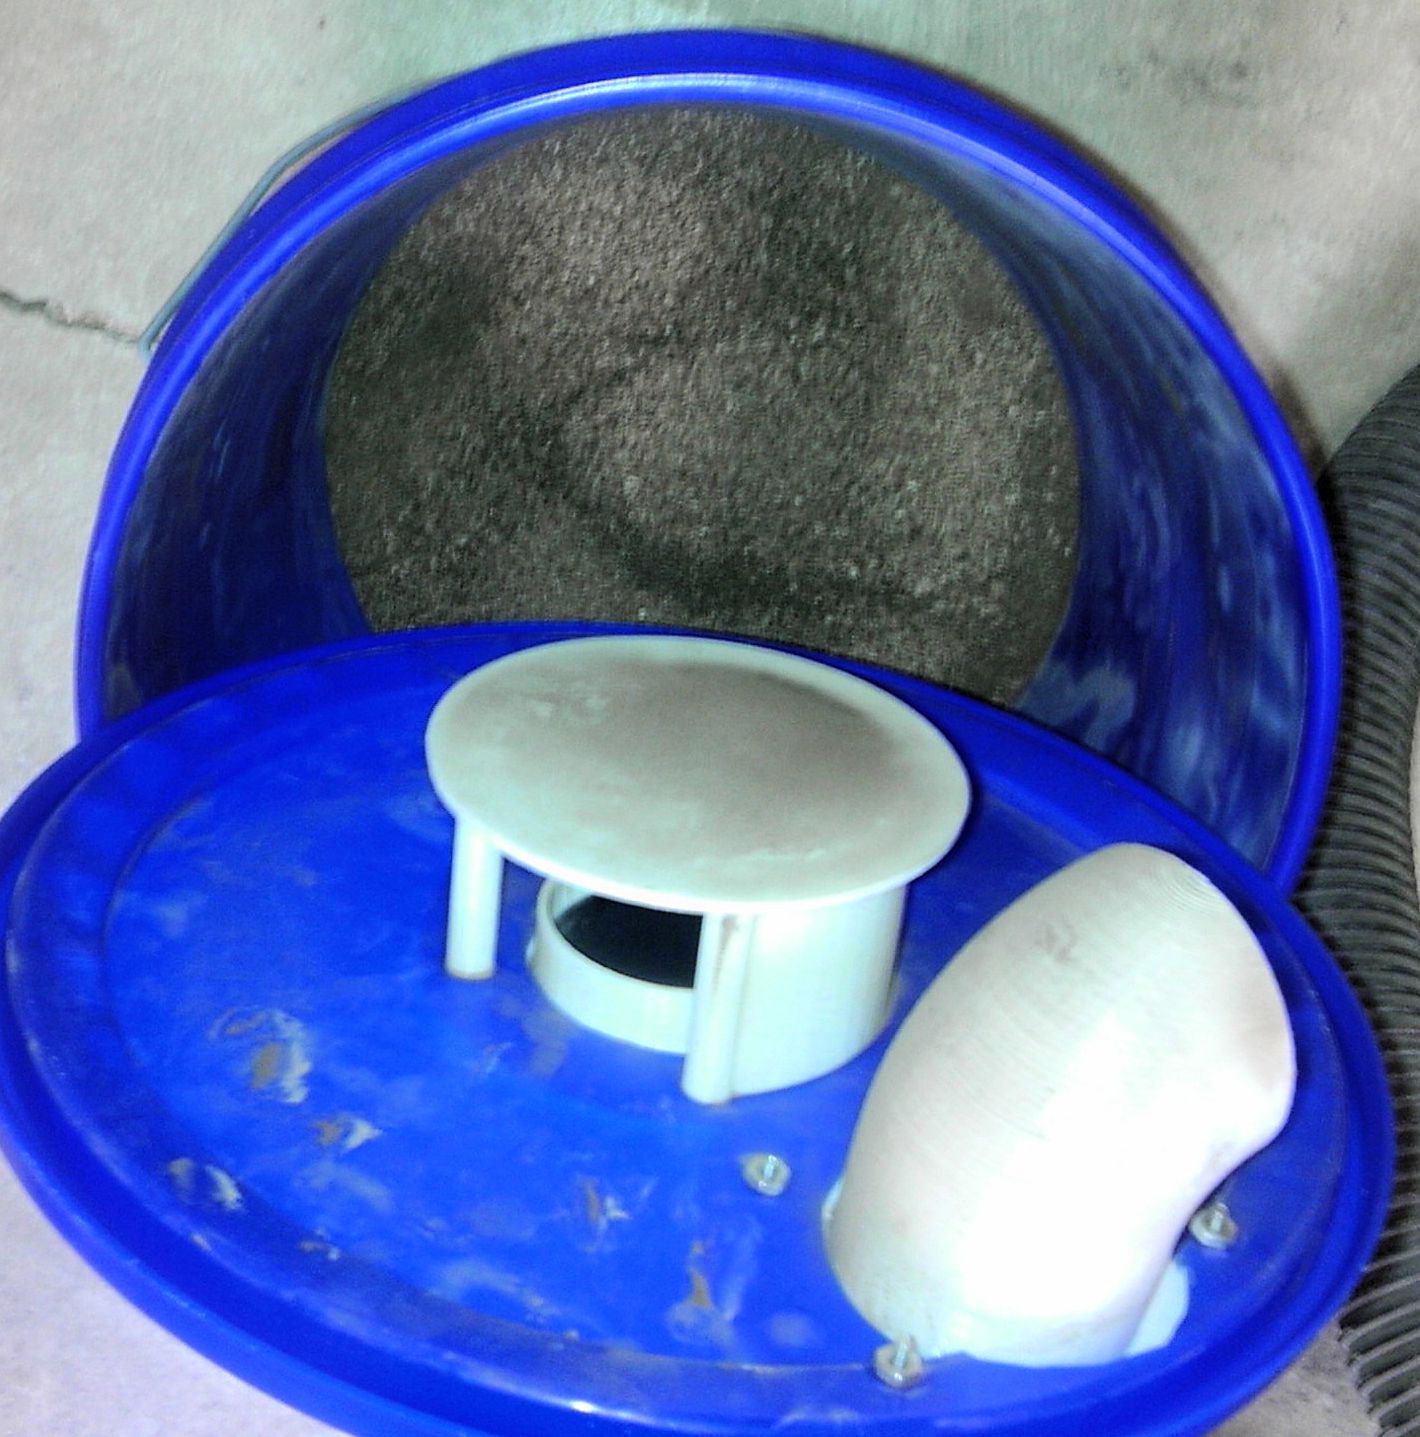
Catches the bulk of the sawdust and chips.
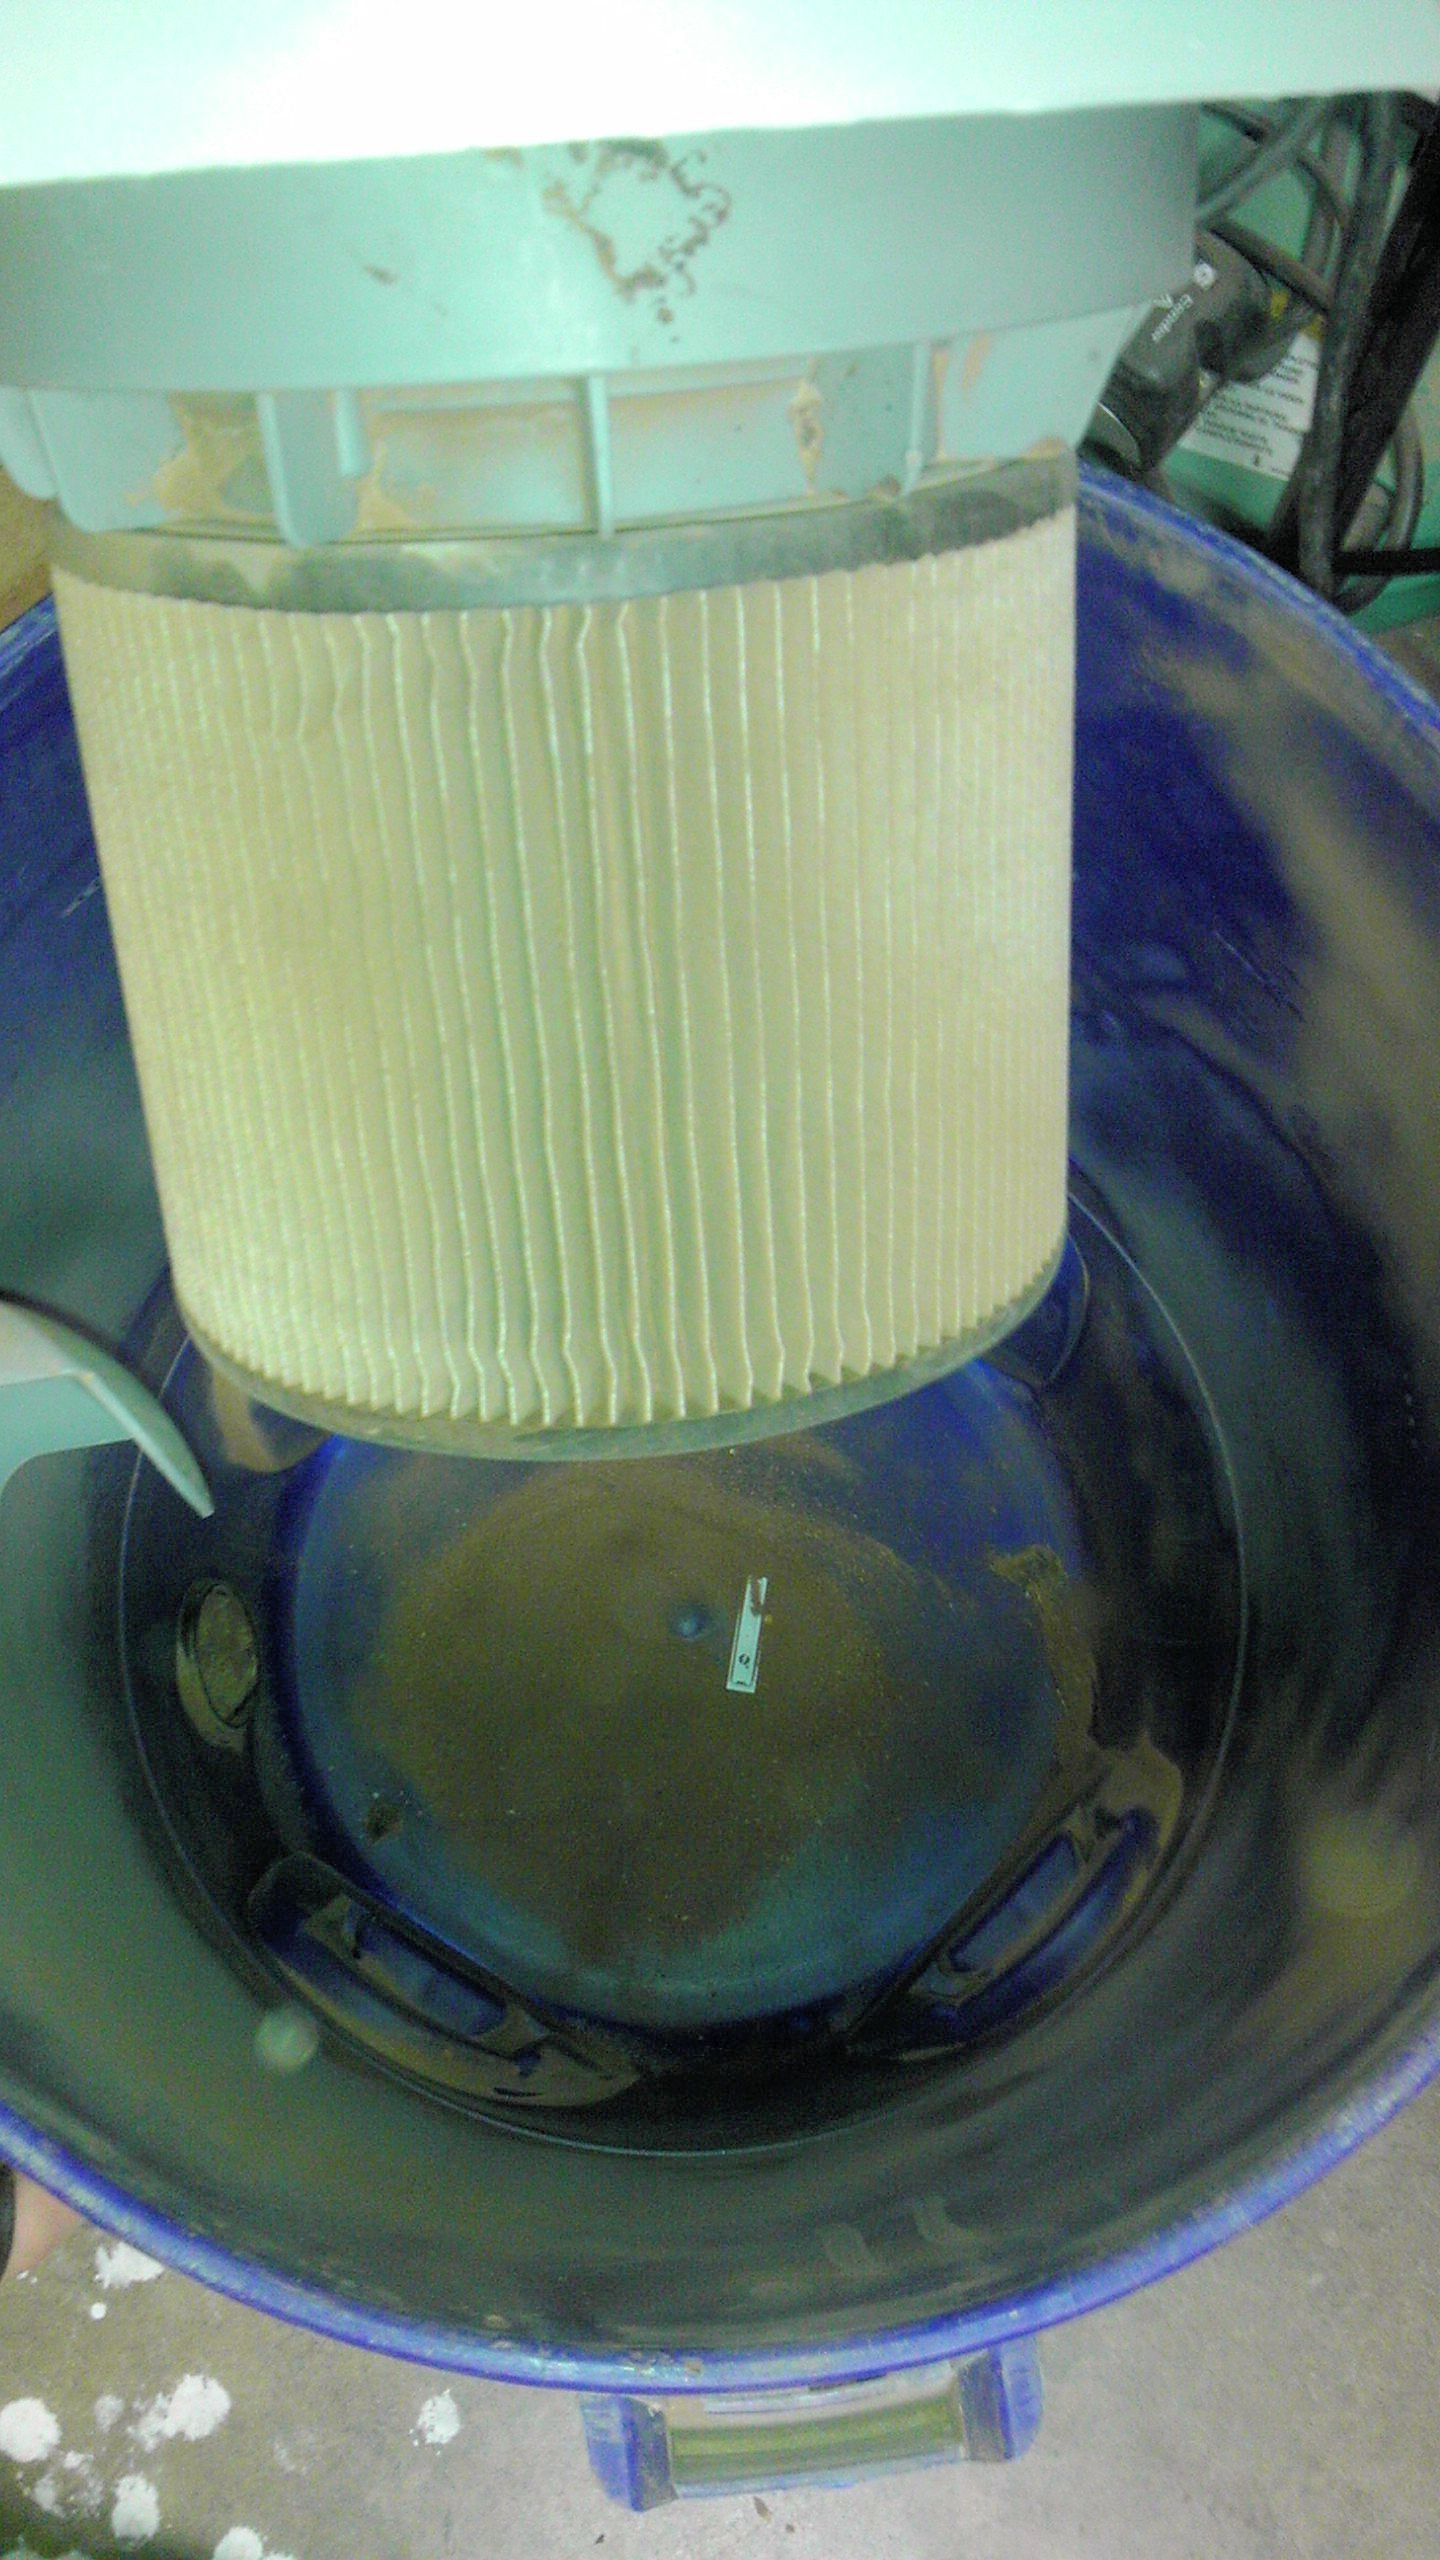
After filling up the separator, just a little dust in the bottom of the Shop Vac and the filter was clean.
I needed a coffee table to replace the kids Train Playset table so I set out to use my new Rasperry Pi and create a nice piece for the entertainment room.
Check out the new page that shows how it was constructed.
