Power and Control Panel

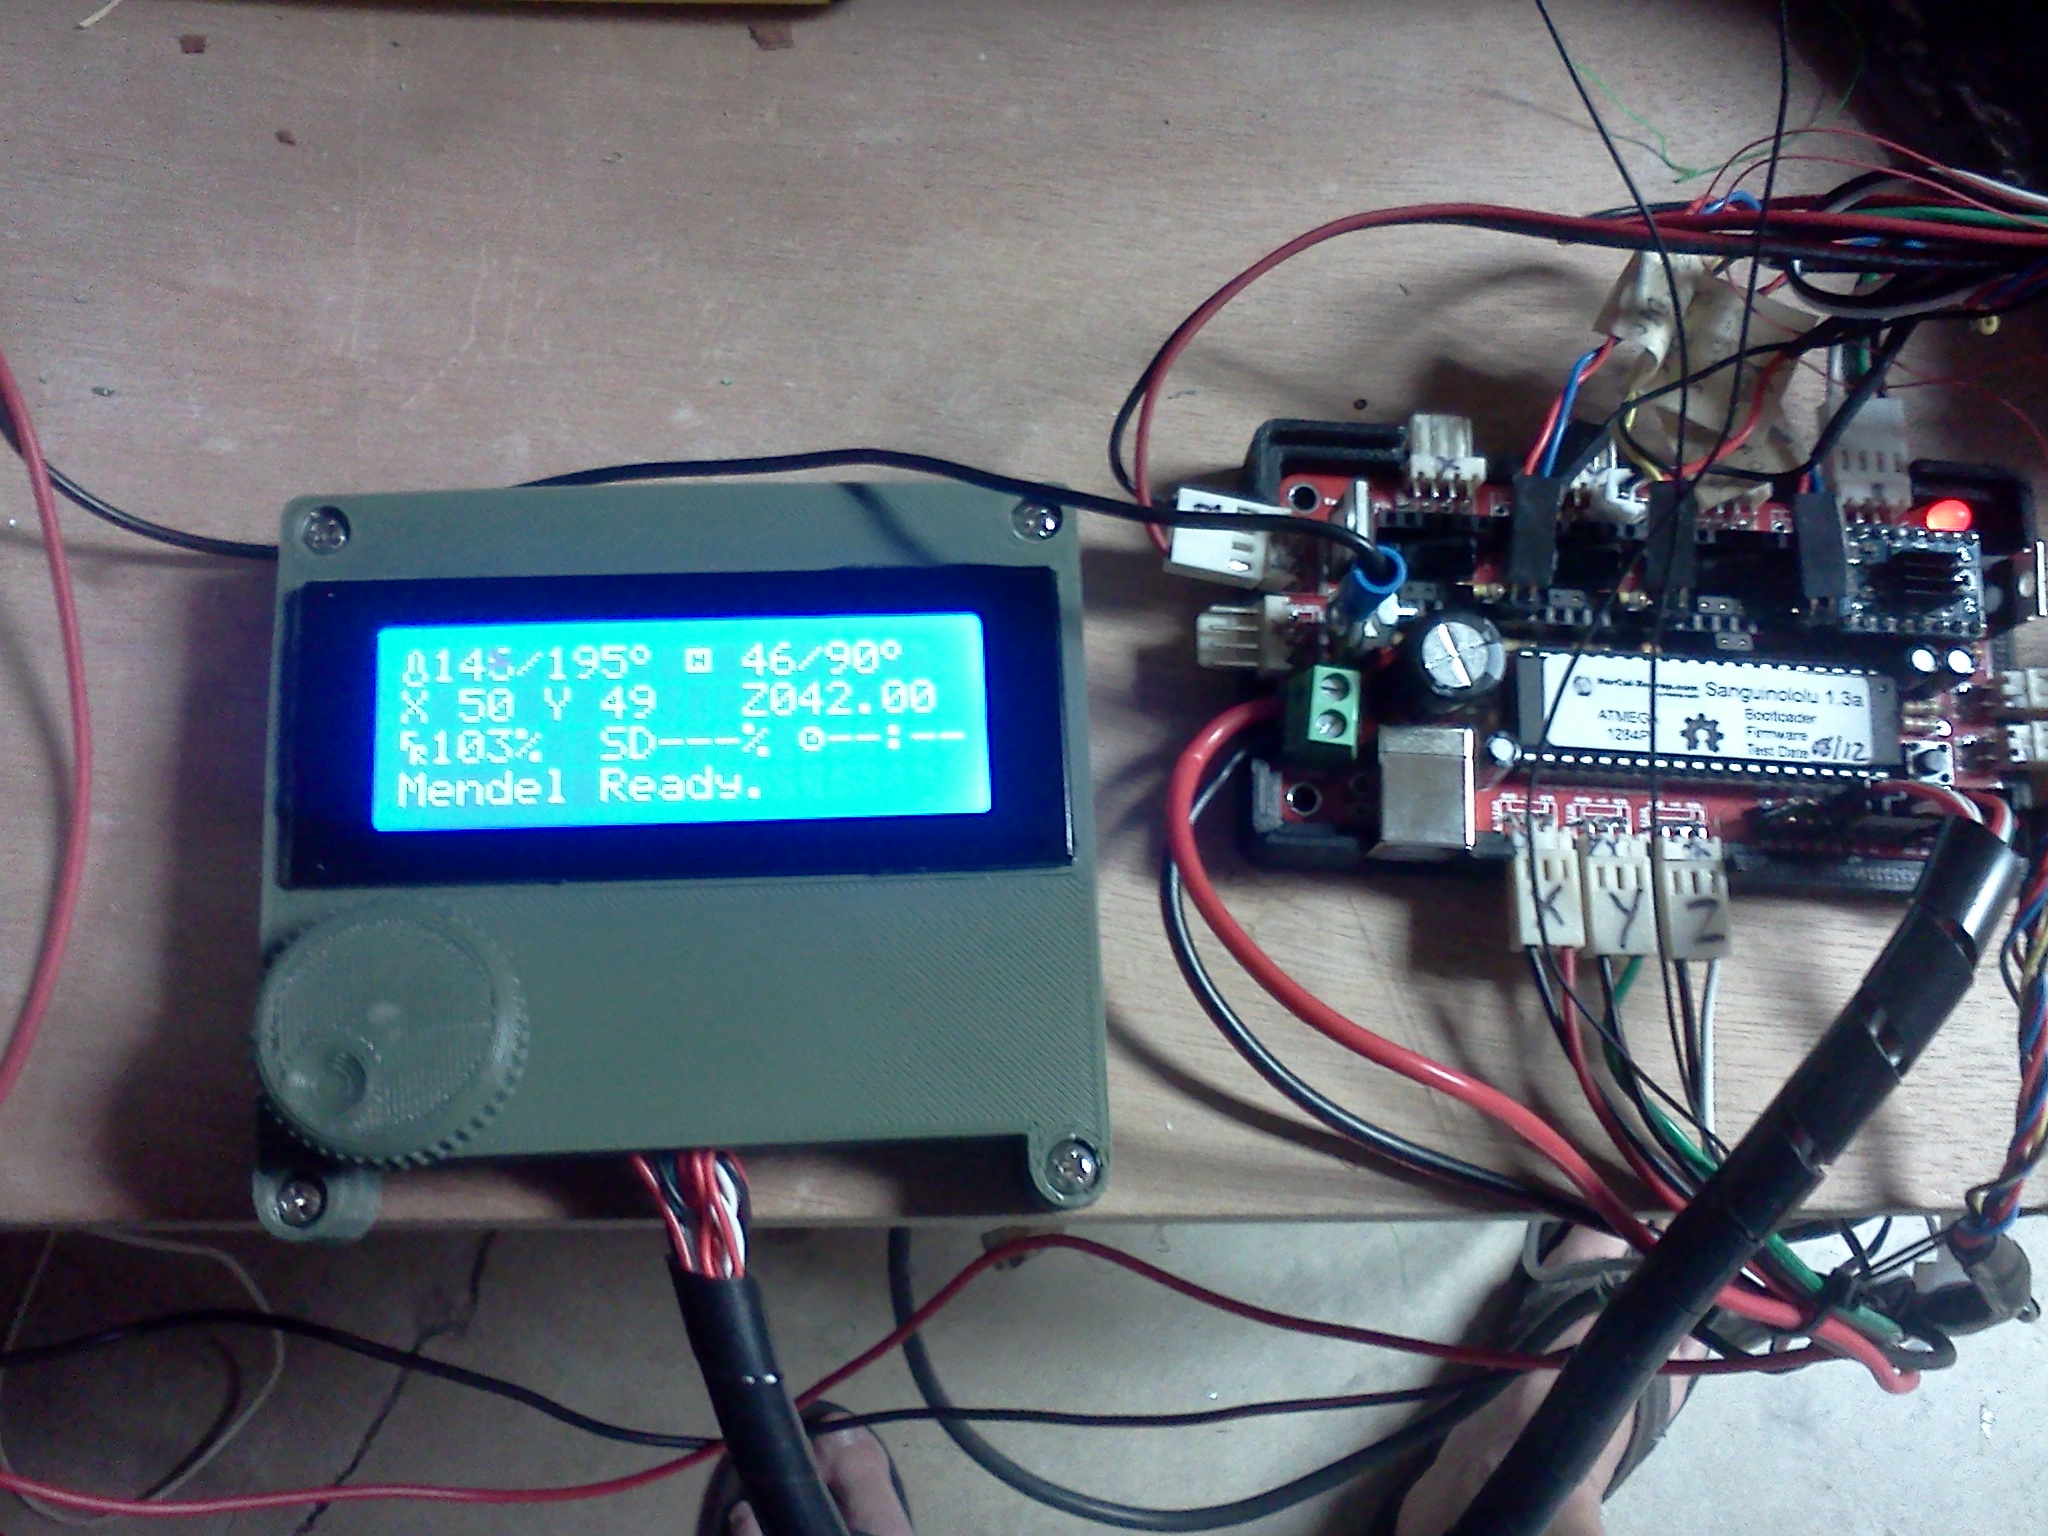
Took some time while waiting for the additional extrusions to arrive making a control plate for the I2C panel and power switch.  The LCD, SD and encoder are currently being used on my Solidoodle so I’ll switch everything over toward the end.  Wow, this is going to look much better than the 3d Printed housing and give me a power switch that the Solidoodle was lacking.

IMG_20140415_214024766[1]
IMG_20130227_231416


The plate was made from some black on white acrylic from Inventables. The graphics were put together in Corel Draw and cut on my 40W Laser. I put 5mm holes around the edge that will act as a mount and to stabilize the H-frame.

Beginning Work on Custom 3d Printer – Heated Print Bed

Since I’m creating something of my own design, I wanted to go big on the bed to make single prints from large objects instead of assembling from smaller parts.  I had quadcopter and OpenRC builds specifically in mind.  My Soilidoodle 2 is 6×6 and too small for many things I wanted to print.  So this will be a 12×12 plate.

I looked around for some solutions for quick heating.  Resistors looked too sketchy for something this big and the Solidoodle takes a long time to heat up with its single resistor.  Etched PCBs don’t come this long and I didn’t want to design my own, the cost would be too high anyway.  Silicone heat pads looked promising, in fact I have an 8×8 pad from QU-BD that I tested but it took over 10 minutes to heat just a piece of glass and barely attained 90c and had a large variation over the surface.  I almost bought a hot plate used for pots and pans but determined that it would be too heavy for a mobile Z-Axis.  That left Nichrome as the cheap and easy method. Continue reading