I needed a coffee table to replace the kids Train Playset table so I set out to use my new Rasperry Pi and create a nice piece for the entertainment room. I already have a 120″ projector screen in this room so I could have easily hooked up the Raspberry Pi to the big screen, but where’s the fun in that!
Projects list –
- Woodworking
- Raspberry Pi loaded with RetroPie
- XBox Wireless Controller, Keyboard, and Mouse
- Powered Speaker Conversion
- Laptop teardown
- Power Supply
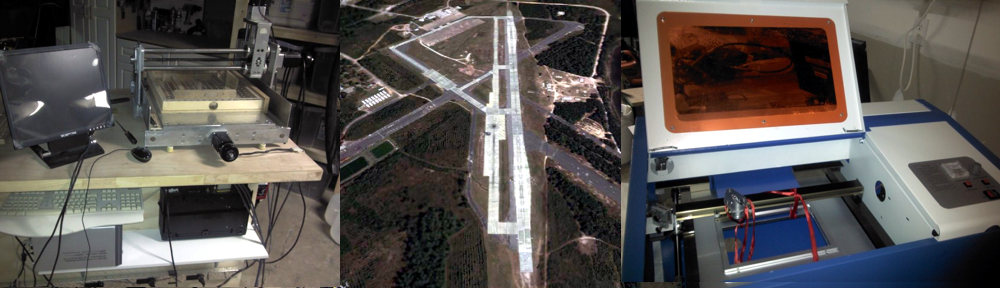
Woodworking
I enjoy working with wood but I wouldn’t call myself a woodworker. The frame was constructed with African Mohagany (Sepele), an easy to get hardwood in this area and reasonably priced. I spent less than $50 dollars for two boards. The assembly is butt-joint with pocket hole joinery. I had a hard time keeping everything lined up when driving the screws and as a result, the joints are not perfectly aligned but they are close enough for me and unless you spend some time looking, you probably wouldn’t notice.
I browsed around the internet for some standard dimensions and settled on 24″ x 52″. That gave me enough room for the monitor and decent storage space on each side.
I used a satin brushing laquer for the finish since it dries quickly. Poly always took forever and required sanding between coats because of dust settling on the tacky surface. The benefit of Sepele is that it looks great without stain and has amazing grain.
The two glass panels have hinges that hold their position so little fingers wont get crushed. I picked them up from Rockler.com as well as the hinges. The monitor from the laptop had its own hinges that worked great despite the added weight of the trim.
Retro Pie
I had the Raspberry Pi and needed to do something with it so why not make a retro gaming platform out of it. I installed the RetroPie image that I found on the petRockBlog. This was pretty easy as all the instructions and help is located there.

petRockBlog
RetroPie Source Files
Raspbian OS Source
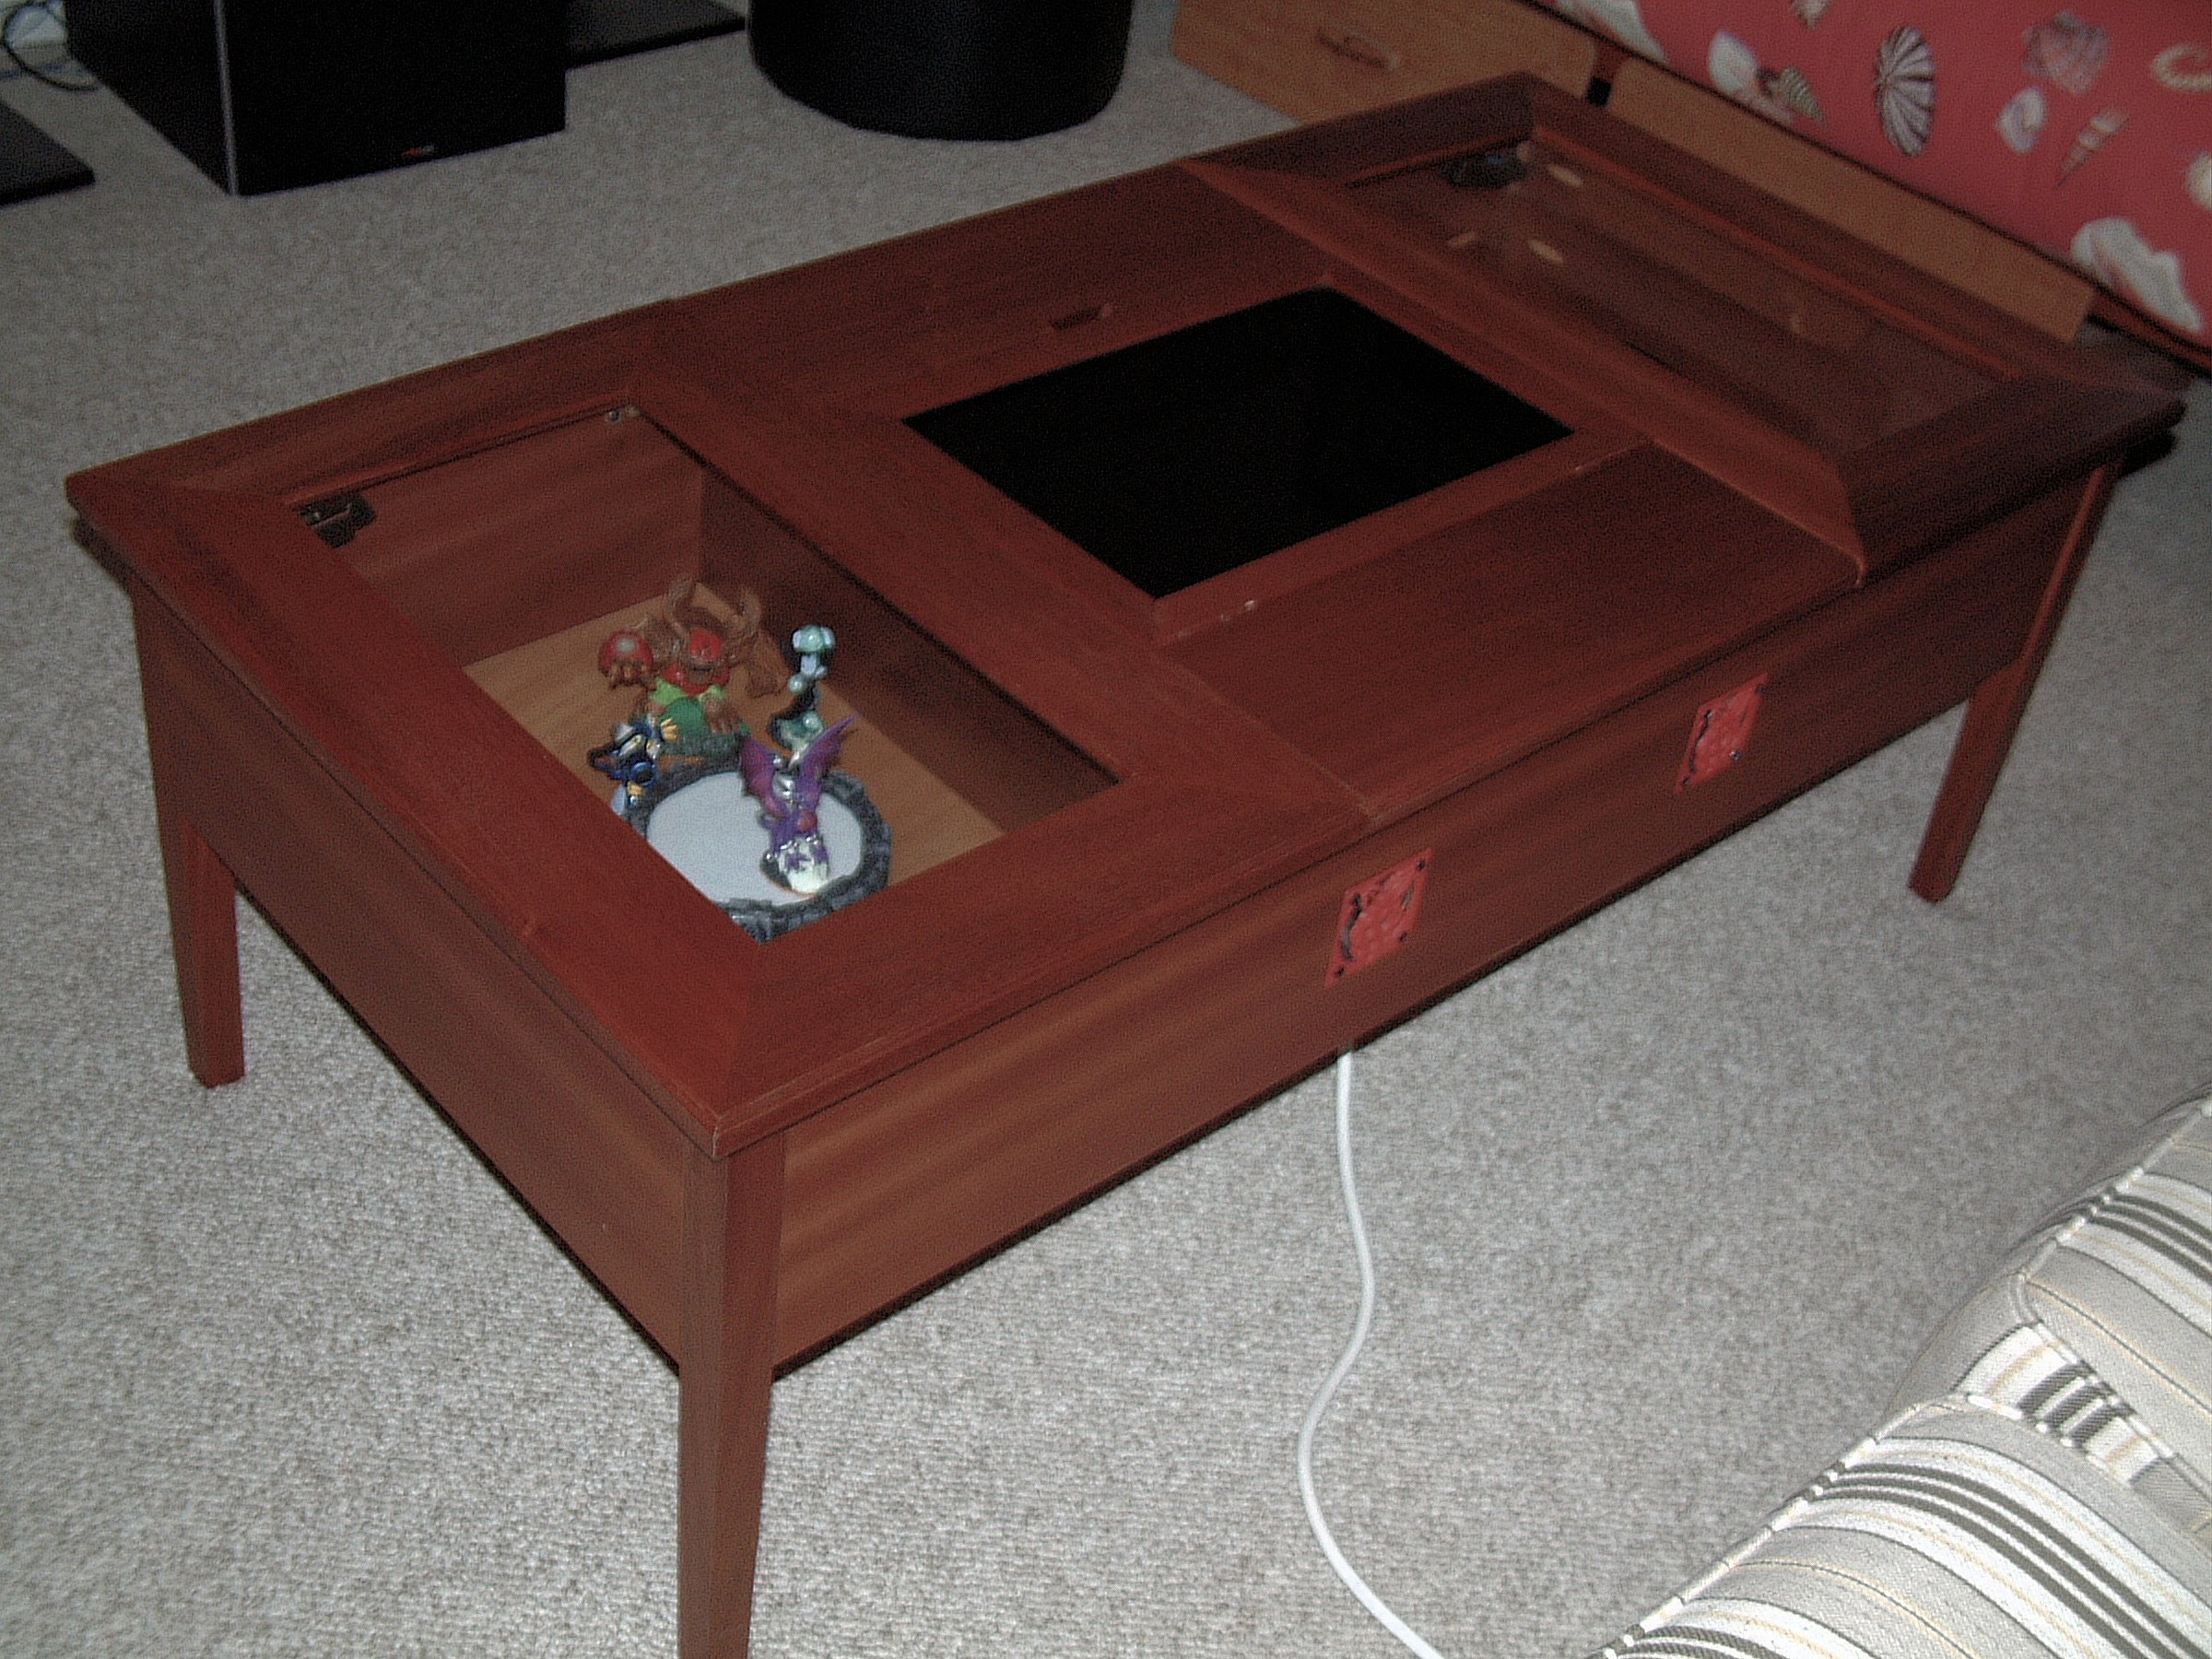
XBox Wireless Controller, Keyboard and Mouse
I had originally wanted to wire a cheap controller that I already had through the GPIO but found it was cheaper to buy a USB dongle for the XBox Wireless Controller of which I have many than to buy breakout cables and boards. I bought the cheap eBay version and it would only pair with my newest controller. I found an original Microsoft branded dongle and it would only pair with my 4 older controllers. Go figure. To get the drivers installed, I followed the procedure at Ardamis under the title, “configure the controller”. I did have a problem with the instructions where you make changes to rc.local. I can’t remember exactly the problem but I think I wasn’t logged on as the SuperUser.
For the keyboard and mouse, I went with the Logitech K350 wireless combo. I wasn’t sure if it would work with the RaspberryPi but it was on deep discount at NewEgg. As it turned out, it works flawlessly out of the box! Finally, an easy success. These devices are stored on one side of the table. I found a pretty good holder for the Xbox controller on Thingiverse and printed it in the Raspberry color. I made a few more for my bookshelf to hold the others.
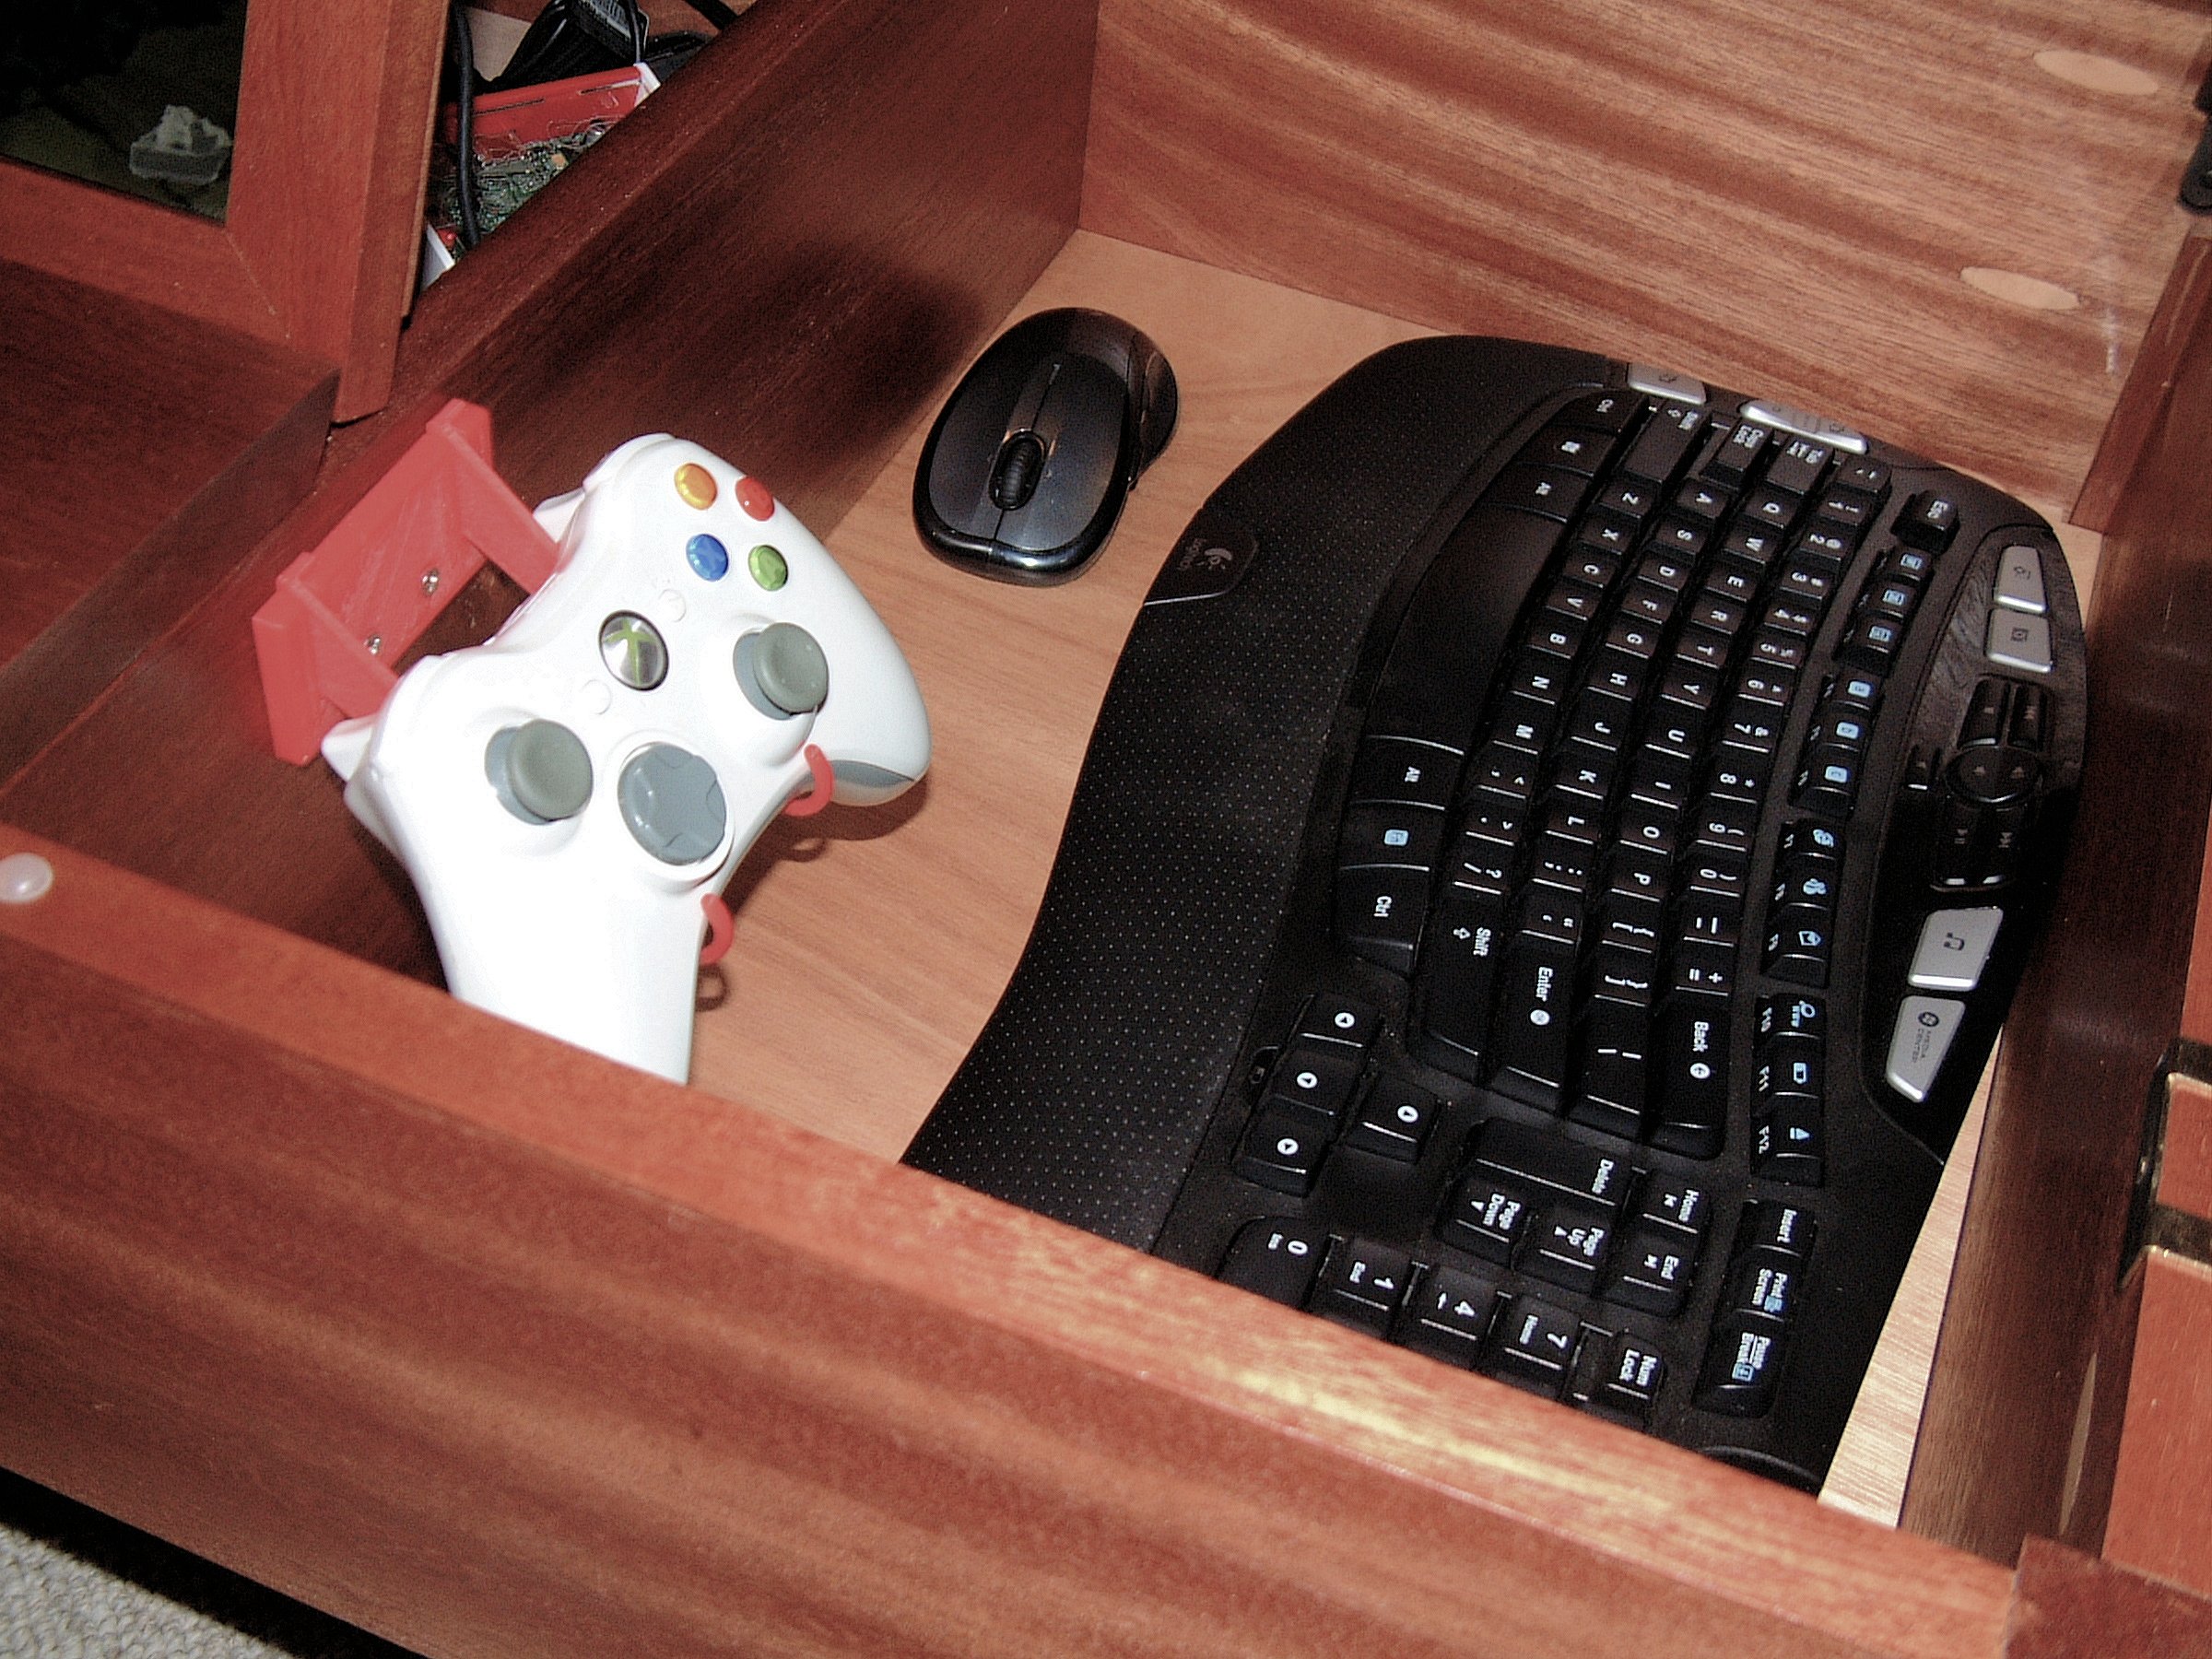
Powered Speaker Conversion
For speakers, I broke down an old pair of Sony battery powered speakers. They ran off two AA batteries so I dug through the hobby box and found a 3v 1A power supply from some long ago kids toy and wired that directly to the two boards then enclosed them in that red, laser-cut, acrylic box with the speaker inputs exposed. All wired up, mounted and sounding great! Then I printed off a fan grill with the RaspberryPi logo that I found on Thingiverse.
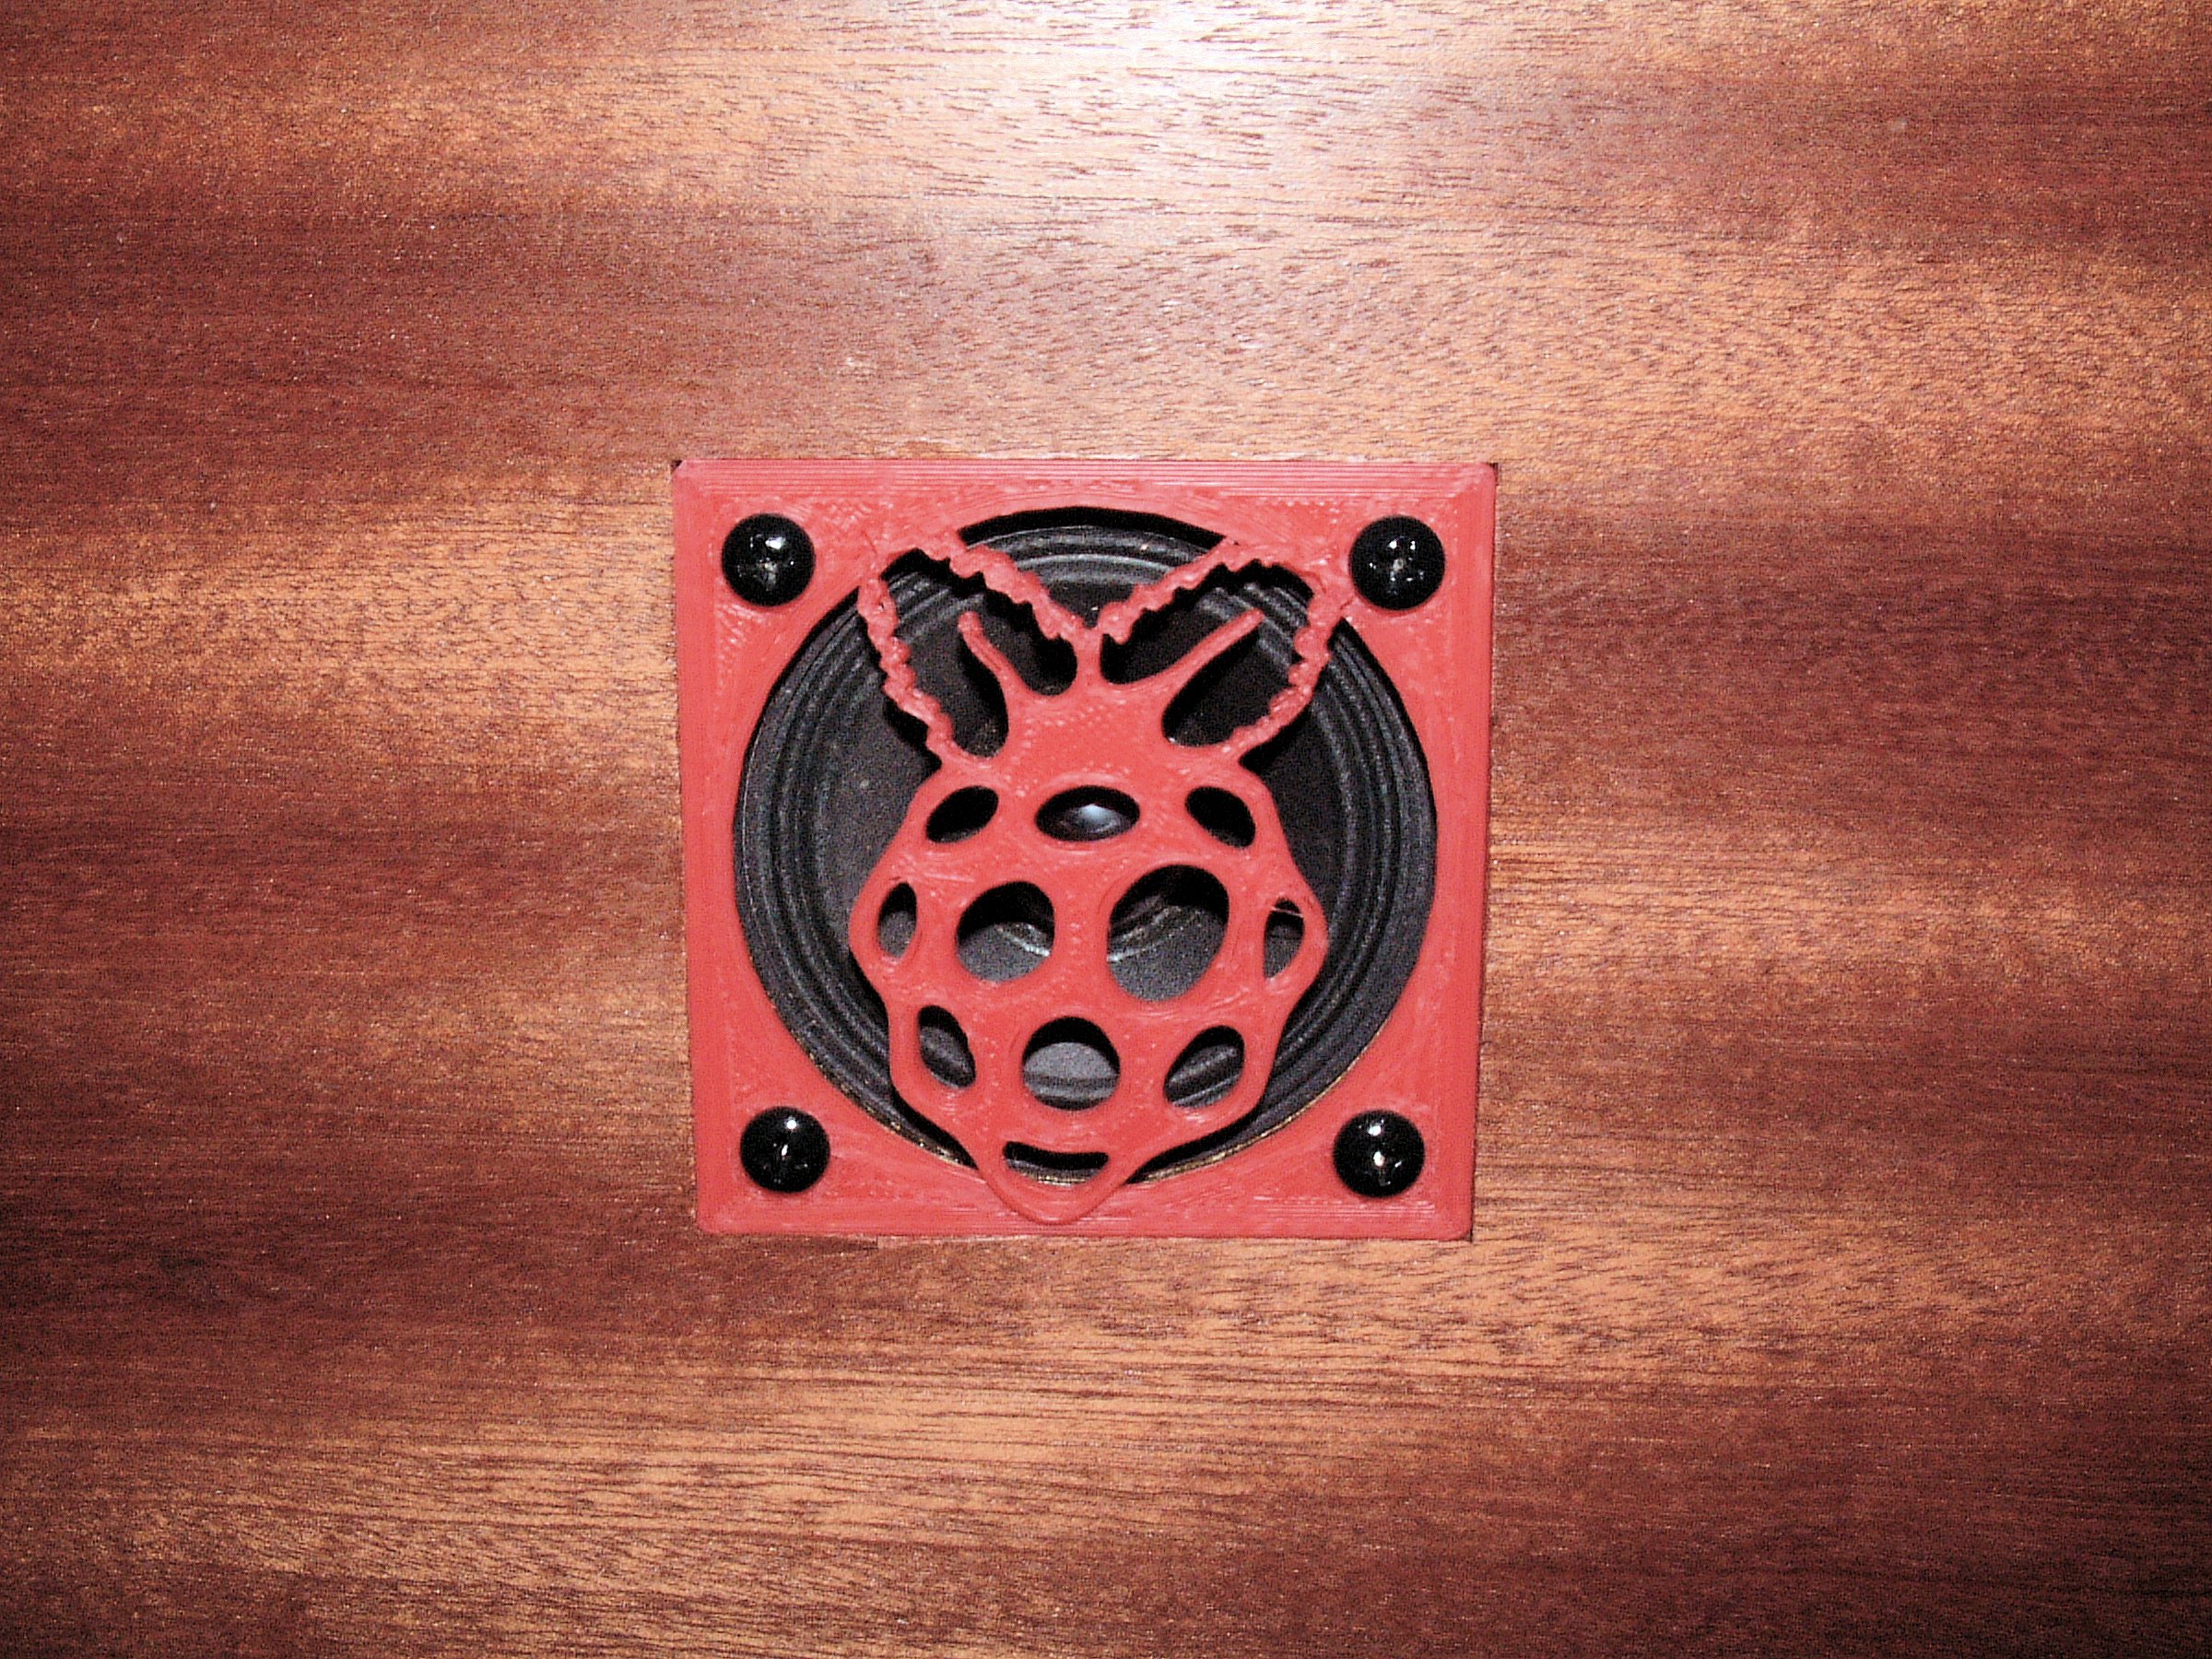
Look at that wood grain! Awesome!
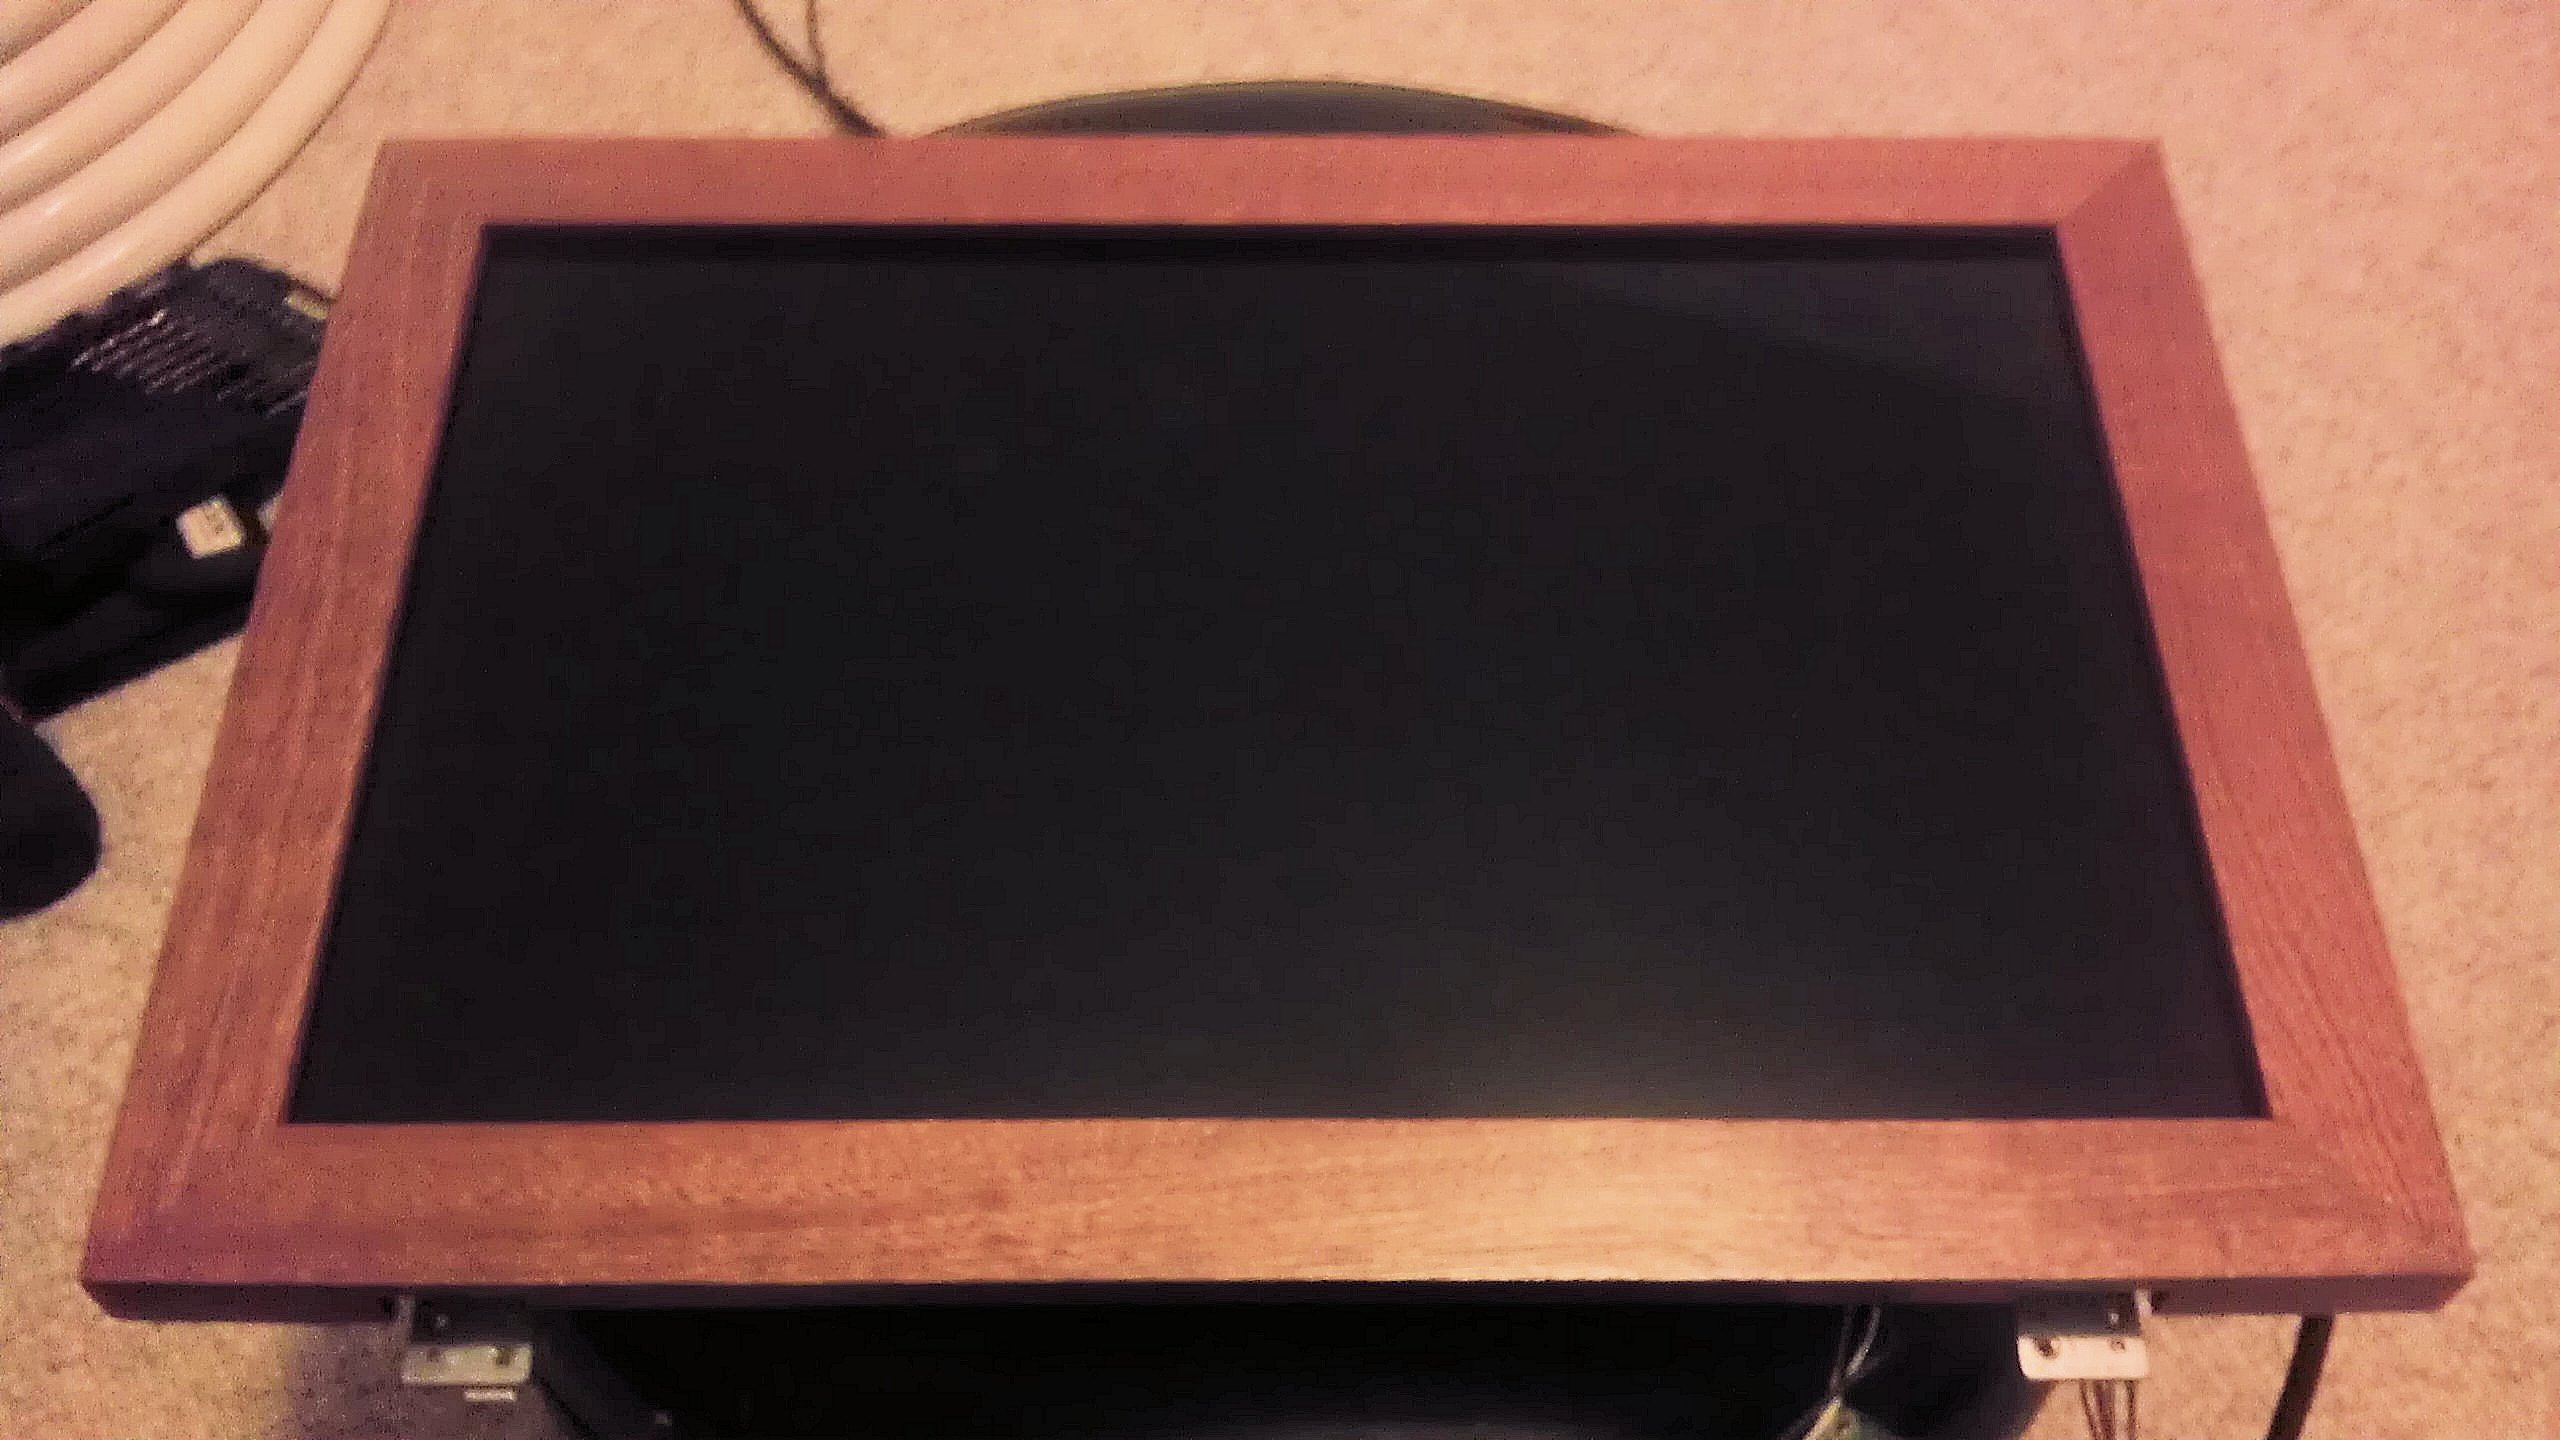
Laptop teardown
My Dell XPS 17″ laptop finally gave up the goose after almost 5 years of great gaming goodness so it became the monitor for this project. I had bought this replacement screen just last year so I couldn’t bear to chuck it, a good thing for this project. I stripped off the front bezel and left the back for support and hinges. Then fashioned a wooden frame that would be easy to remove if necessary. The face frame slips over the front and a back panel is screwed onto the back to hold everything together.
I had to source a driver board from NJYTouch on e-Bay. I found them through a Hack-a-day project for a Briefcase RasPi. It took a little while to figure out the exact board I needed but I sent them the model number of the LCD and the kit they sent arrived with everything I needed. Great price and quick delivery. Since the NJYTouch board didn’t have HDMI, I purchased a HDMI to DVI patch cable to make the connection.
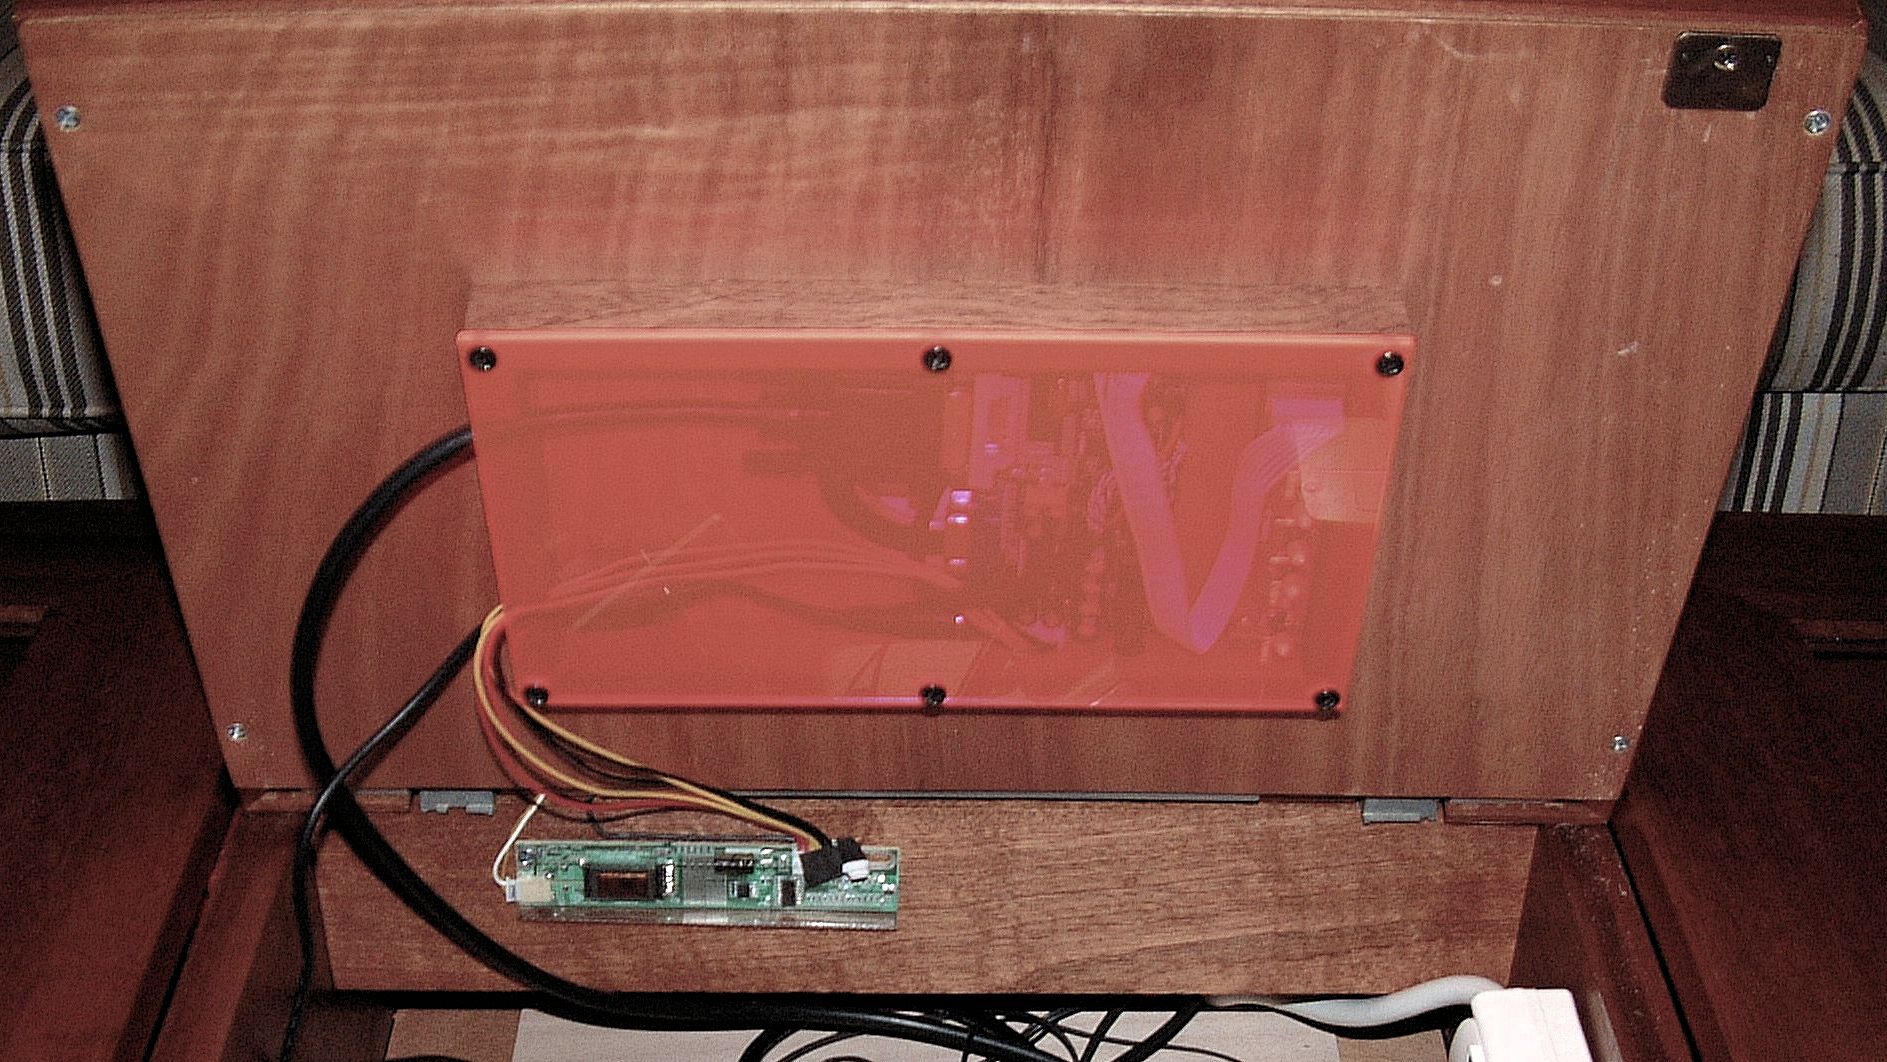
LVDS Board mounted to the rear of the LCD
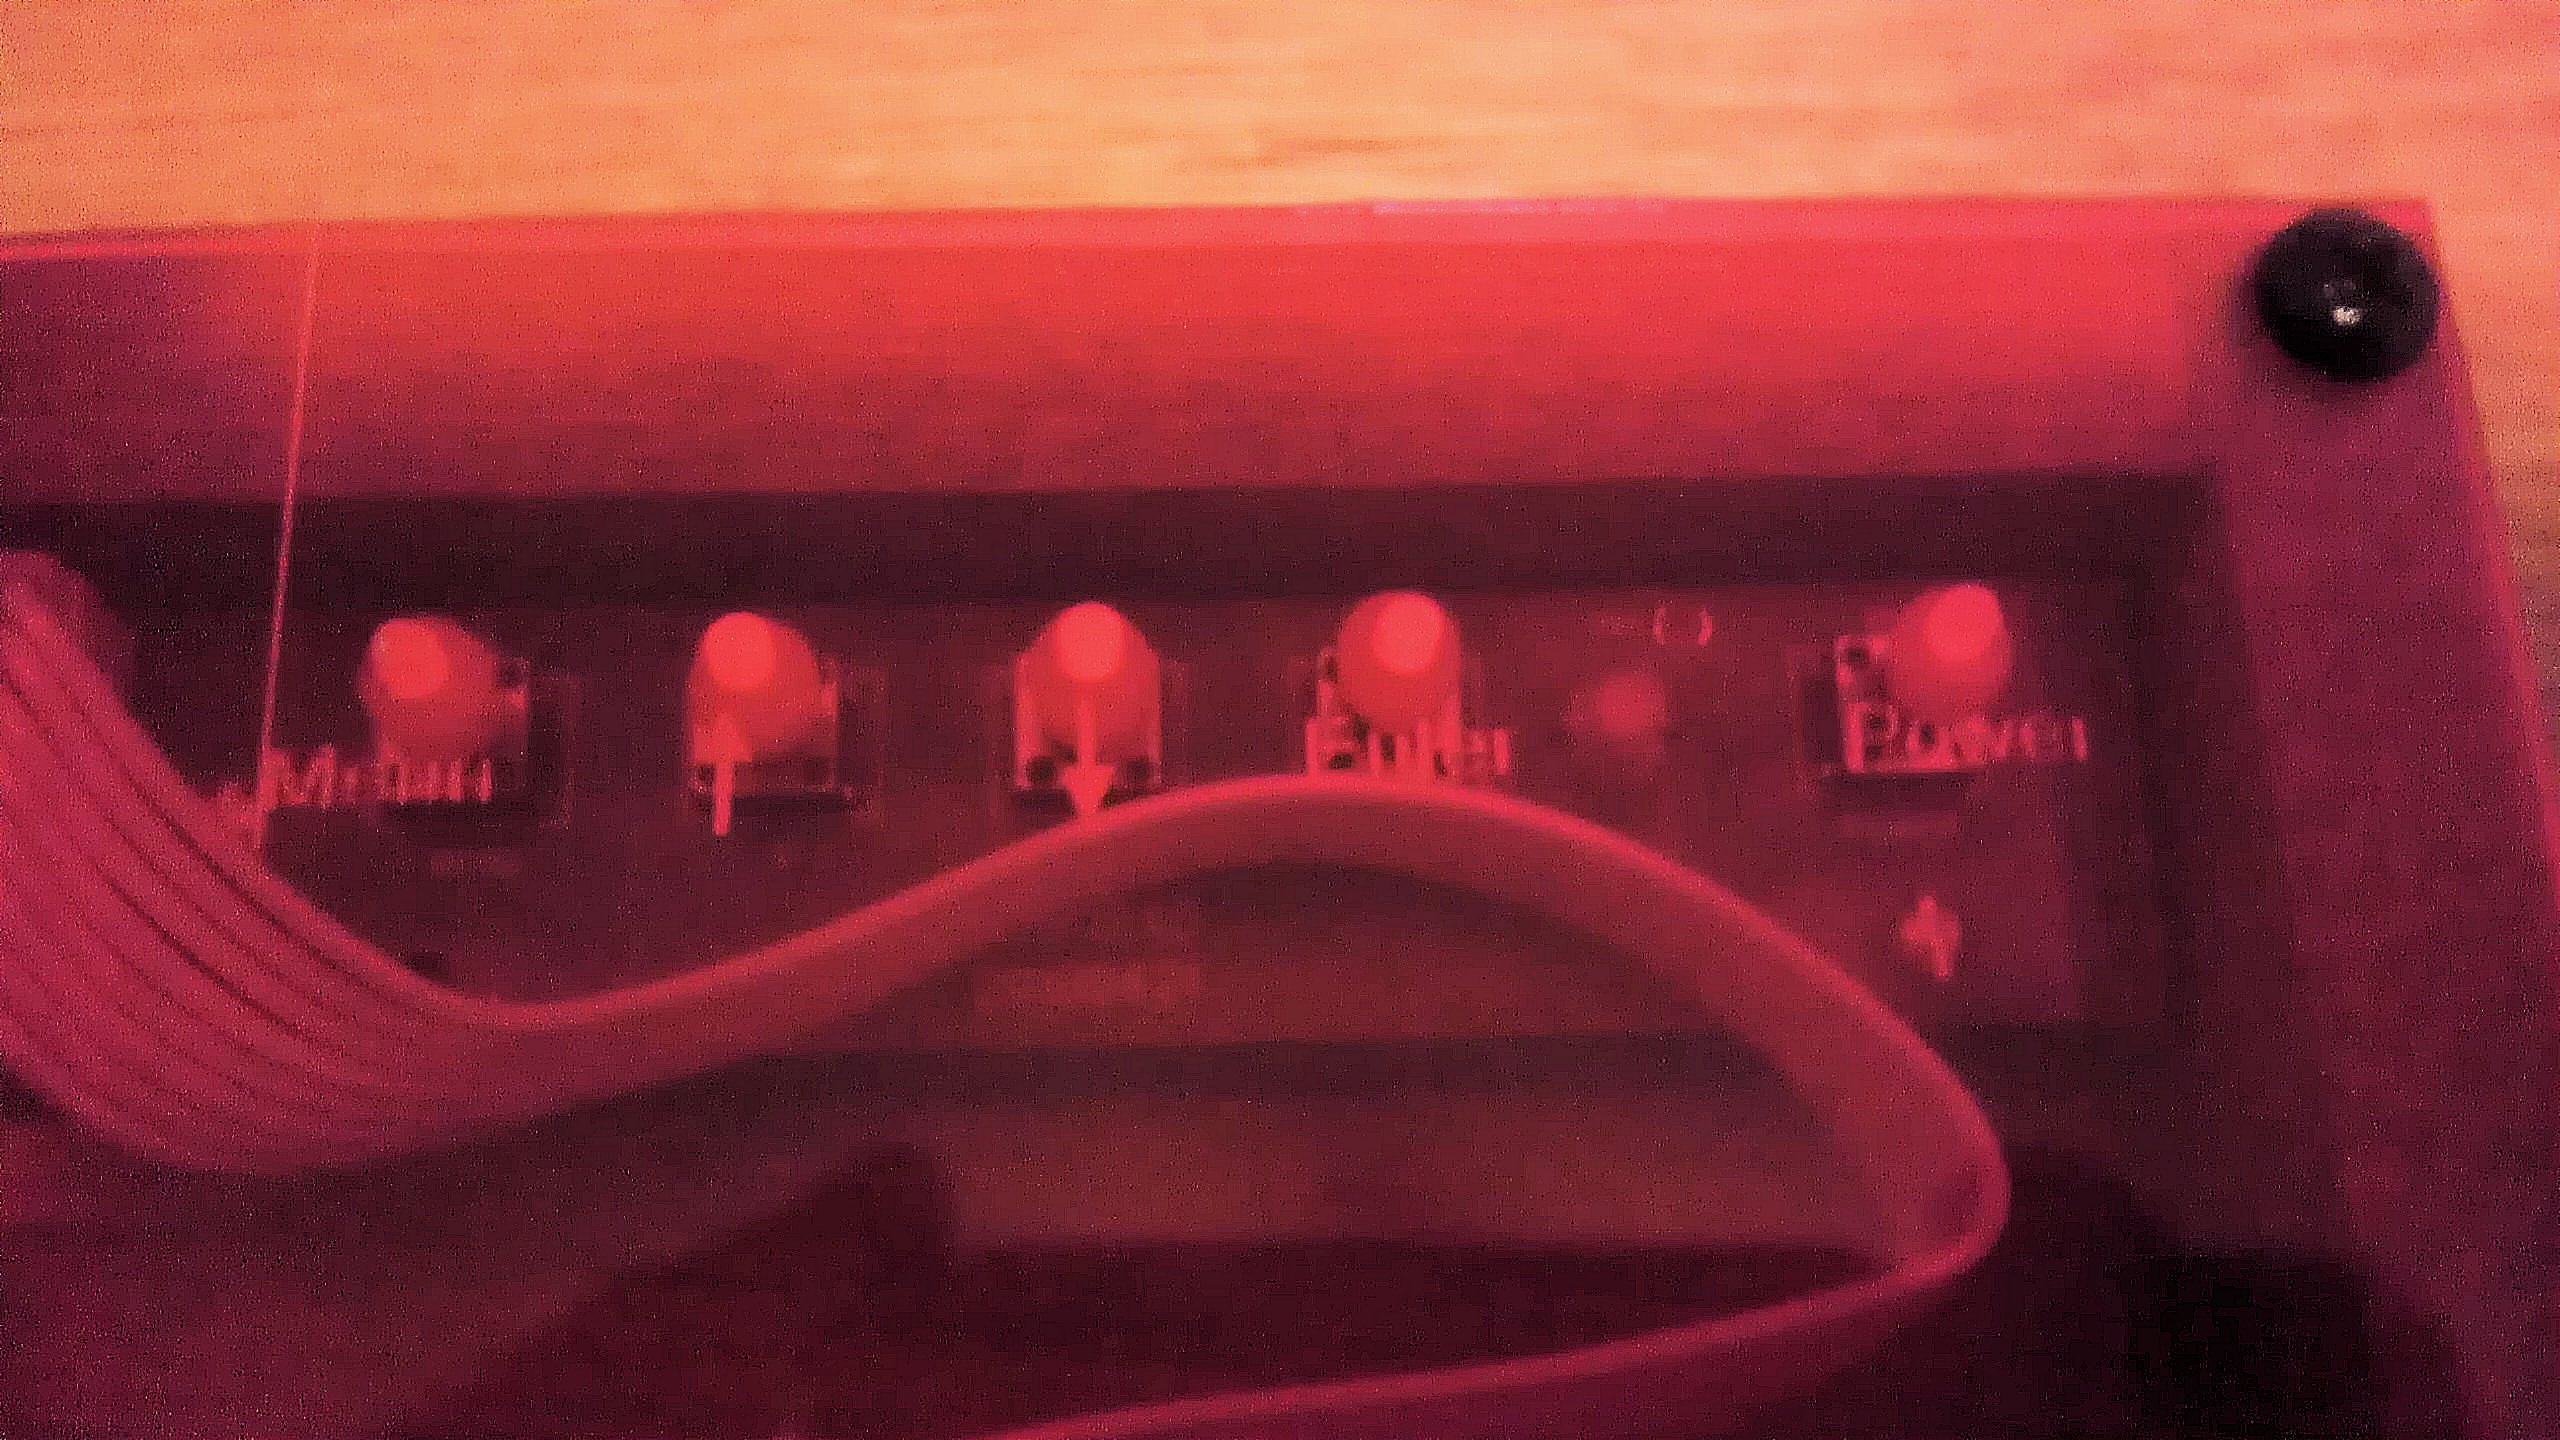
The wires for the monitor run out the back and into the ‘backpack’ containing the NJYTouch board. I laser-cut a cover for the board with holes for 3d printed buttons to control the monitor settings. I played with it once to see that it worked but found that I don’t need to access them since the RasPi displays a perfect image. So I could have left that detail out but it is also nice to have them just in case.

Power Supply
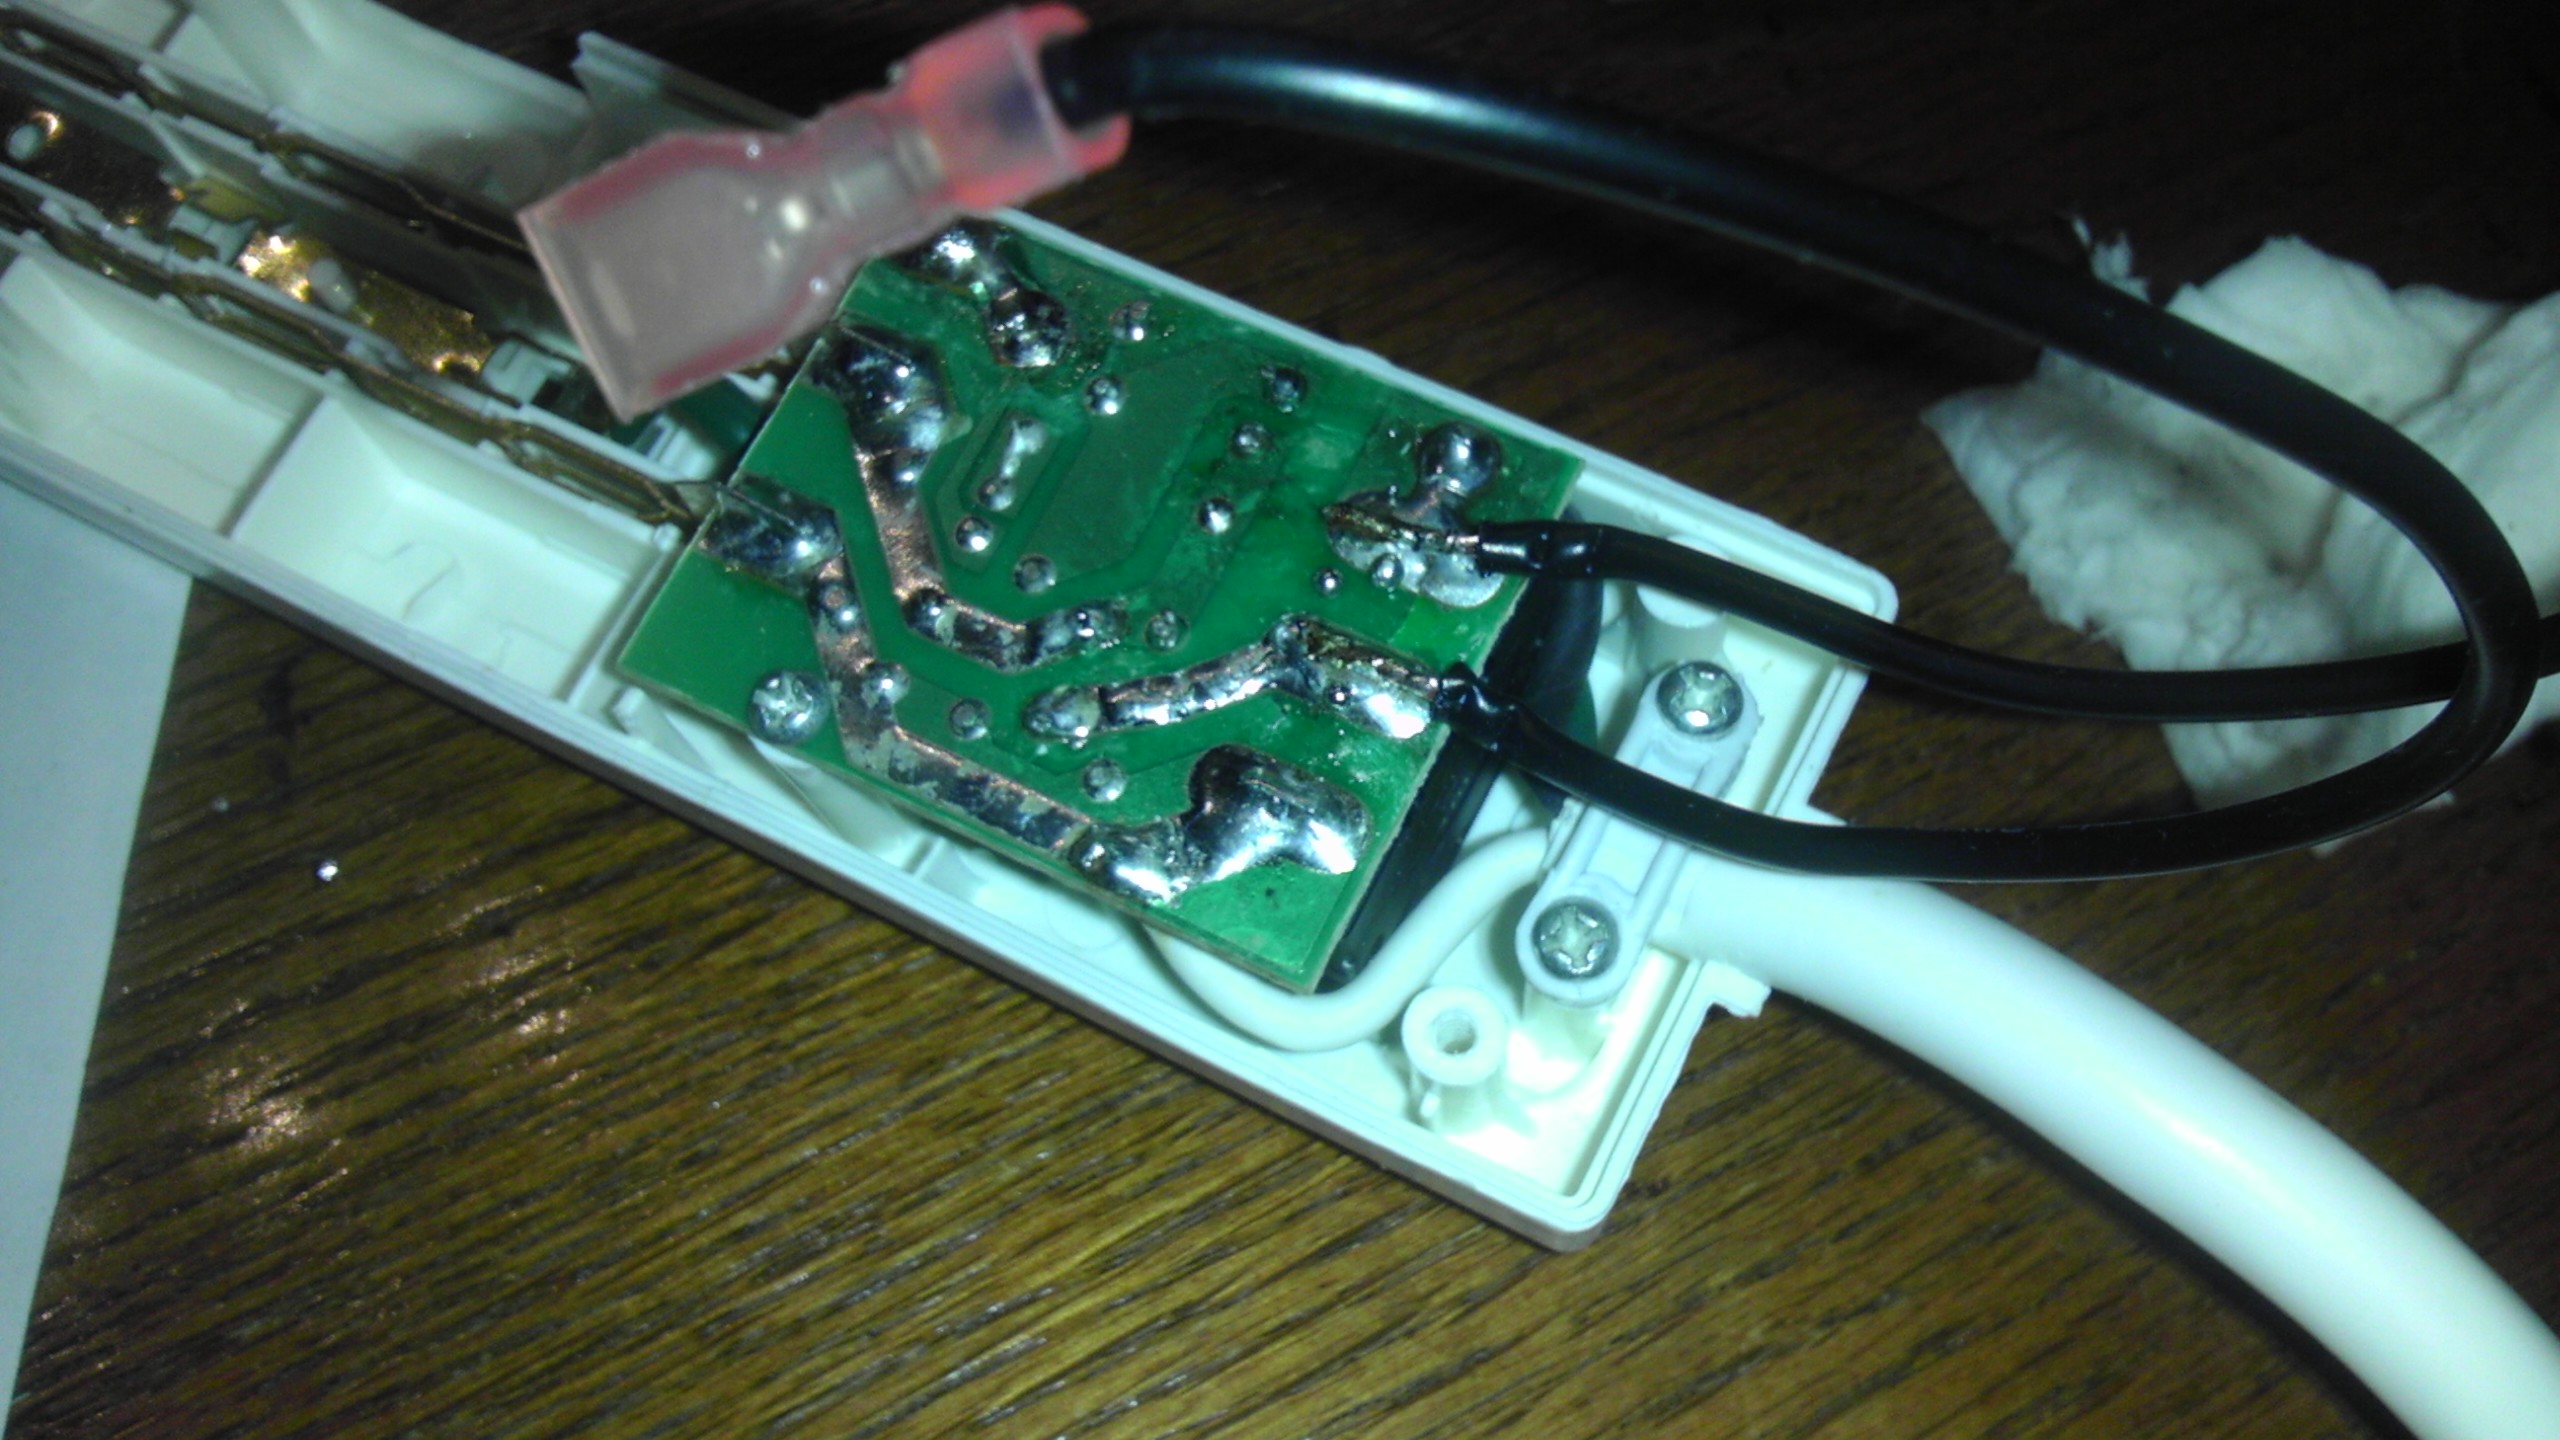
To power this whole contraption, I wanted a pressure switch so that when the monitor was raised, the power would come on; and vice versa. I bought a “pantry door” switch that would normally be mounted in a door jam, pulled out the switch and wired it to a power strip with 10′ cord. I identified the two leads on the back of the power switch that would be hot when the switch was on and I soldered the two wires from the door jam switch to them. The switch needed a standoff so I printed one.
Power requirements for this project consisted of a 3v wall wart for the speakers, 5v wall wart for the powered USB hub which in turn powers the Raspi, and 110V supply for the Monitor/controller.

Not sure if this method negates the surge protection of the power strip.
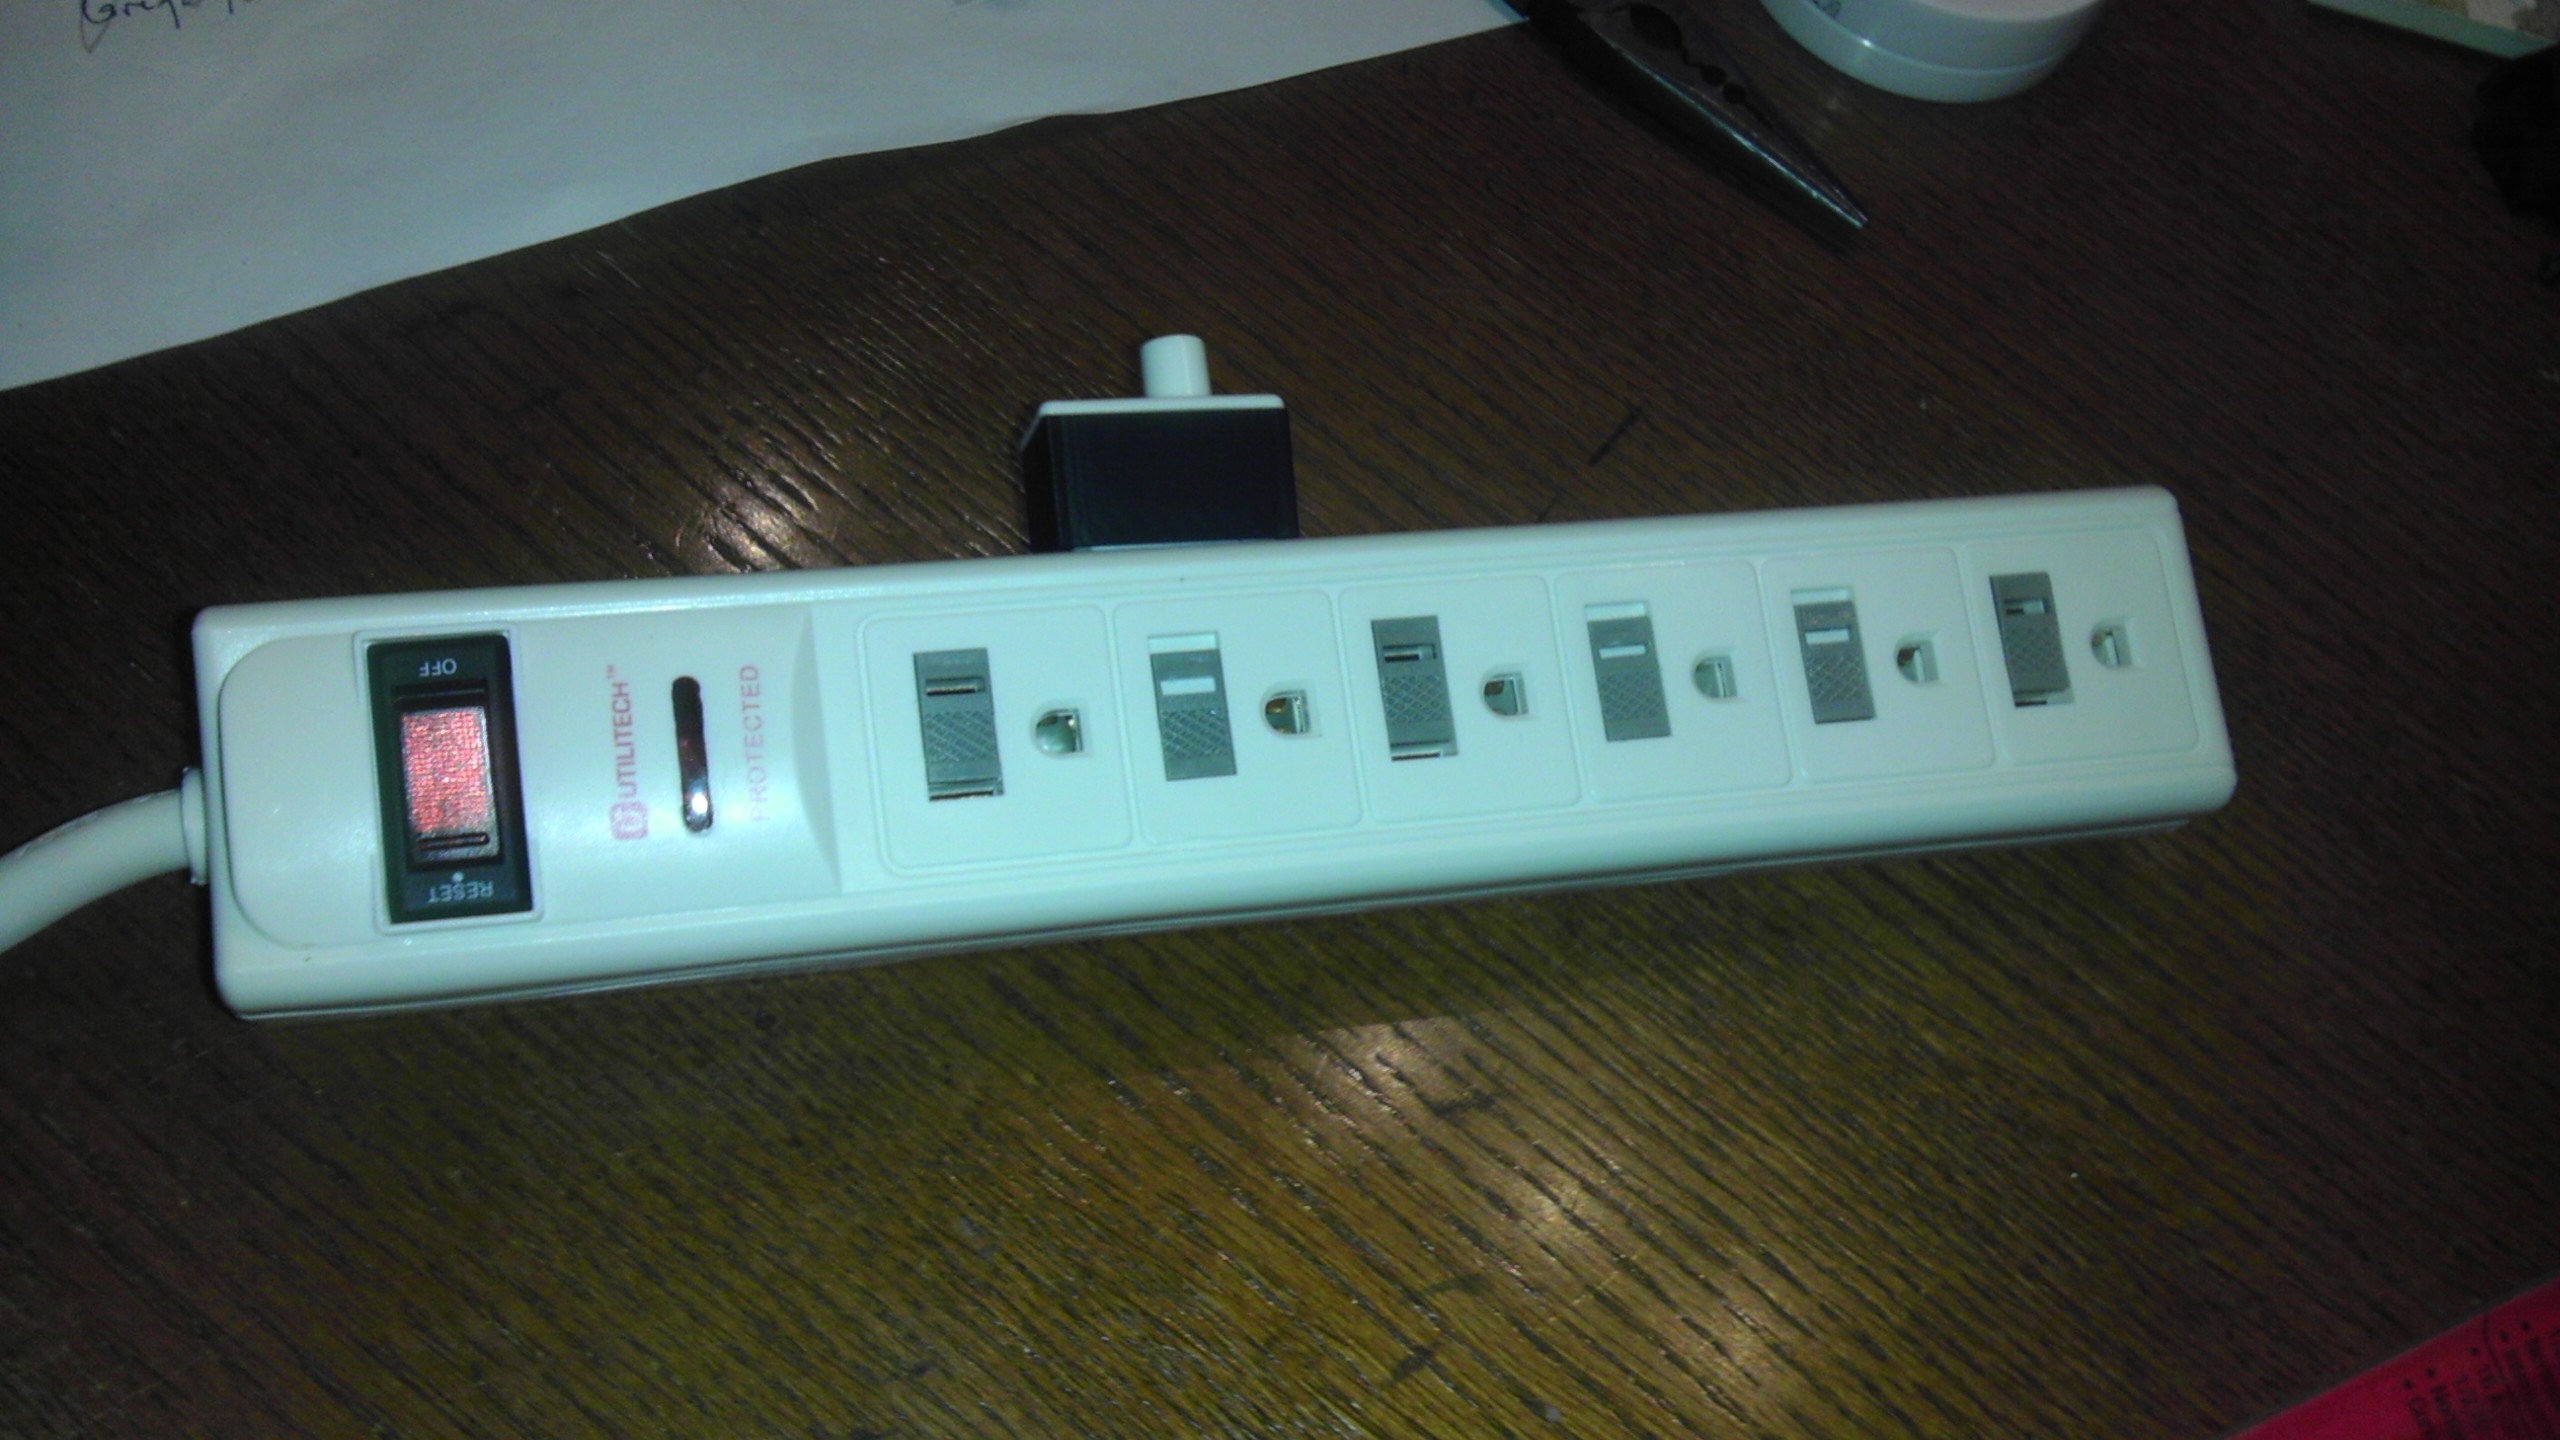
The power strip switch can override the newly installed one to turn on power so the table can be used when the monitor is in the down position.

I couldn’t find the sweet spot where the switch was activated and the monitor was flush so I installed a magnetic closer in the bottom right of this picture that holds the monitor down when closed. This overcomes the upward force of the power switch.
Conclusion
This was a fun project and gave me a chance to use all my tools. My son and I have already put in many hours into Cave Story, a great game I had not known about. The Raspberry Pi is not the fastest computer; RetroPie is running great, but I don’t think I could work with the LXDE (Lightweight X11 Desktop Environment) for very long as it is slow to respond, truly taxing the Raspi. The best thing is that the computer can be easily upgraded down the road with something faster so that it could be used as another desktop in the house.
Pingback: Finished up the Raspi Coffee Table | Hobbies of a Bogue Rat
Pingback: Belgaum news - Retopie Gaming
Pingback: Retropie Gaming Table | Maker of Meta
Pingback: Retro Gaming Raspberry Pi Table @Raspberry_Pi #piday #raspberrypi « adafruit industries blog
Pingback: Community Corner: A Gemma Workshop, Miditron, PiEye, Internet Enabled Fishtank, Other Treats from this Past Week in the Adafruit Community « adafruit industries blog