Build Overview
Introduction
Heated Bed
Electronics
X-Y Axis and Extruder
Aluminum Extrusion Frame
Z Axis
Light from Scanner
Introduction
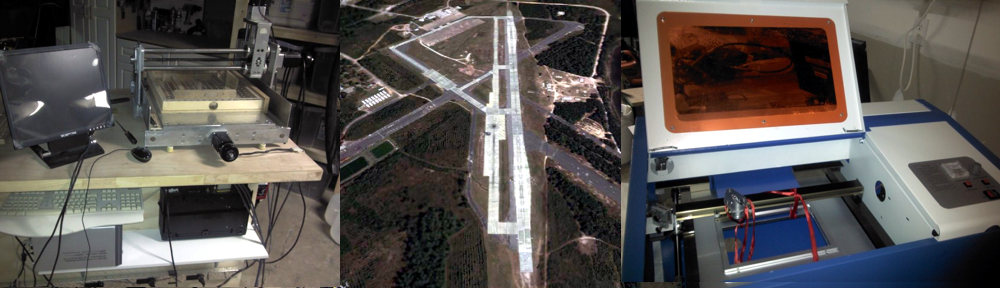
I’ve had a Solidoodle 2 for about a year and find that the small print bed is not quite enough for some larger projects I would like to tackle. I can’t afford to buy a large printer and I didn’t want to spend a lot on components, so I decided I would see what I could do with what I had on hand from disassembling broken printers and scanners. And try not to spend a fortune on other parts. I already had an extra Sanguinololu with a Panelolu, a QU-BD Extruder and Silicone Heat Pad so these are the basis for my designs.
I found that I couldn’t really afford to skimp on stepper’s, belts, and pulleys. I’ll reuse a stepper, pulley and belt from an old Dot Matrix printer that was heavy enough but all the others from inkjets were puny.
UPDATE: Almost no reclaimed materials used in this build. Only two rods were actually 8mm and compatible with the linear bearings and the steppers were sketchy. I had the electronics, PSUs, wood and acrylic on hand.
I scoured the RepRap designs and really couldn’t get excited about the moving table/dual Z-stepper designs. I wasn’t sure my Sanguinolou could handle it. And I really like the Solidoodle design, it has truly been a workhorse for me. So I’ve settled on an H-frame type using aluminum extrusion that will be similar to the Solidoodle.
Heated Bed
You can find more detail in this post.
![IMG_20140407_165825384[1]](http://hobbies.boguerat.com/wp-content/uploads/2014/04/IMG_20140407_1658253841-300x168.jpg)
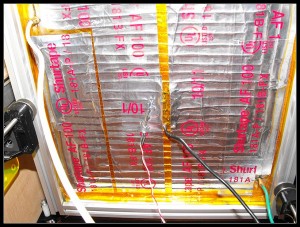
 Update: I’ve been running this for a few months with a slight problem. The solder crumbled away and was replaced with brass crimps. Now working well again.
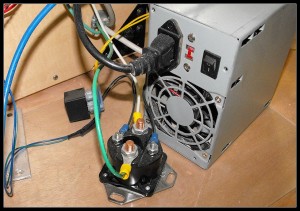
The 12×12 heated bed was assembled from 1/8″ aluminum sheet stock with a frame of extruded aluminum to keep it flat. A sheet of glass (with hairspray) is placed on top for the printing surface. The heat source is a Nichrome wire heater running 6 lengths of 630mm 24ga wire in parallel, tapped in the center, which consumes 21.6A at 13V. The heater is attached to the aluminum bed with several layers of kapton and metal tape (HVAC).
The Control is handled by the Sanguinololu HPB signal activating a 12v relay which sends 12v from a spare PSU to activate an automotive starter solenoid. It was the only way I could push 22A and get fast heat short of using Mains. I burned through a 25A SSR initially. The fan from the PSU is cooling the solenoid.
Electronics
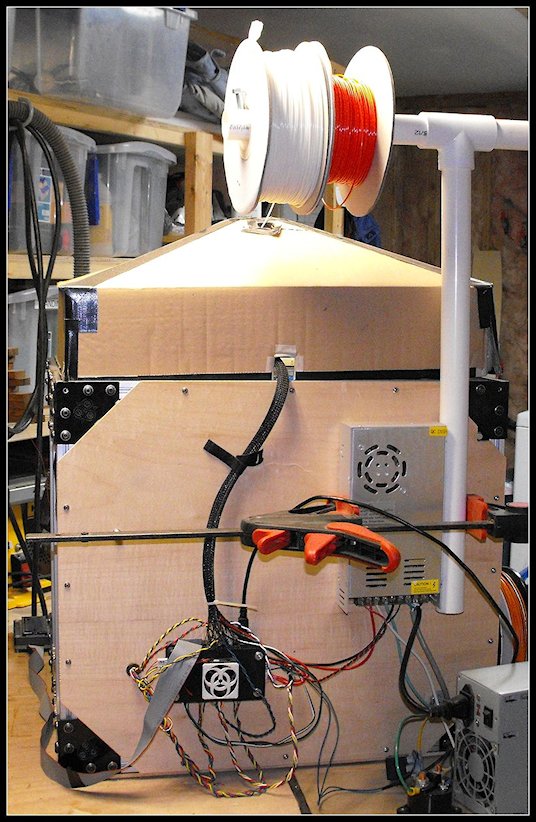
Sanguinololu fanned and mounted to the rear panel. Wires twisted and routed through rubber grommets. Mains with appropriate cable clamp. Could be cleaner but it’s working.
Took some time while waiting for the additional extrusions to arrive making a control plate for the I2C panel and power switch.
![IMG_20140415_214024766[1]](http://hobbies.boguerat.com/wp-content/uploads/2014/04/IMG_20140415_2140247661.jpg)
Control Plate Update: Found Octoprint so this is underutilized right now. I ordered an SSR to turn on/off the printer remotely via Octoprint. Love sending print jobs from any computer and monitoring the work via webcam! Now if I could just figure out how to clear the table for the next print without having to get up off the couch….just kidding.
X-Y Axis and Extruder
All 8mm rod and custom 3d printed parts to hold them and the pulley’s in place. If you’ve seen the Solidoodle, you pretty much know the layout. I tried, really tried to reuse the QU-BD but it is crap, their slotted drive was terrible. I bought an MK8 drive and that still couldn’t help that terrible design. Ended up buying the E3D hotend. Frickin awesome! But had to spend time designing a mount, after much fiddling I got it all stable.


Extruded Aluminum Frame
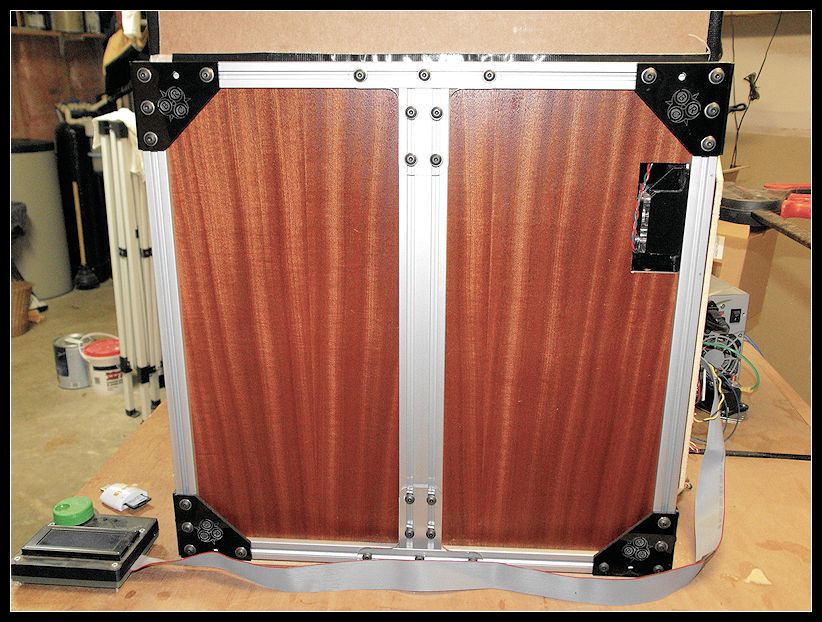
The front and back have 4 acrylic brackets I made on the laser cutter. The left and right have an additional 2 brackets (clear) to hold the Makerslide. The metal corner brackets were pretty spendy so using the acrylic really helped the budget but the frame is not as rigid as I expected. Not to worry though, everything is printing well. I did spent a small fortune on screws and insertion nuts.
The ghetto dome is cardboard, acrylic, and duct tape. I’ve been meaning to do something better but it works. If I was planning ahead I would have extended the frame a bit higher to get a few more inches on the Z axis and have more of a cube shape. The sides and bottom have an awesome sepele veneer that scream for a more respectable topper.
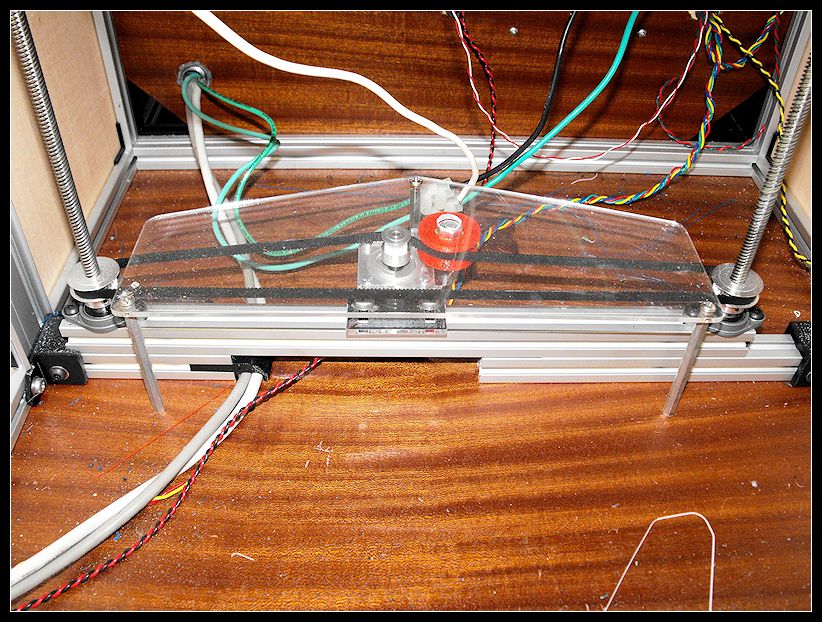
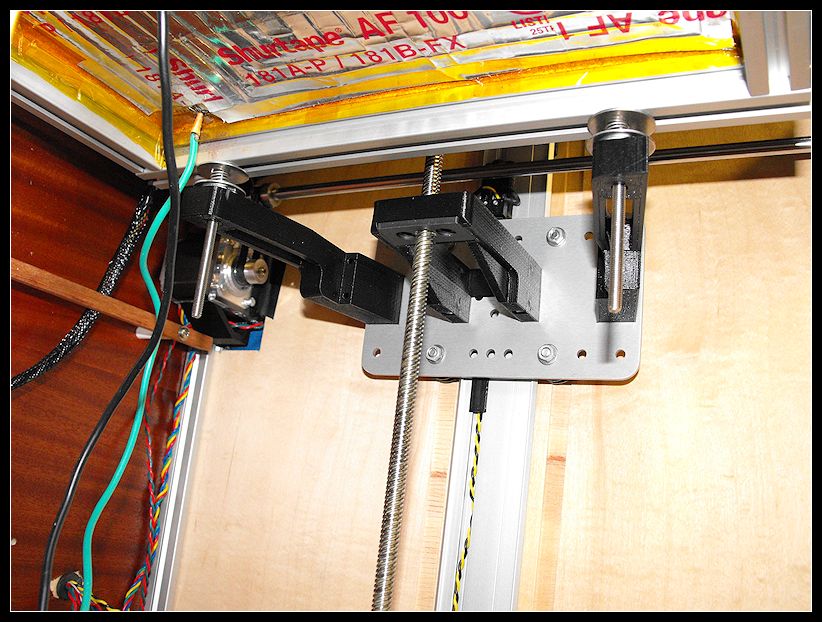
Z-Axis
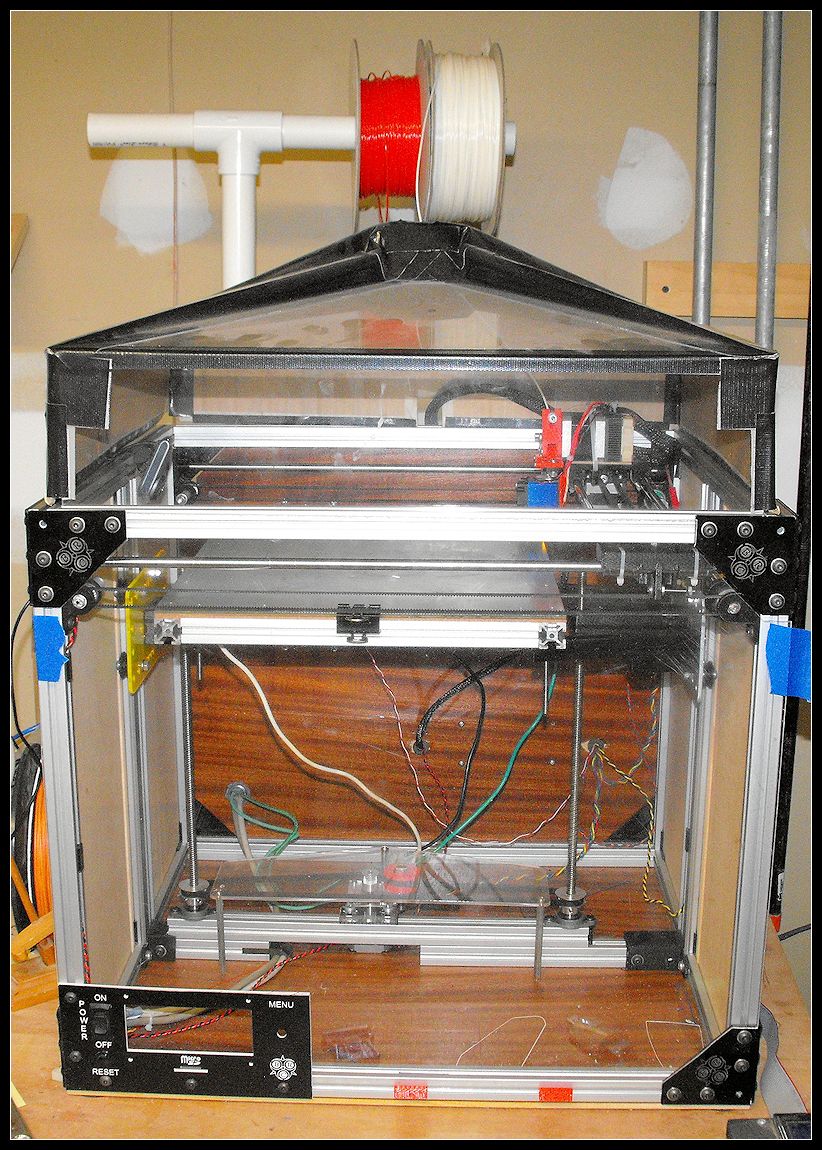
I ended up using some 8mm lead screws from OpenBuilds with a mean pitch that is almost too aggresive this vertical application. The table is easy to push down which means it is also harder to hold in place. For this reason I used 20:36 pulley gear ratio for added torque. The bigger pulley also helps the belt grip. It boils down to 4 full steps on the motor for a .288mm layer. This is not an ideal z-axis but the best I could muster from the mishmash I found around the net.
The verts are Inventables’ Makerslide. I started with rod and bearings but since the structure from alum extrusion it made sense to go all the way. And a 3d printed system to hold and level the print bed.
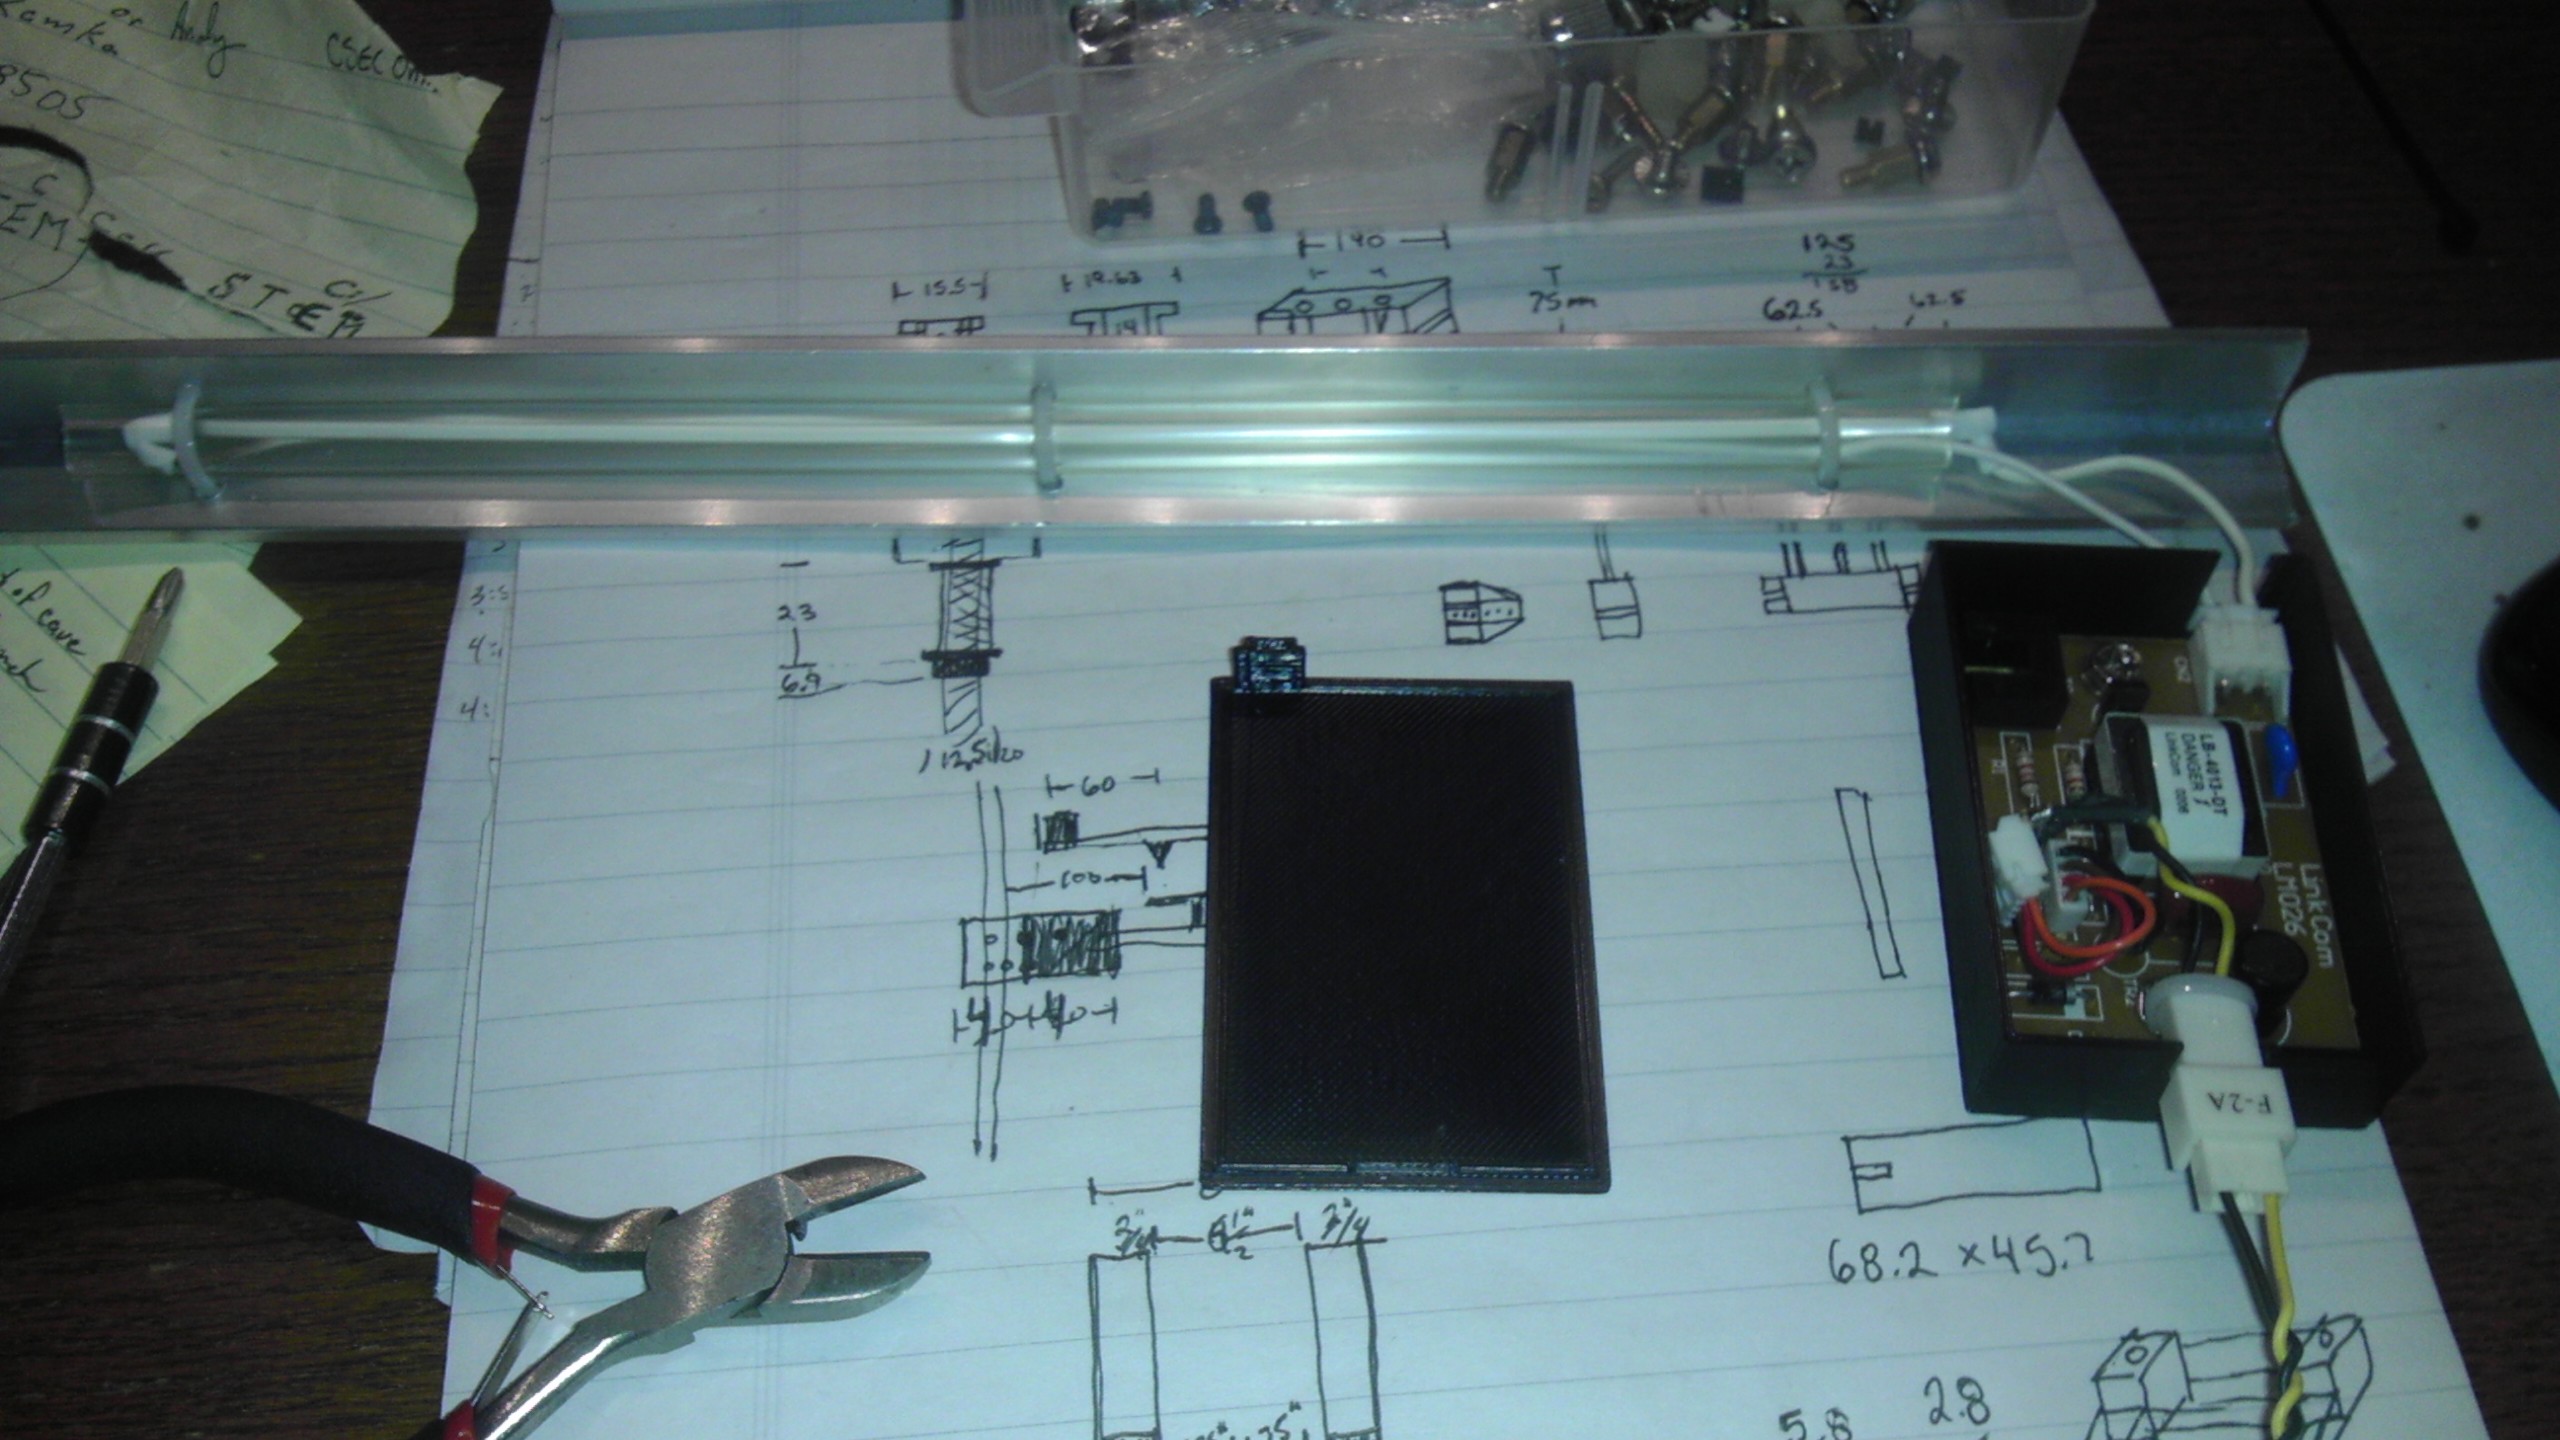
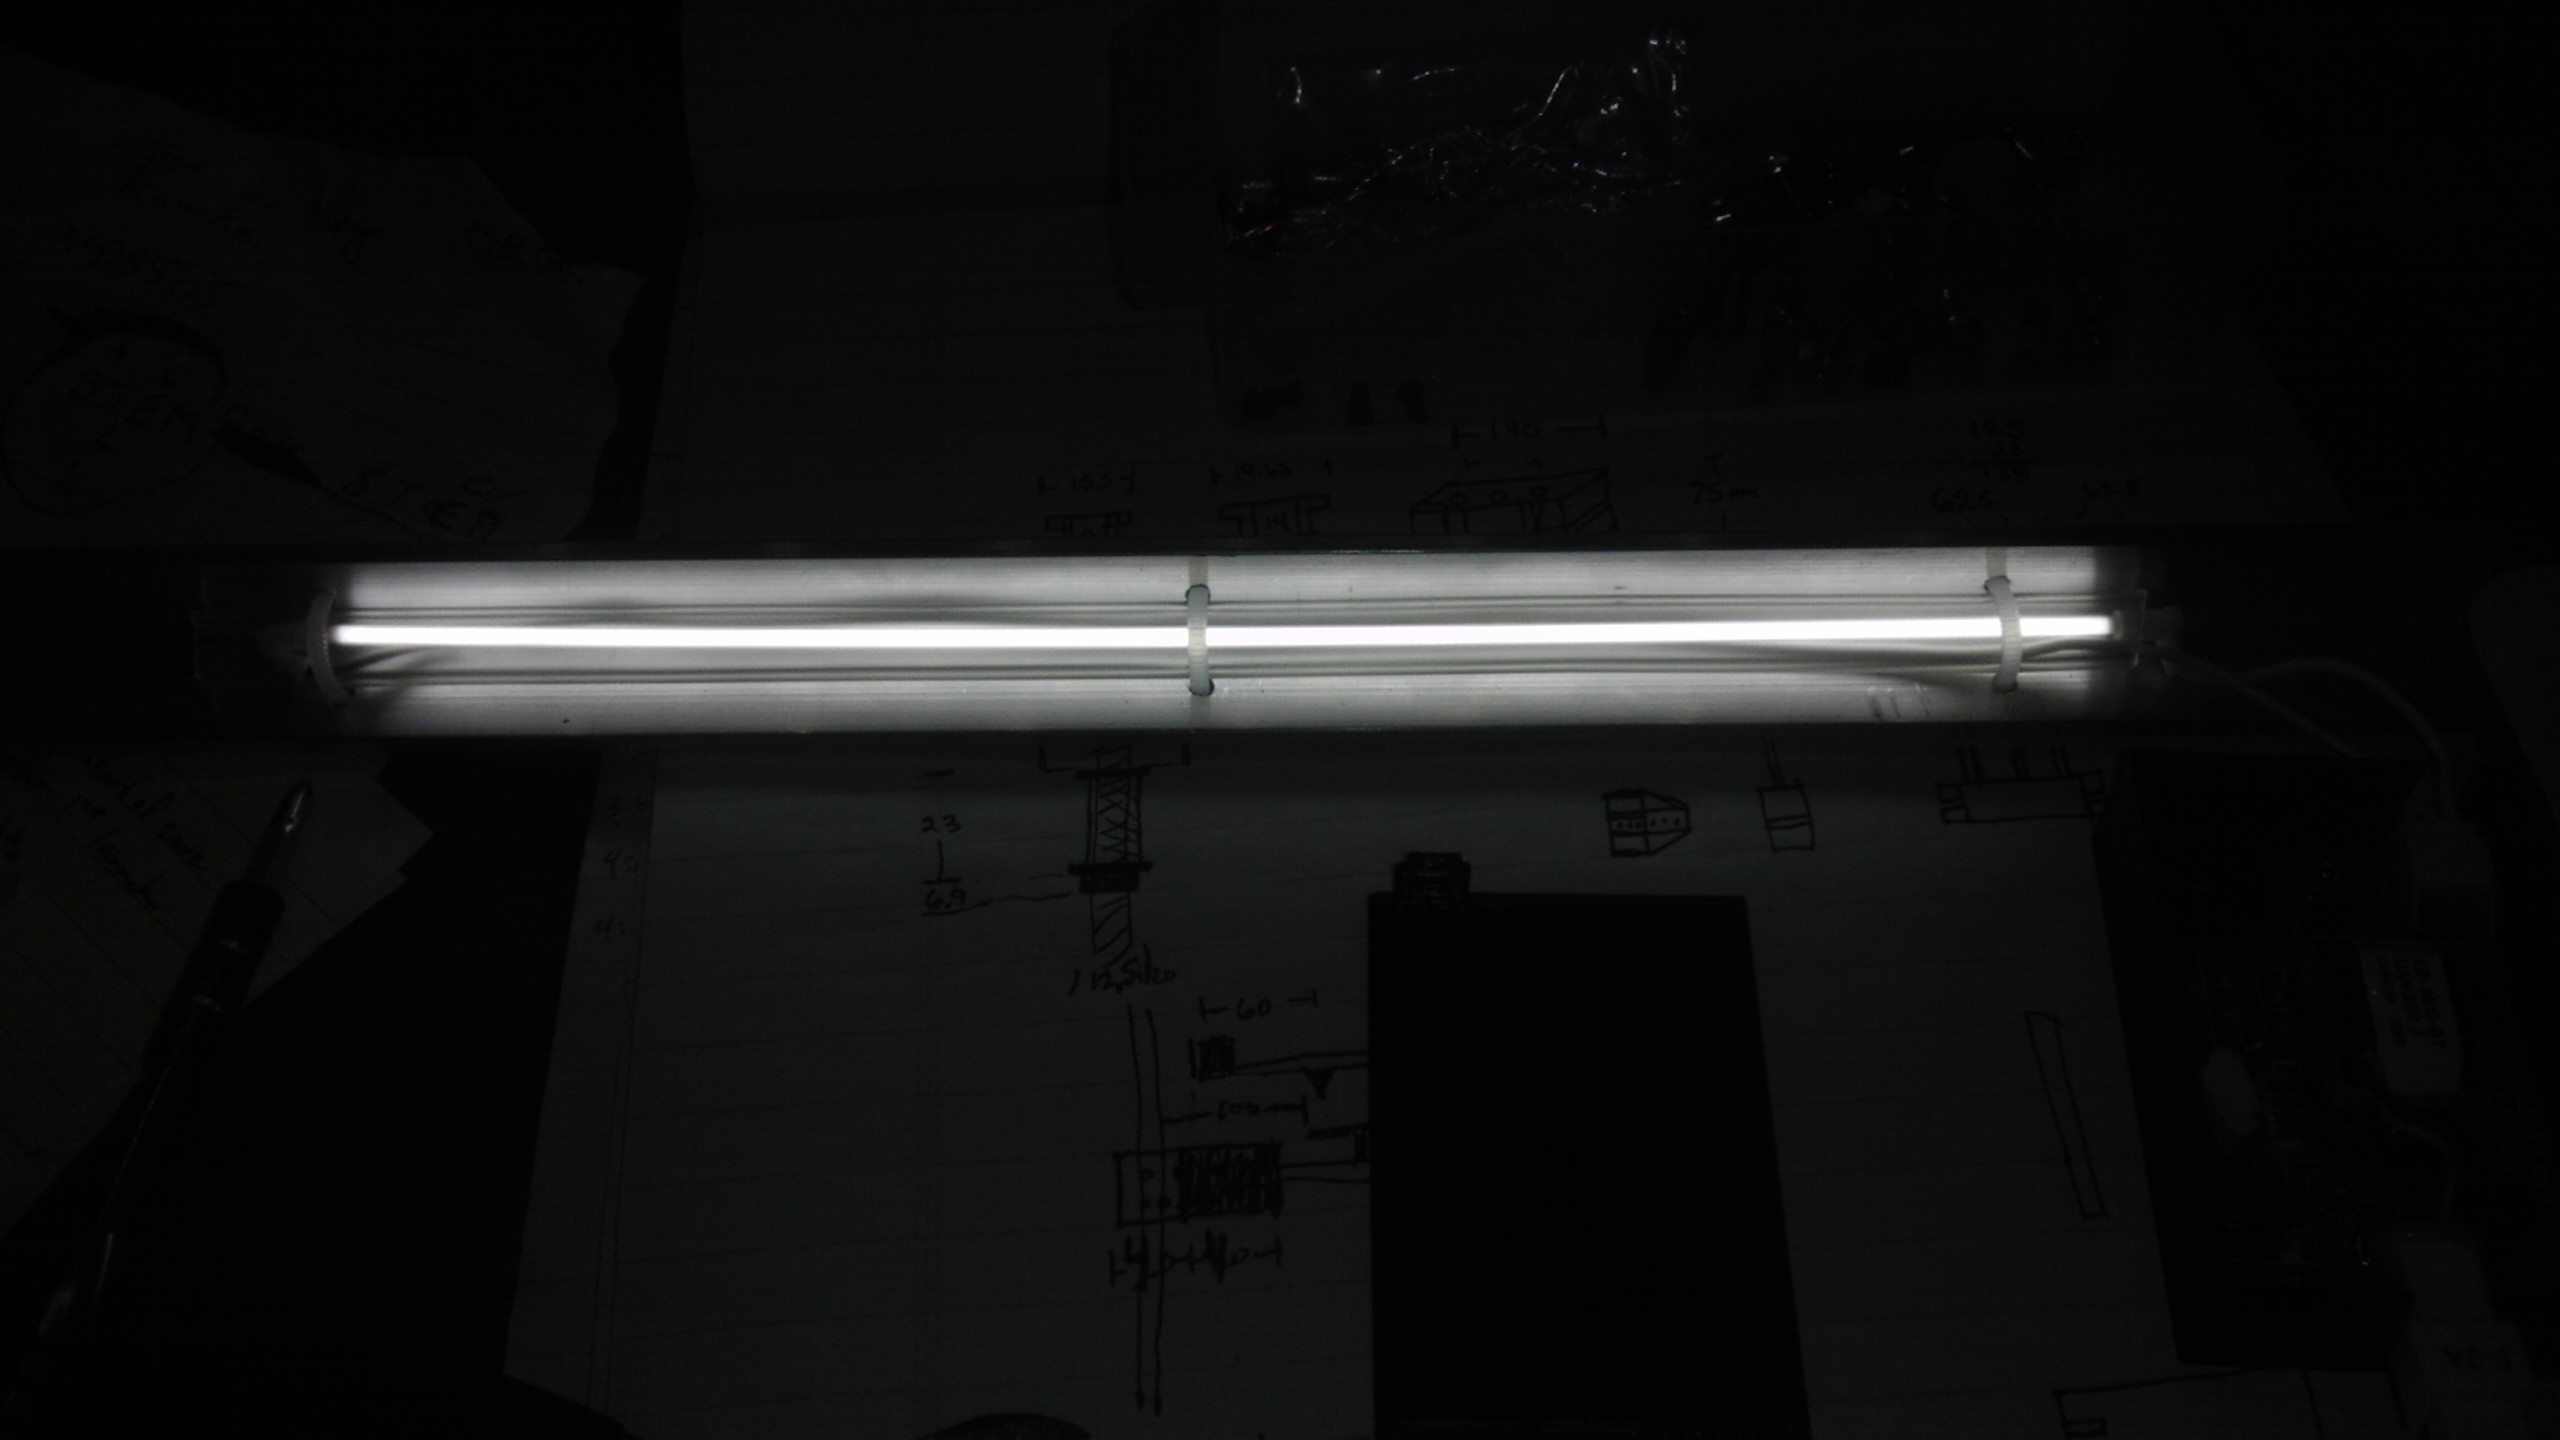
Light from Scanner
Update: Blew the lamp during installation, now using led strip.
Sure, LEDs are pretty cheap these days but this light was free. I put the lamp in 1/4 inch clear tubing for protection and mounted it with zip ties to some 1″ aluminum angle that I had on hand. The original board is housed in a custom printed enclosure and runs off 12v. It is a little dim and should probably run off 24v but I’ll give it a chance in the new machine.
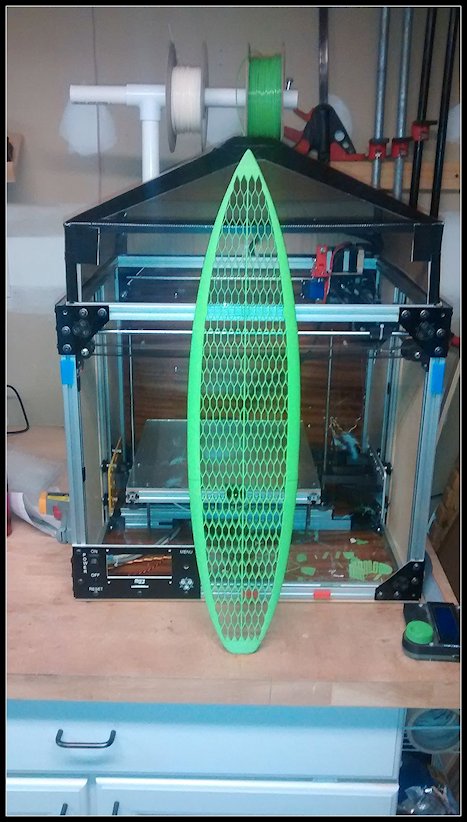
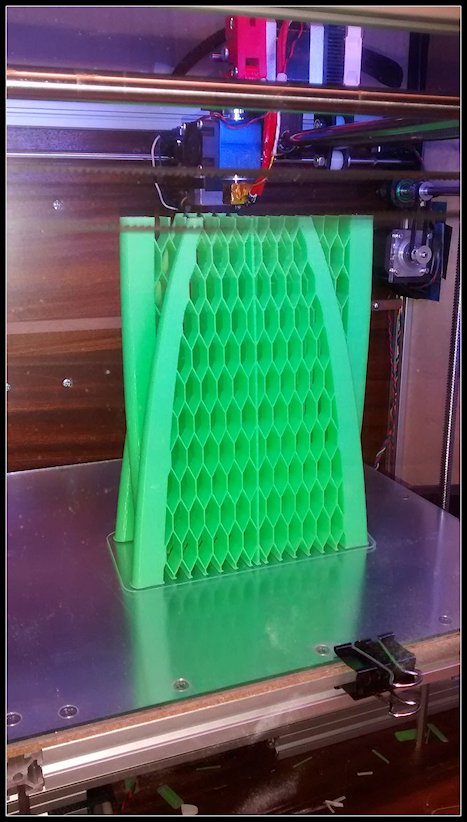
Pingback: 3D Printed Surfboard | 3D Printer Technology
Thanks for sharing!! I am also involved on OpenSource RepRap printers and I am looking for possible design and print a Stand Up Paddle board — thanks for sharing your project and all the details <3