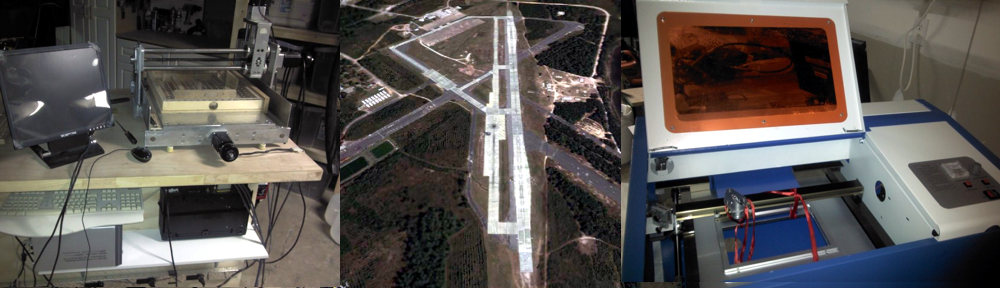
Since I’m creating something of my own design, I wanted to go big on the bed to make single prints from large objects instead of assembling from smaller parts. I had quadcopter and OpenRC builds specifically in mind. My Soilidoodle 2 is 6×6 and too small for many things I wanted to print. So this will be a 12×12 plate.
I looked around for some solutions for quick heating. Resistors looked too sketchy for something this big and the Solidoodle takes a long time to heat up with its single resistor. Etched PCBs don’t come this long and I didn’t want to design my own, the cost would be too high anyway. Silicone heat pads looked promising, in fact I have an 8×8 pad from QU-BD that I tested but it took over 10 minutes to heat just a piece of glass and barely attained 90c and had a large variation over the surface. I almost bought a hot plate used for pots and pans but determined that it would be too heavy for a mobile Z-Axis. That left Nichrome as the cheap and easy method.
When I started testing the Nichrome wire heating element I based it off Airtripper’s Blog which worked out to a .85 ohm target for the table @ 200 watts/13V. I bugger’d up the math and came up with the following design which gave me 1.4 ohms and 70 degrees celcius.

Starting layout
Not wanting to rerun the wire, I figured I would tap this in the center and see what happened. Thinking this would give me .7 ohms (17 Amps) I hooked it up and pleasantly observed a 120 degree celcius holding temperature which seems about right for keeping the bed at 90C. Oops. Was that smoke? I hooked up an Ammeter to figure out why my power supply was groaning. I was running more than 30 Amps (the max on my meter) and realized I had not halved the resistance but quartered it down to .35 ohms by tapping the center and running both halves in parallel. Time to take a step back and check the math.
Observation showed that I needed around 650mm of 24ga Nichrome to get about 120 degrees Celcius. Each length would pull approx. 3.6 Amps. So 10 lengths pulled 36 Amps, way more than I should handle. To keep my existing wire routing and maximize heat distribution, I cut four wires out of the circuit giving me 6 lengths @ 21.6 Amps. (I cut the wires represented by the four diagonal lines in the picture above.) This ended up working out pretty good, the max temp was around 120 C.
Also, the power wires were undersized so I found some 14ga wire that should handle the 22A. I should probably use 12ga. They are connected by tightly twisting about an inch of copper around the Nichrome for a mechanical connection then soldered thoroughly. The center tap was looped around each Nichrome wire and soldered.
![IMG_20140407_165825384[1]](http://hobbies.boguerat.com/wp-content/uploads/2014/04/IMG_20140407_1658253841-300x168.jpg)
I sat down and redesigned my Ni-chrome wire routing and found I didn’t have enough wire to re-string the heater so I left it. I’ll try the following design if I need to fix the bed later. The wire lengths are a little longer so the temperature would drop. I would have to test the max temp on this, it might not be enough. If not, I would just modify the original down to 3 wires center-tapped and spaced evenly.
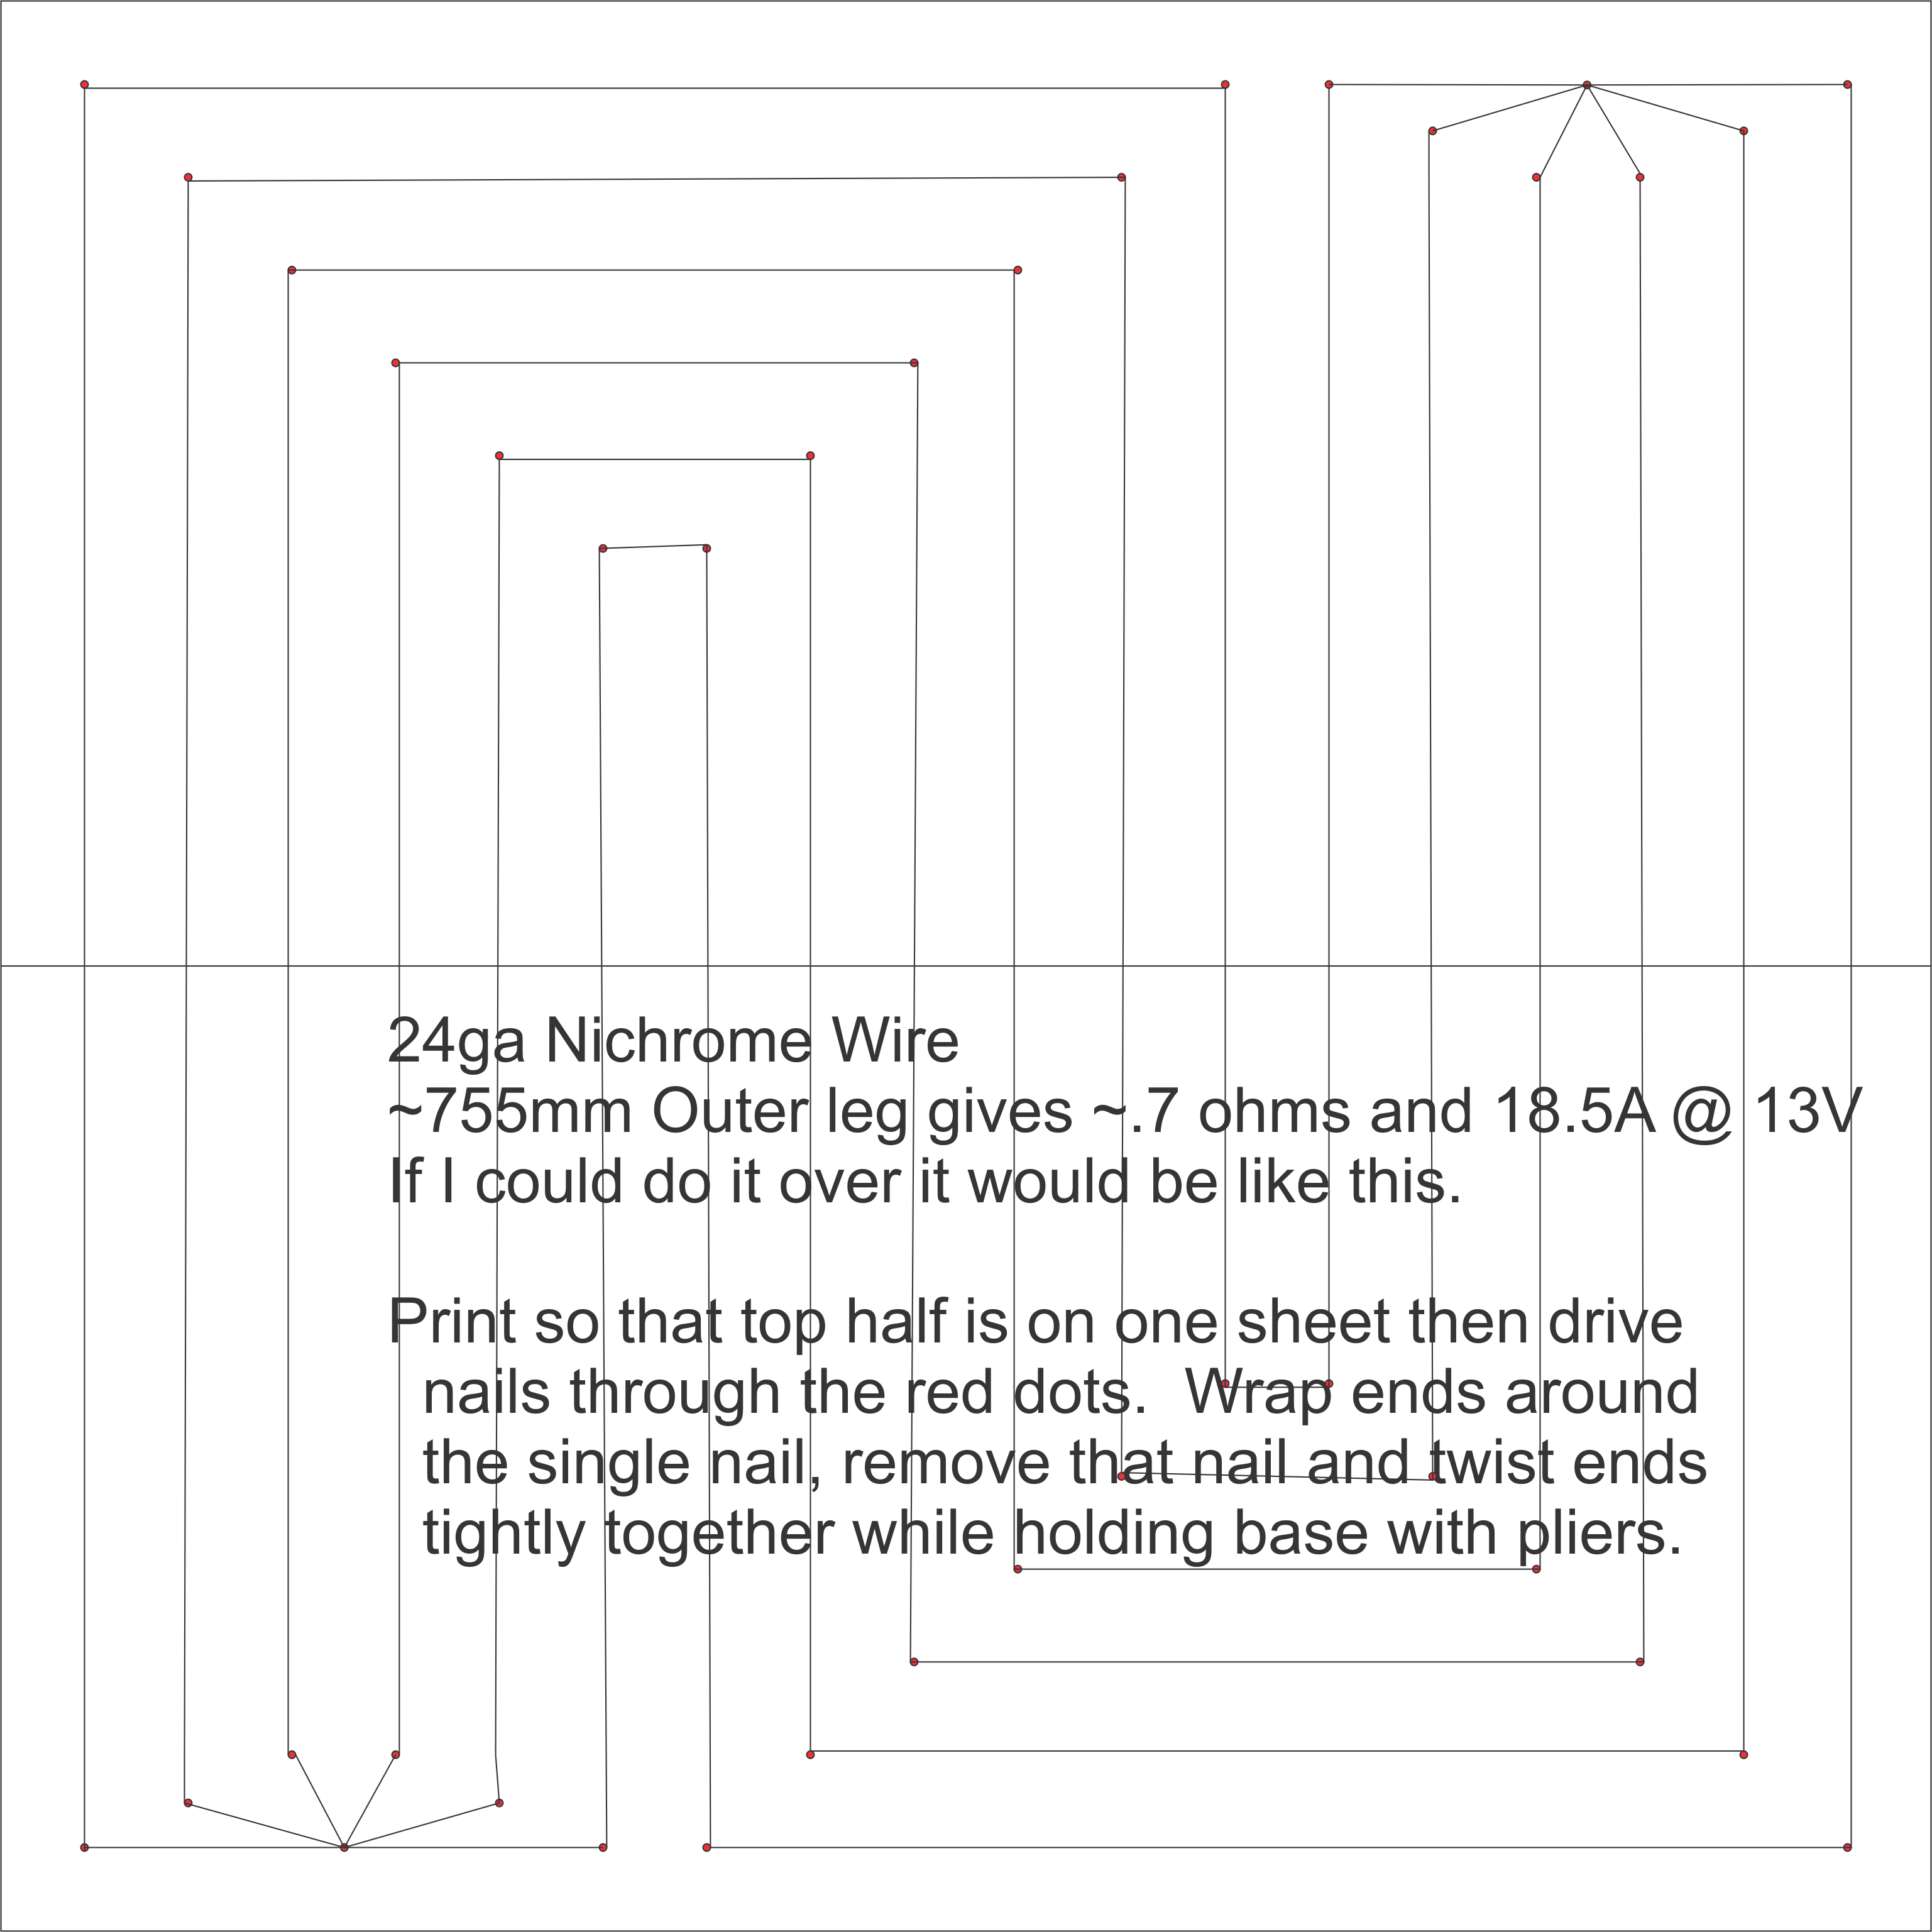
I have a 12v/30A S-350-12 power supply for this project. With 22A for the heated bed, that gives me another 8 Amps for the rest of the machine. This PSU can handle it.
For the physical bed, I went with a 12×12 sheet of eighth inch aluminum, cut at a local machine shop. It was not flat so I decided to trim the edge with aluminum extrusion to pull it into shape. I drilled countersunk holes along the perimeter and screwed the table together until I had a mostly flat surface. This will be covered with a glass sheet as the printing surface.
![IMG_20140330_151343378[1]](http://hobbies.boguerat.com/wp-content/uploads/2014/04/IMG_20140330_1513433781.jpg)
![IMG_20140413_113445097[1]](http://hobbies.boguerat.com/wp-content/uploads/2014/04/IMG_20140413_1134450971.jpg)
![IMG_20140413_120633481_HDR[1]](http://hobbies.boguerat.com/wp-content/uploads/2014/04/IMG_20140413_120633481_HDR1-300x168.jpg)
Kapton tape was applied in two layers to the underside of the Heated Bed. Then the wires were taped down to the underside of the bed with another two layers of kapton tape.
A couple heating tests gave me 20C to 90C in 8 minutes with less than 4C variance across a 8″ square glass plate. That is far better than I’ve been getting on my Solidoodle or Silicone Heat Pad.
Success, time to focus on the H-frame.