First Homebrew PCB

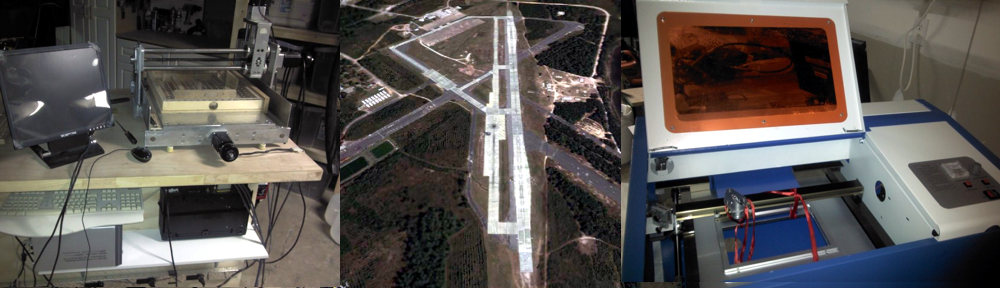
I finally etched my first board!  I bought my first 2 layer copper clad and some peel-n-stick traces more than 20 years ago.  They’ve been sitting in my projects box since then.  So it’s about time to try it out.  It was not without some problems but I’m real happy with the way it came out.  I used a laser to burn the design into copper clad covered in flat black paint.  And used a Hydrogen Peroxide(2 parts)/Muriatic Acid(1 part) solution for the etch. It took about 10 minutes with some gentle rubbing to finish the etch and about 2 days to learn Eagle CAD and design a board.

Now off to find those drill bits I bought last year…

IMG_20141023_220221913

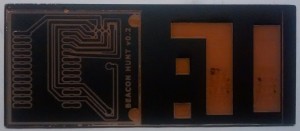
1st Attempt (above) was destroyed with a large guillotine paper cutter. You tube made it look so easy. The 2nd Attempt (below) turned out much better by scoring the copper on both sides and snapping it loose. Also changed the layout with thicker traces just to be sure.

IMG_20141023_220244152

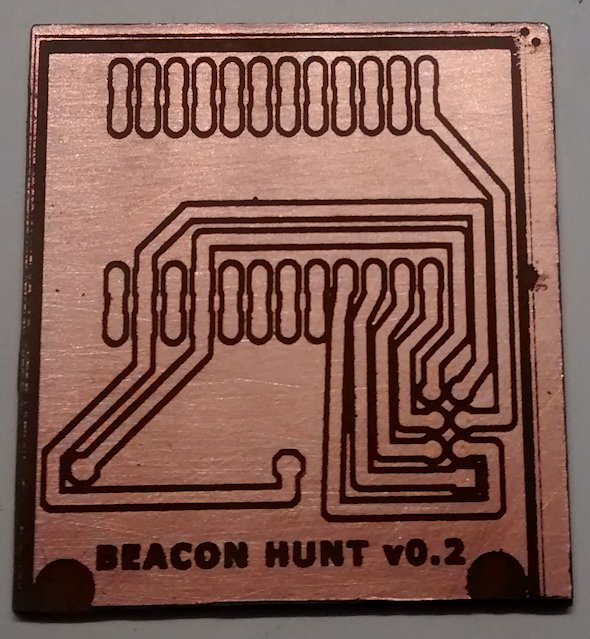
Half the second board was ruined when the razor slipped into the copper on one side. I could probably have masked it off and repainted since this was before the etch, but I wanted to get this thing rolling.

IMG_20141023_222425956

I noticed that areas where the paint was not entirely burned away still etched very well, the paint came off where the laser had heated it but not anywhere else.

IMG_20141023_223640519

2nd attempt is a success!


PCB Quality

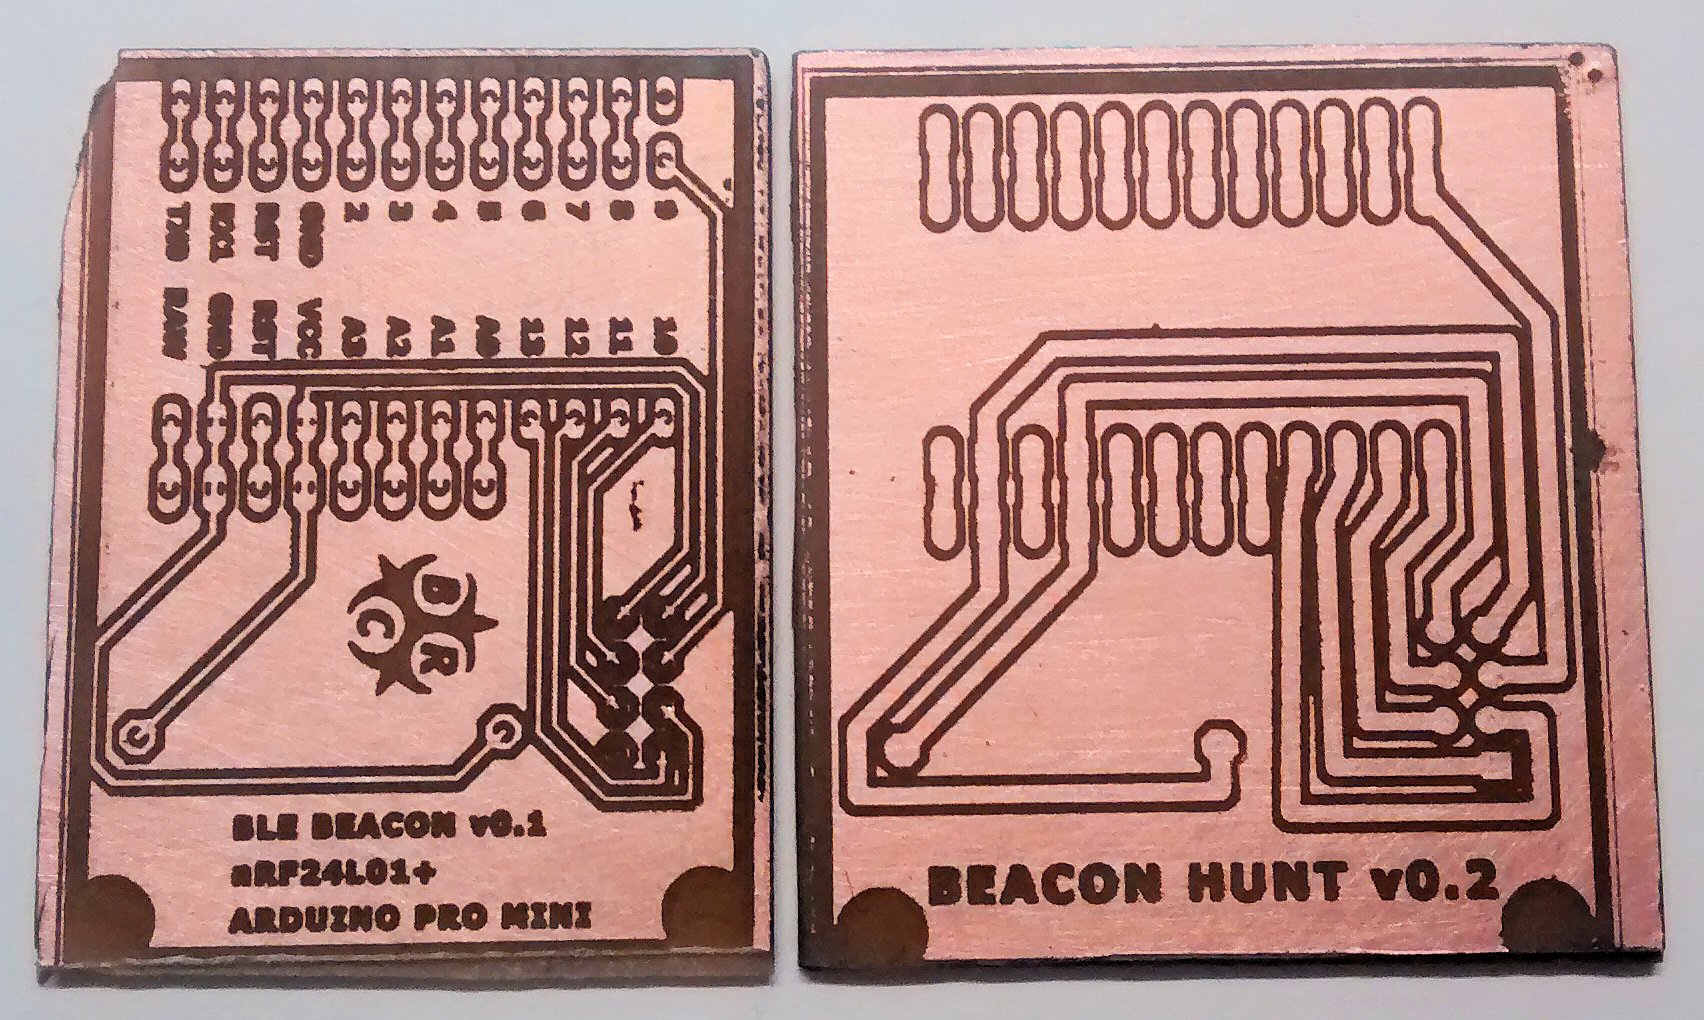
I went back and etched the board I thought was ruined. Turns out half was in decent shape and etched really well. Problem is there are no pads left on the right side due to using the wrong template.

ESP8266 WiFi Module Experimentation

ESP8266
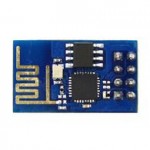
I received two WiFi modules today from ElectroDragon.com.  These are the newly found and very cheap boards discussed on HackaDay.io. I thought they might work better than the NRF24L01+ modules I’ve been testing for my IoT RaspiBadger side project.  Here’s my initial notes to get started:

I’m using the Arduino UNO with this module.  The 3.3v/Gnd/Rx/Tx pins of the WiFi Module are directly attached to the same pins on the UNO.  I believe I have the Revision 1 (using cmd AT+GMR gives 01000800), the Rev 2 has additional IO pins as well as a reset and ?Enable? pin.  Rev 2 will likely not work the way I will describe below for the Rev 1.  I tried connecting the WiFi to a pair of AAA batteries at 2.95V and I didn’t get consistent results.  I’ll have to explore this further as my end goal is to run this off batteries.

Continue reading

Posted in MCU

IoT Project

Notes to self on setting up an IoT network using Raspberry Pi as Web and Node servers and Arduino/nRF24L01 modules as clients in a large mesh-type network:

I picked up a couple Nordic nRF24 modules and want to see how they might be used in an IoT capacity.  Initial tests with the RF24, NRF24, and RH-NRF libraries went well with modules communicating and LED’s lighting up.  That’s all good for the local net but now I need to get the Internet aspect working and that is where all the real work is to be done.

I set up my Raspberry Pi using the project instructions located here. In order to install NodeJS, I had to use the Adafruit instructions located here.  So far, so good.  This allowed me to control my Arduino via a web page on the local network.  Technically this is good enough for a private network controlling a single nRF24 board.  But I’d like to have some remote control/feedback over the internet so I can check on the system from afar and interact with multiple devices.

The Instructable located here looks to be a good starting point for incorporating a database to store collected data.  But looks to still be on the local network.