Well, I should have known better than to take this out on an epic, head-high day. I was taking on a little water but not enough to worry about. The board was light and responsive but the surf wasn’t cooperating. After about the 5th ride I could feel the lamination separating. Before I could take that one last ride into the beach, I snapped her spirit and she broke my heart. But what great time I had until that moment! Not sure it was worth all the effort now but secretly I’m planning the next one…
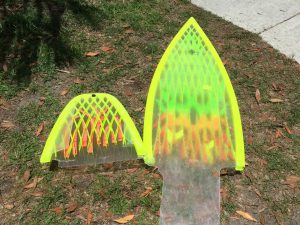
This is my second full-size, rideable, 3d printed surfboard. Design goals: Artistic, Drainable, Functional.
The first lamination did not go as expected so now I’m trying to figure out a good way to get more fiberglass on the board. The first lamination had small holes that I thought would create problems if I tried to use a more traditional method of lamination, with a squeegee for example. I opted to go with Sheldrake’s paintbrush method again but using a UV Cure resin that will let me take my time to get everything right before setting off the cure.
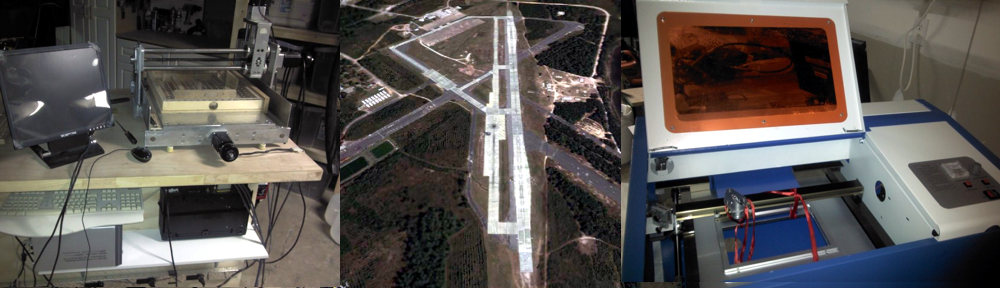
The process I used is illustrated in the video. All told I’m pretty happy with the results. I think I could have done this whole lamination and fins in one day with full-sun.
Notes:
UV Resin is freaking awesome, I didn’t have to rush and it looks fantastic. Only problem was having to wait for a good sunny day with low wind. (and time off from work)
On the last board, overworking the brush aerated the resin and caused a milky finish. This time I tried not to wipe the brush on the edge of the cup or go over the same area too often and the finish was far better.
If I pressed too hard on the brush, some epoxy would squeeze through the first lamination and pool just under the surface which was disheartening. I had to be conscious of how I held the brush the entire time, one slip and there was no coming back. Luckily I only have a few ‘bad’ spots this time around.
After curing the fiberglass lamination until it was firm, I applied a sanding coat with a squeegee and cured that layer before trimming off the excess. This resulted in a thicker lap line but also saved me from having to re-tape the board. Technically I don’t need to apply another coat after doing this but I can still feel some texture from the fiberglass. I’m thinking it may leak a bit…
For the second side, I sanded down the previous lap line and put the new lap line as far as I could up the rail without being on the bottom to get the most overlap.
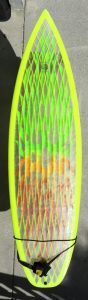
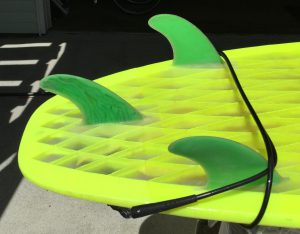
Ultimately, the finish is wavy as heck and there is no way to sand it with a electric sander without creating more problems. Since I don’t expect great performance from this board I’m just going to go with the flow. It looks great as it is and I put a vent in the bottom and holes throughout the design to drain any water that may leak in. Just need to slap on some fins and add the leash retention pad.