Well, I should have known better than to take this out on an epic, head-high day. I was taking on a little water but not enough to worry about. The board was light and responsive but the surf wasn’t cooperating. After about the 5th ride I could feel the lamination separating. Before I could take that one last ride into the beach, I snapped her spirit and she broke my heart. But what great time I had until that moment! Not sure it was worth all the effort now but secretly I’m planning the next one…
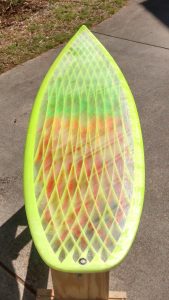
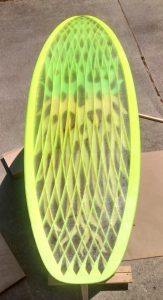
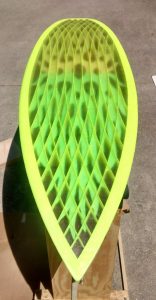
This is my second full-size, rideable, 3d printed surfboard. Design goals: Artistic, Drainable, Functional.
The first lamination did not go as expected so now I’m trying to figure out a good way to get more fiberglass on the board. The first lamination had small holes that I thought would create problems if I tried to use a more traditional method of lamination, with a squeegee for example. I opted to go with Sheldrake’s paintbrush method again but using a UV Cure resin that will let me take my time to get everything right before setting off the cure.
The process I used is illustrated in the video. All told I’m pretty happy with the results. I think I could have done this whole lamination and fins in one day with full-sun.
Notes:
UV Resin is freaking awesome, I didn’t have to rush and it looks fantastic. Only problem was having to wait for a good sunny day with low wind. (and time off from work)
On the last board, overworking the brush aerated the resin and caused a milky finish. This time I tried not to wipe the brush on the edge of the cup or go over the same area too often and the finish was far better.
If I pressed too hard on the brush, some epoxy would squeeze through the first lamination and pool just under the surface which was disheartening. I had to be conscious of how I held the brush the entire time, one slip and there was no coming back. Luckily I only have a few ‘bad’ spots this time around.
After curing the fiberglass lamination until it was firm, I applied a sanding coat with a squeegee and cured that layer before trimming off the excess. This resulted in a thicker lap line but also saved me from having to re-tape the board. Technically I don’t need to apply another coat after doing this but I can still feel some texture from the fiberglass. I’m thinking it may leak a bit…
For the second side, I sanded down the previous lap line and put the new lap line as far as I could up the rail without being on the bottom to get the most overlap.
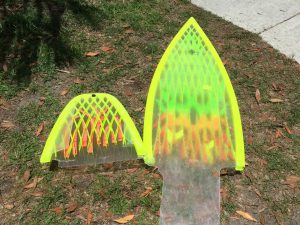
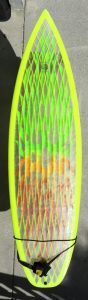
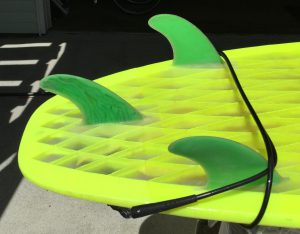
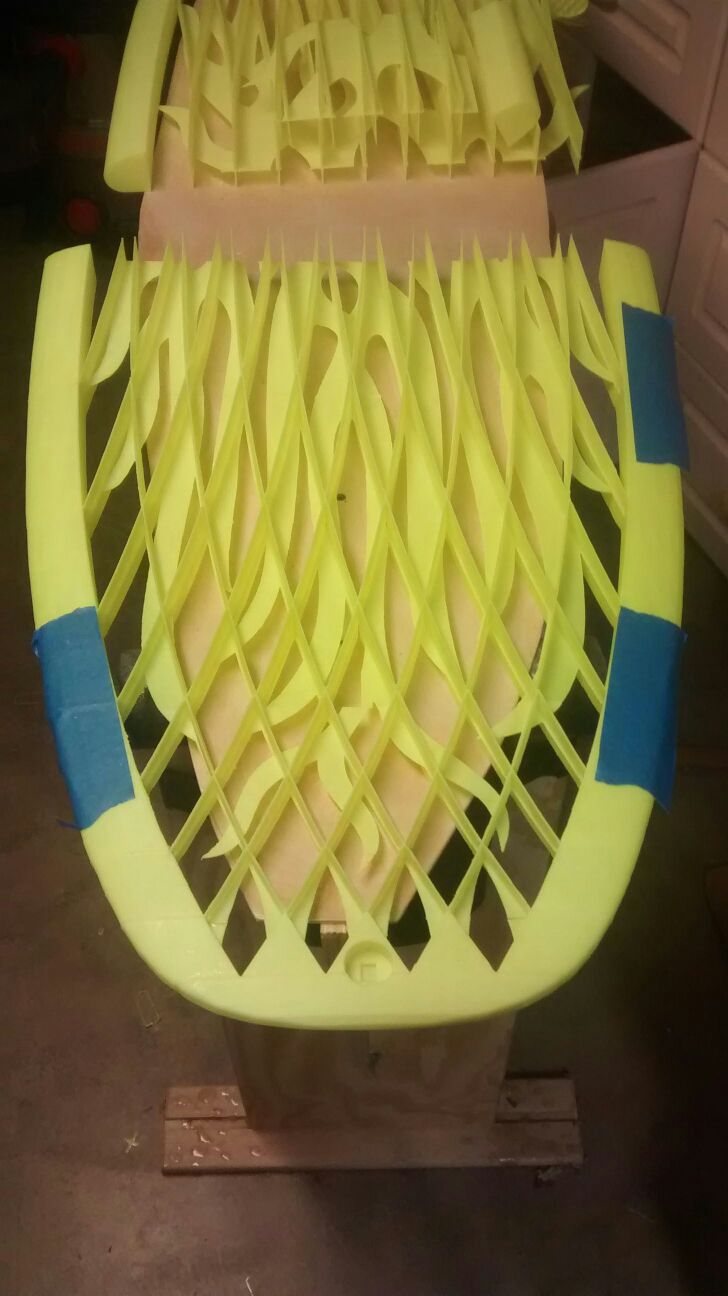
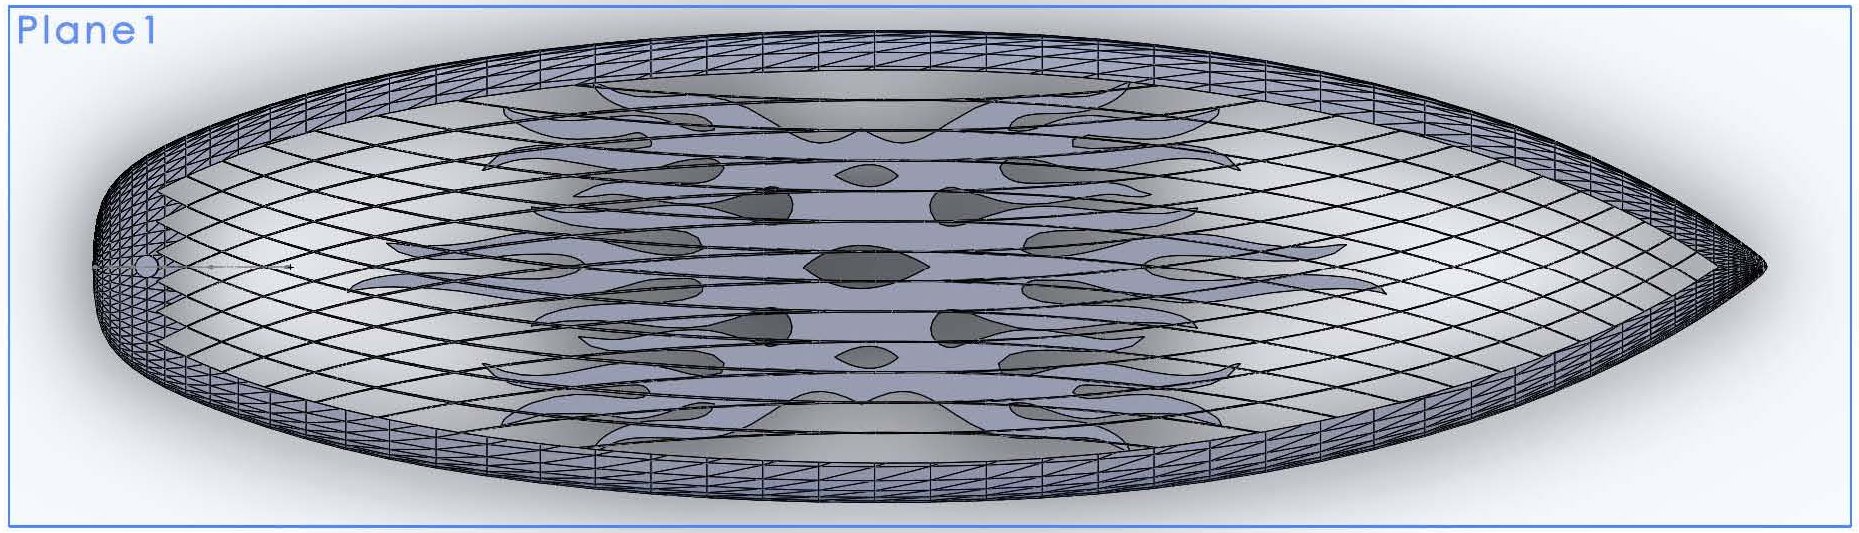
Ultimately, the finish is wavy as heck and there is no way to sand it with a electric sander without creating more problems. Since I don’t expect great performance from this board I’m just going to go with the flow. It looks great as it is and I put a vent in the bottom and holes throughout the design to drain any water that may leak in. Just need to slap on some fins and add the leash retention pad.
I thought I’d try a different method of glassing the board based on the difficulty and dissatisfaction of ‘painting’ the resin on the last board. This time I bought some cheap wallboard with the slick coating on one side. I thought I could lay down some plastic, then fiberglass, wet it out, and then drape the glass on the board. The small scale test came out pretty rough with some blemishes from the plastic. A little sanding and a gloss coat might have produced a reasonable finish.
Now, I would have video of glassing the full board except that my daughter decided that the GoPro on a tripod in the garage pointing at a surfboard staging area must have meant I wasn’t using it for anything, so she took it. I was at the store picking up some thicker plastic that I thought might lessen the defects in the finish. When I got back, the camera was gone and after tearing the garage apart for an hour looking for where it fell or where I must have put it, I gave up and turned back to glassing the board. Later she came by to ask where the charger was…the gall 🙂
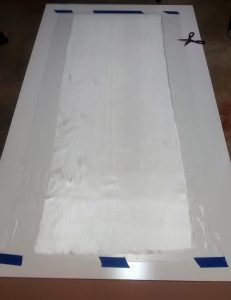
So with the new plastic on hand I put it down with a couple layers of fiberglass on top (see pic). Then proceeded to wet it out. The larger scale did not work nearly as well, the resin was pooling beneath the glass and when I tried to squeegee it out, the glass folded over and so I did the best I could without overworking it. I draped the full sheets over the board and commenced tugging and smoothing, the excess resin began to pool and drip. It wasn’t long before I had to give up on the whole thing, rip it off and figure out what to do next.
The next attempt was to just forego the plastic and wet out the glass directly on the board, one sheet at a time. I managed to get the first side laminated, cured in the sun, and trimmed so I could do the top in the same day. Same process for the top, although you can see the squeegee lines from where I worked it too long.
For the second layer of glass, I’ll use more traditional methods. Hopefully I can keep track of my camera this time…
A friend asked if I could do this. Yep. Done. Can you see the difference except the age? Didn’t think so. Also gave me a chance to dig out the CNC router and give it a function check.
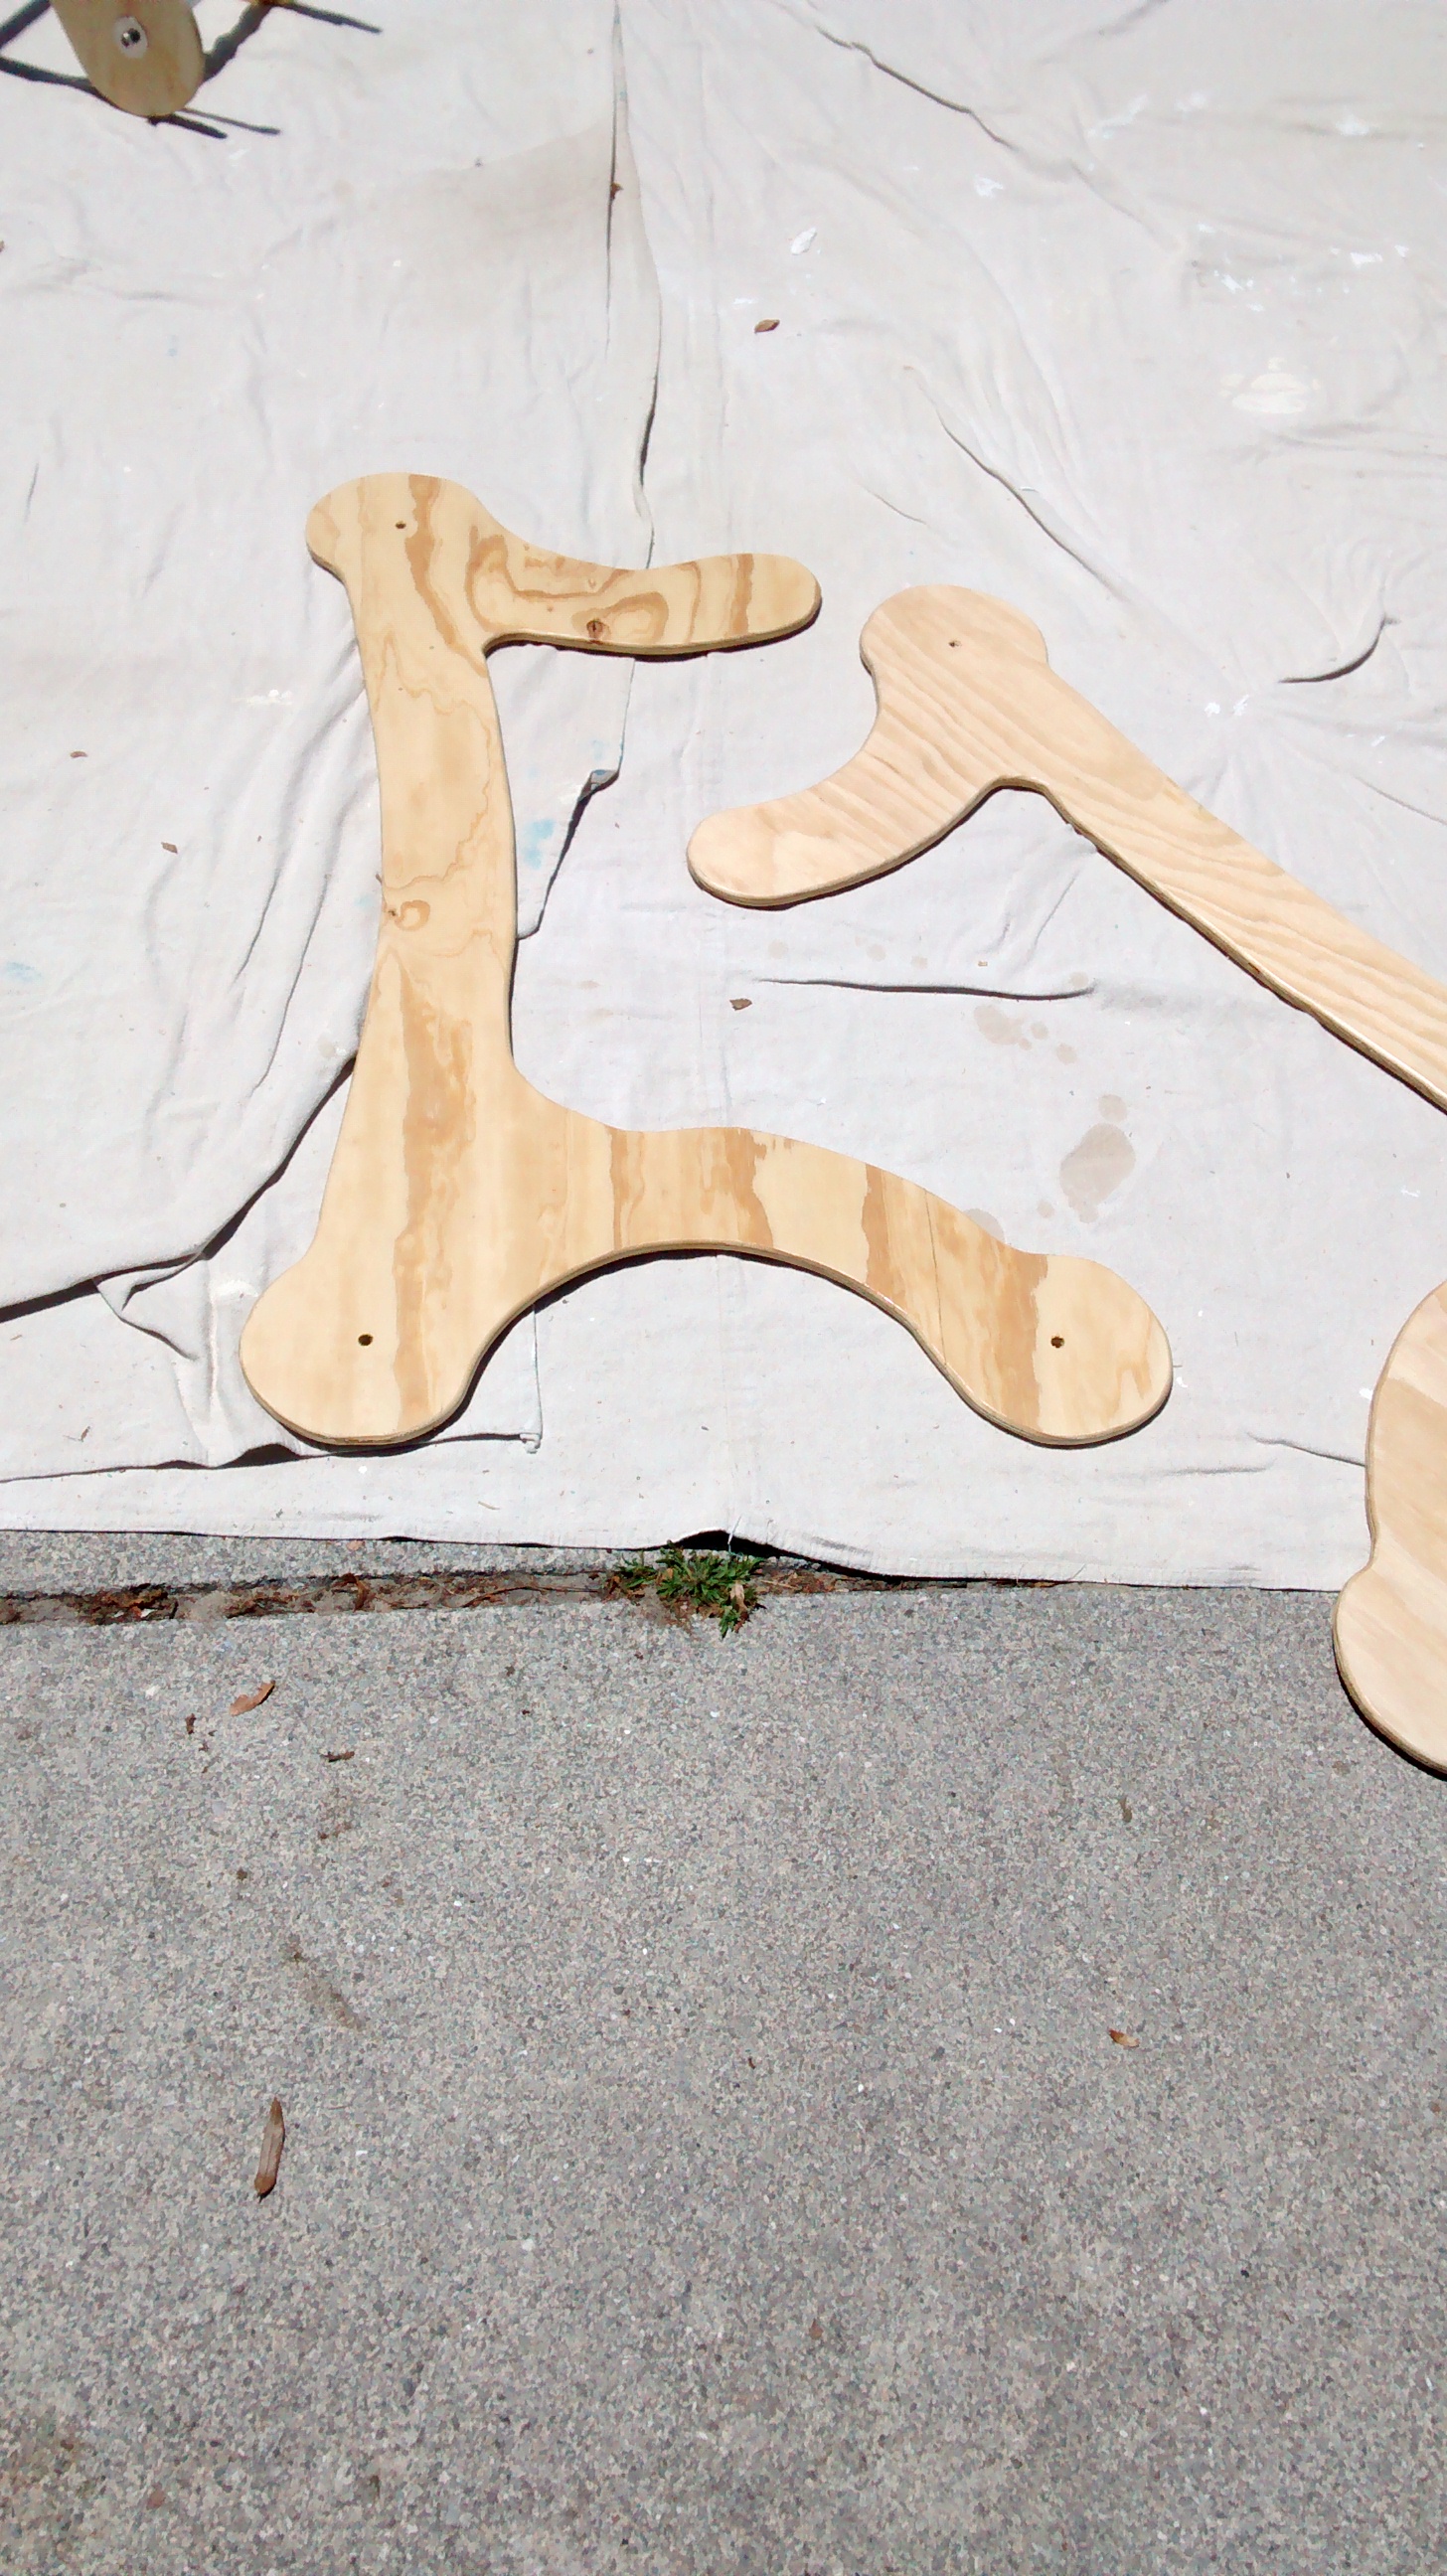
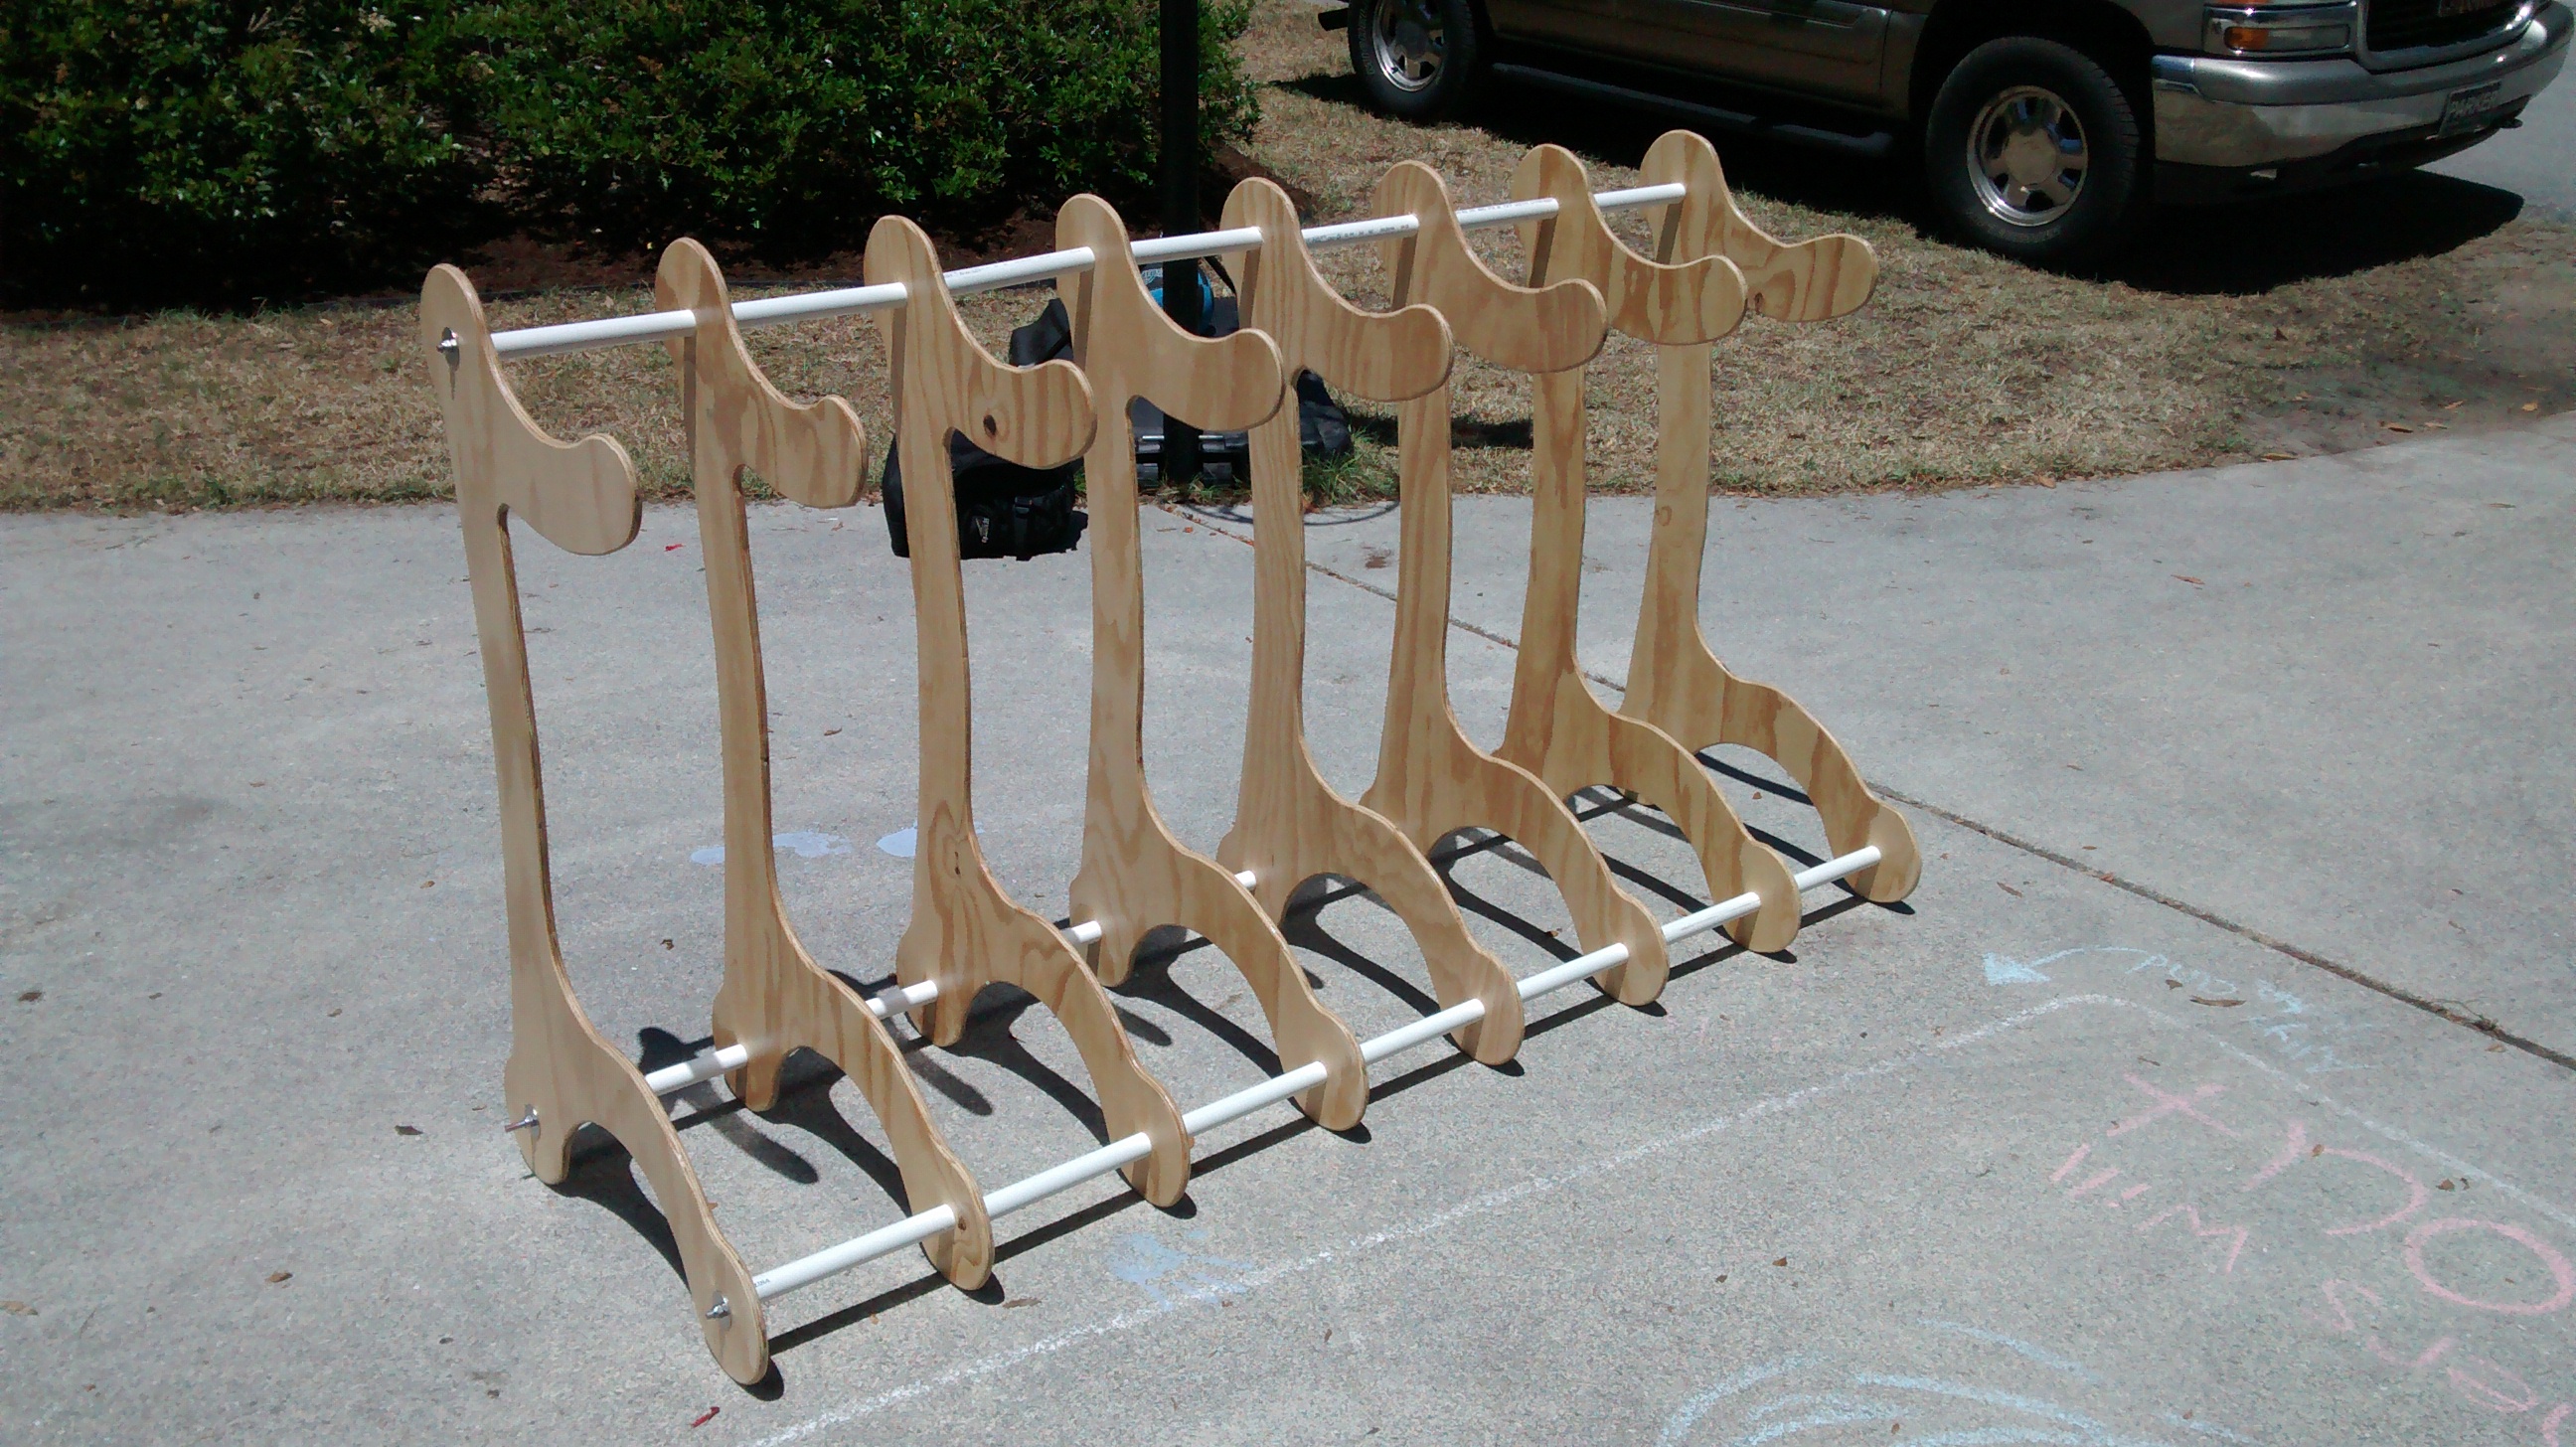
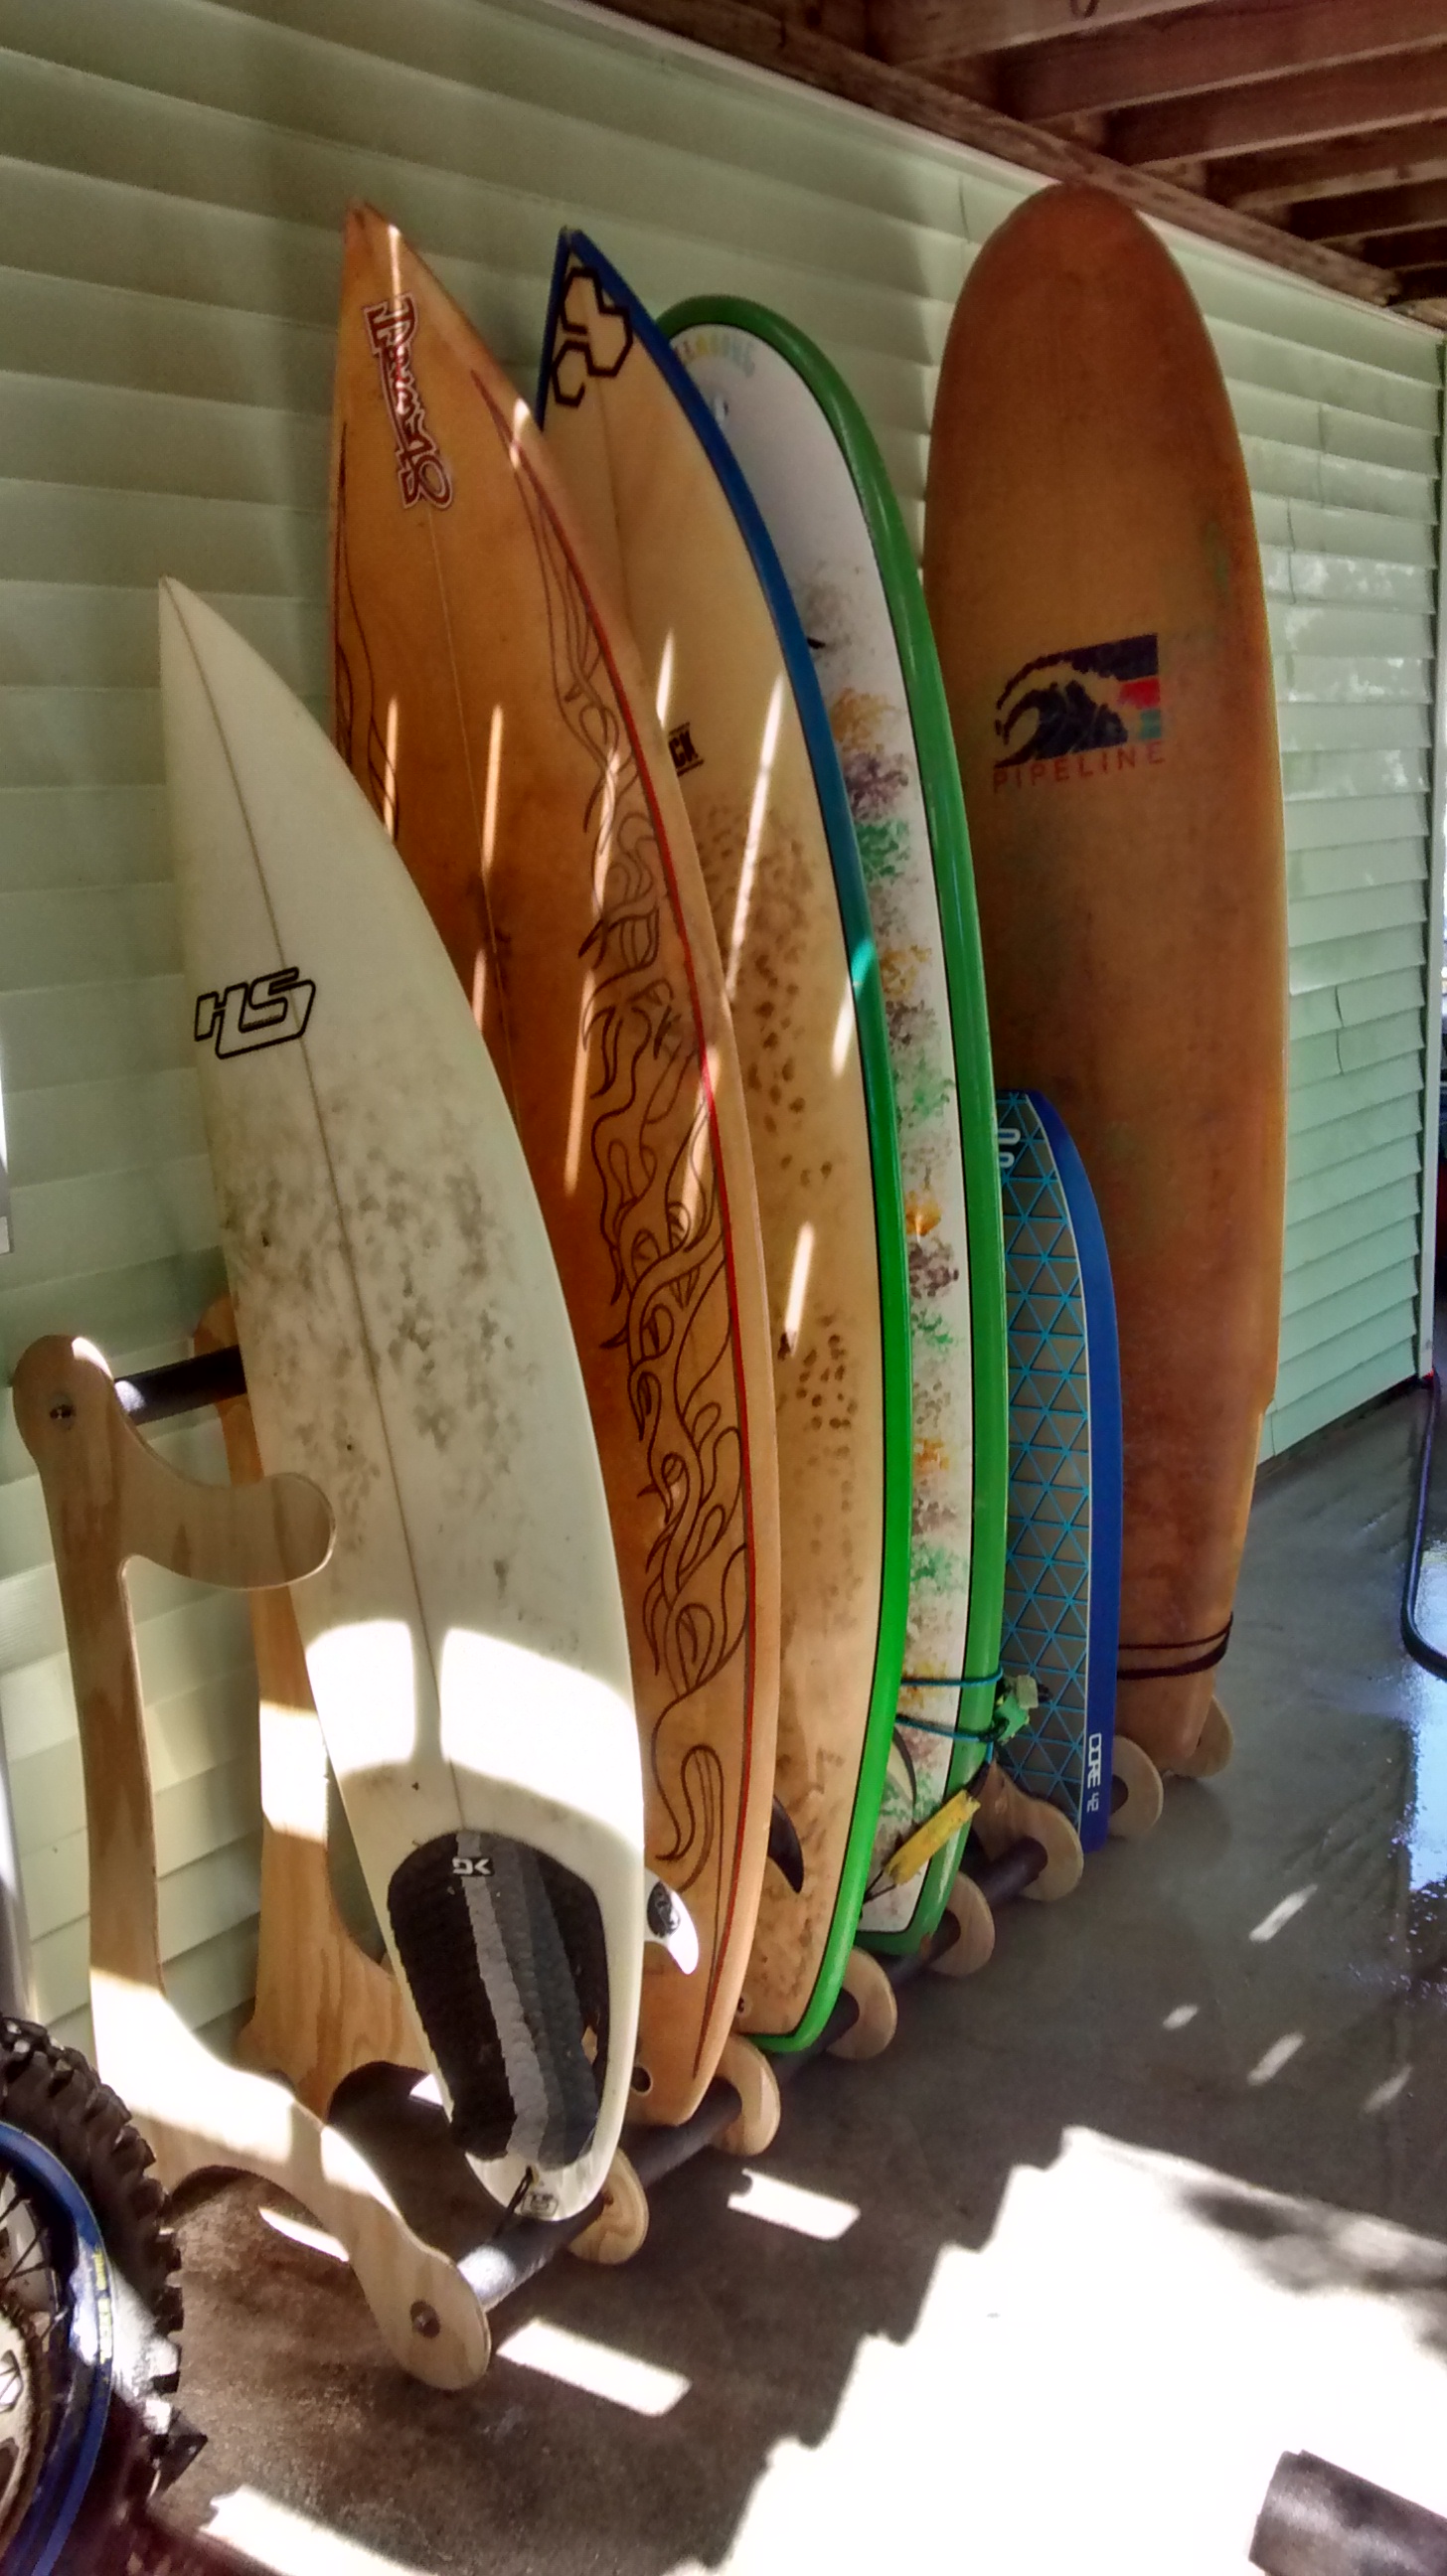
I laid out a pattern on a sheet of 1/2″ plywood so that I could cut out eight supports. It ended up a little short and flimsy but it is just enough to keep the boards organized and up off the ground.
I picked up some 6′ threaded rod and cut sections of PVC as separators. Threaded everything together and covered the PVC with some pipe insulation. Awesome weekend project and room for one more board that’s under construction! Woo Hoo!
Working on a new board. Design completed. Printing has begun. WooHoo! I am planning to glass this by wetting out the glass on a table then transferring to the board. I’ll be using a Sun Cure/ Solarez resin this time around so that I can work slowly and hopefully get a better finish. Stay tuned for updates and another project log.
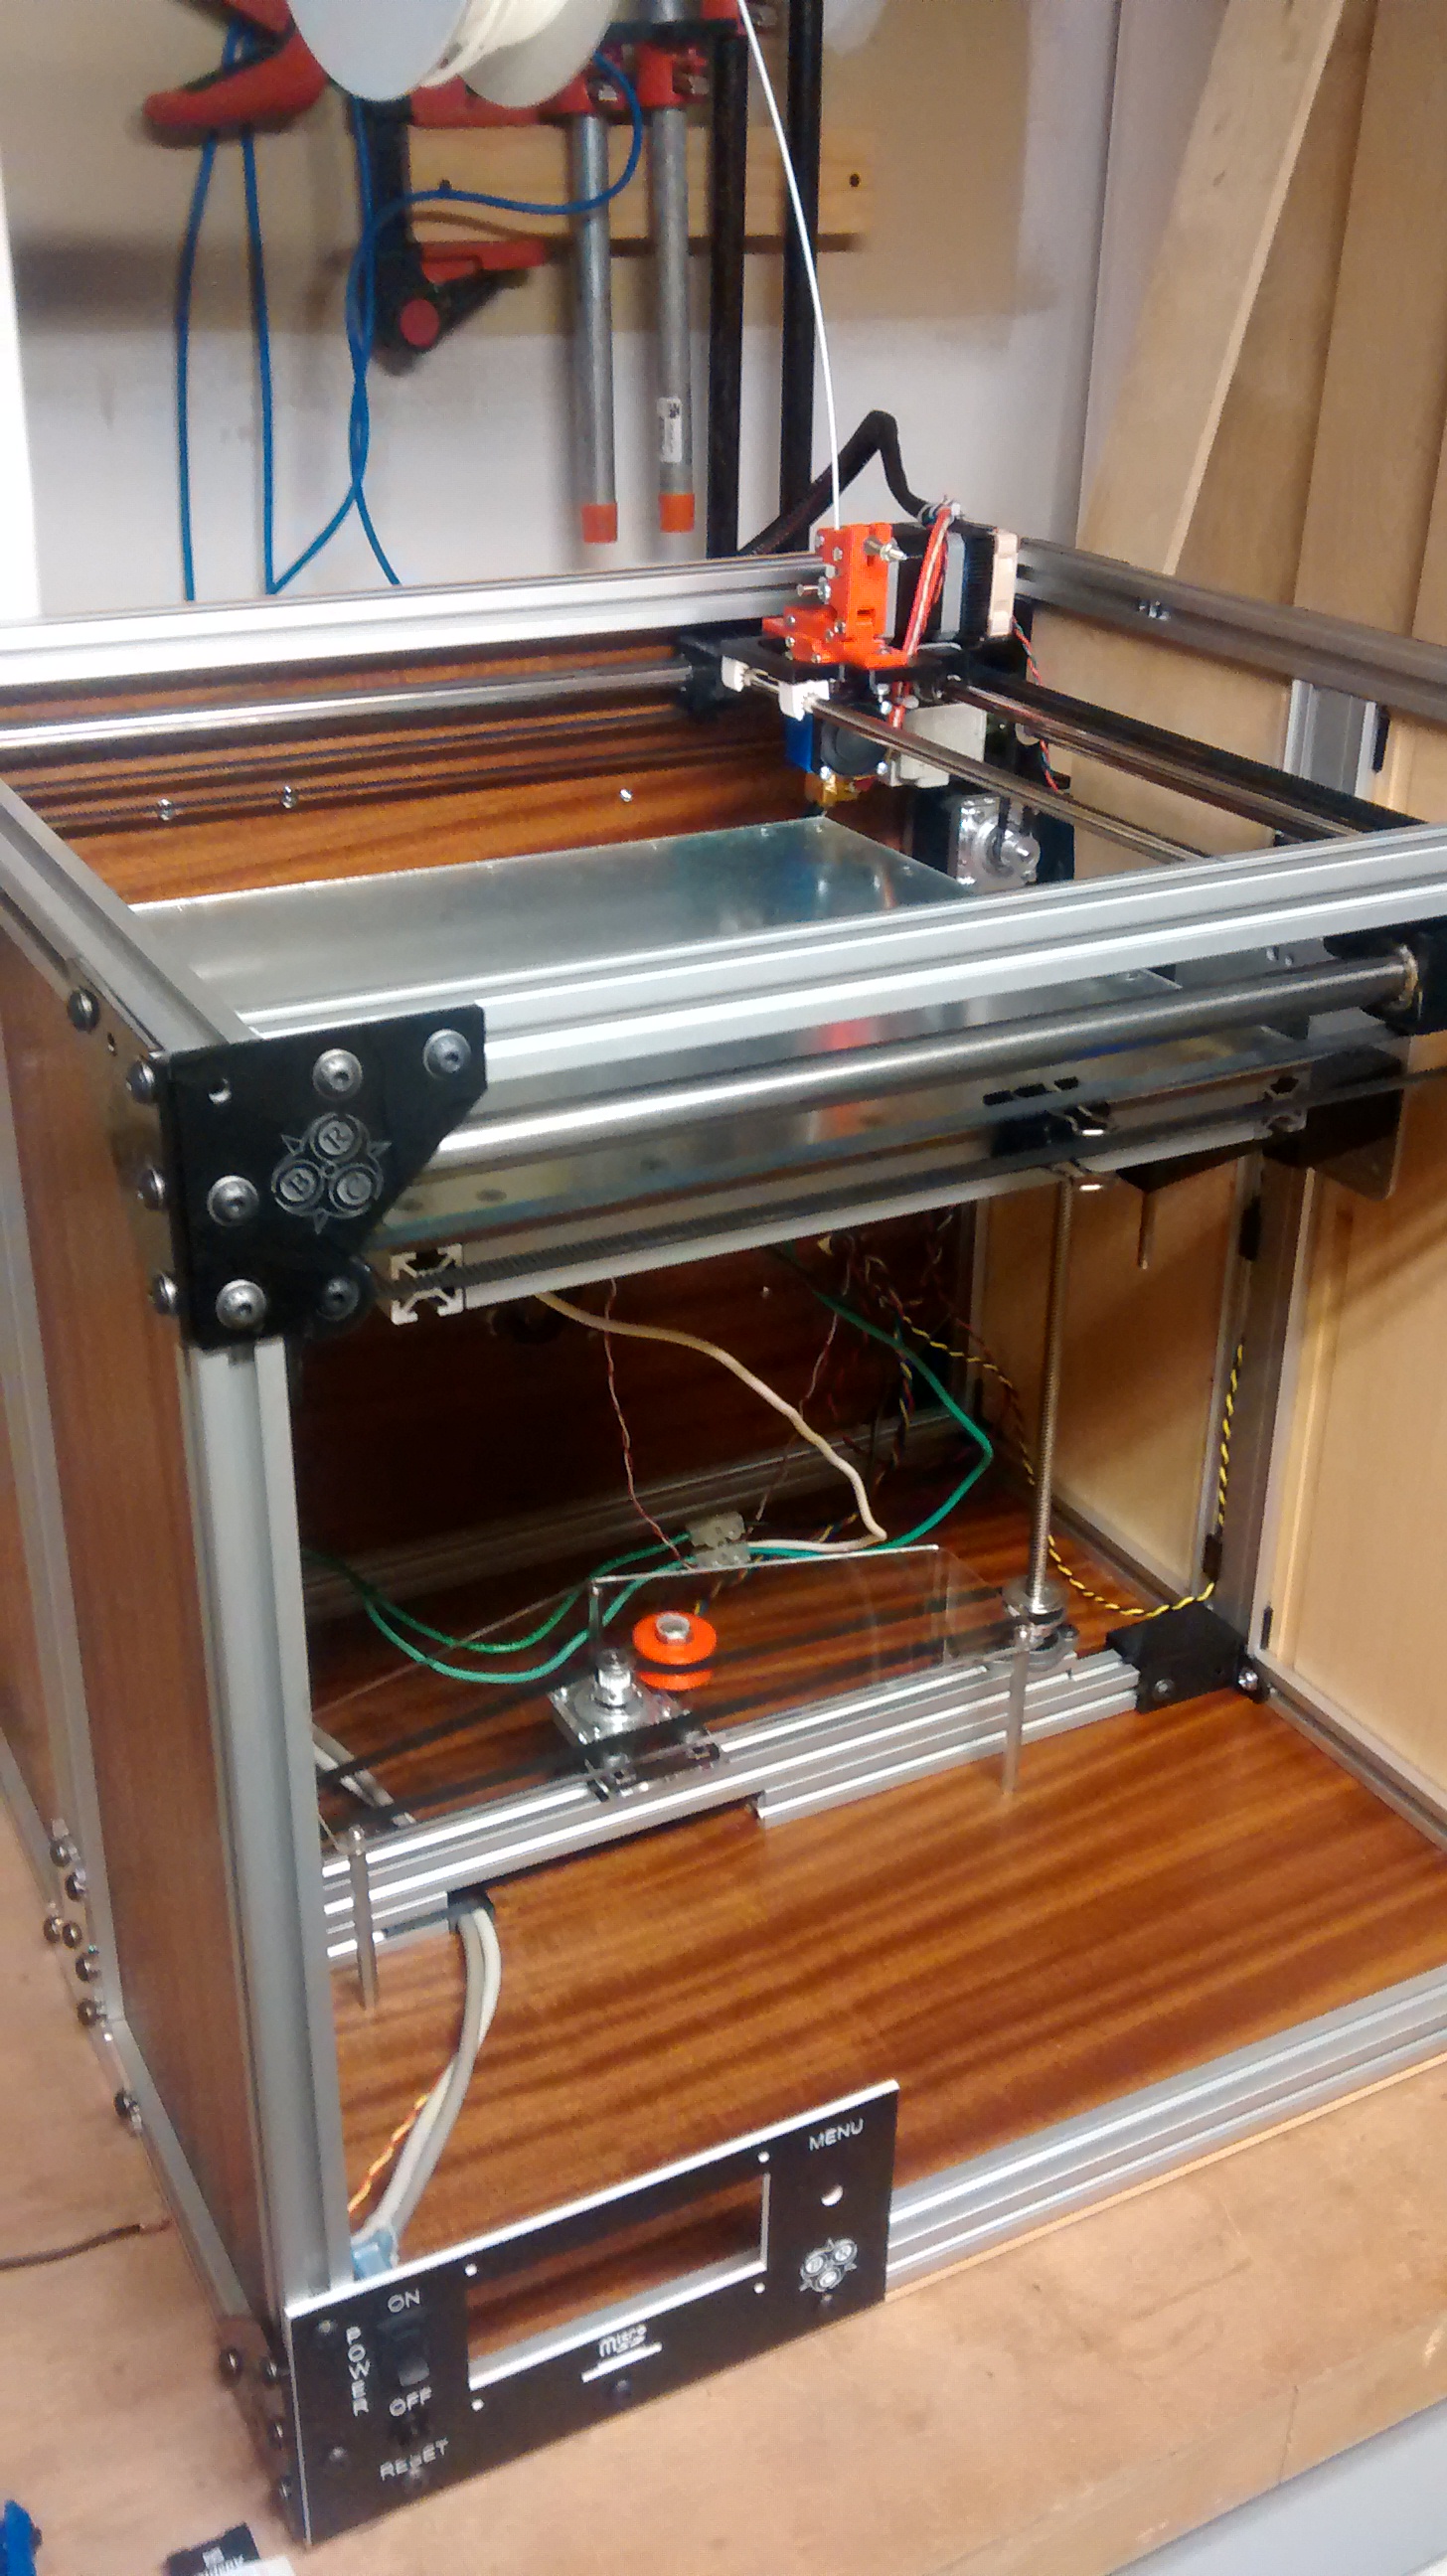
Finally got my first large format test print. The calibration tests resulted in replacing the 6mm rod used for driving the x axis belts with an 8mm rod and new pulleys. I had the 6mm rod on hand so I thought I could drill out the 5mm bore pulleys which ended up off center by enough to ruin the x axis movement. I also had to replace the 5mm screws for the idler pulley because the threads were causing binding; I found some 5mm bolts with enough smooth area (grip) to fix this.
I also had to modify the back right panel to make it easier to adjust the x-axis drive belt. It looked nice inset into the extrusions but I couldn’t make any adjustments without disassembling the entire top half of the machine.
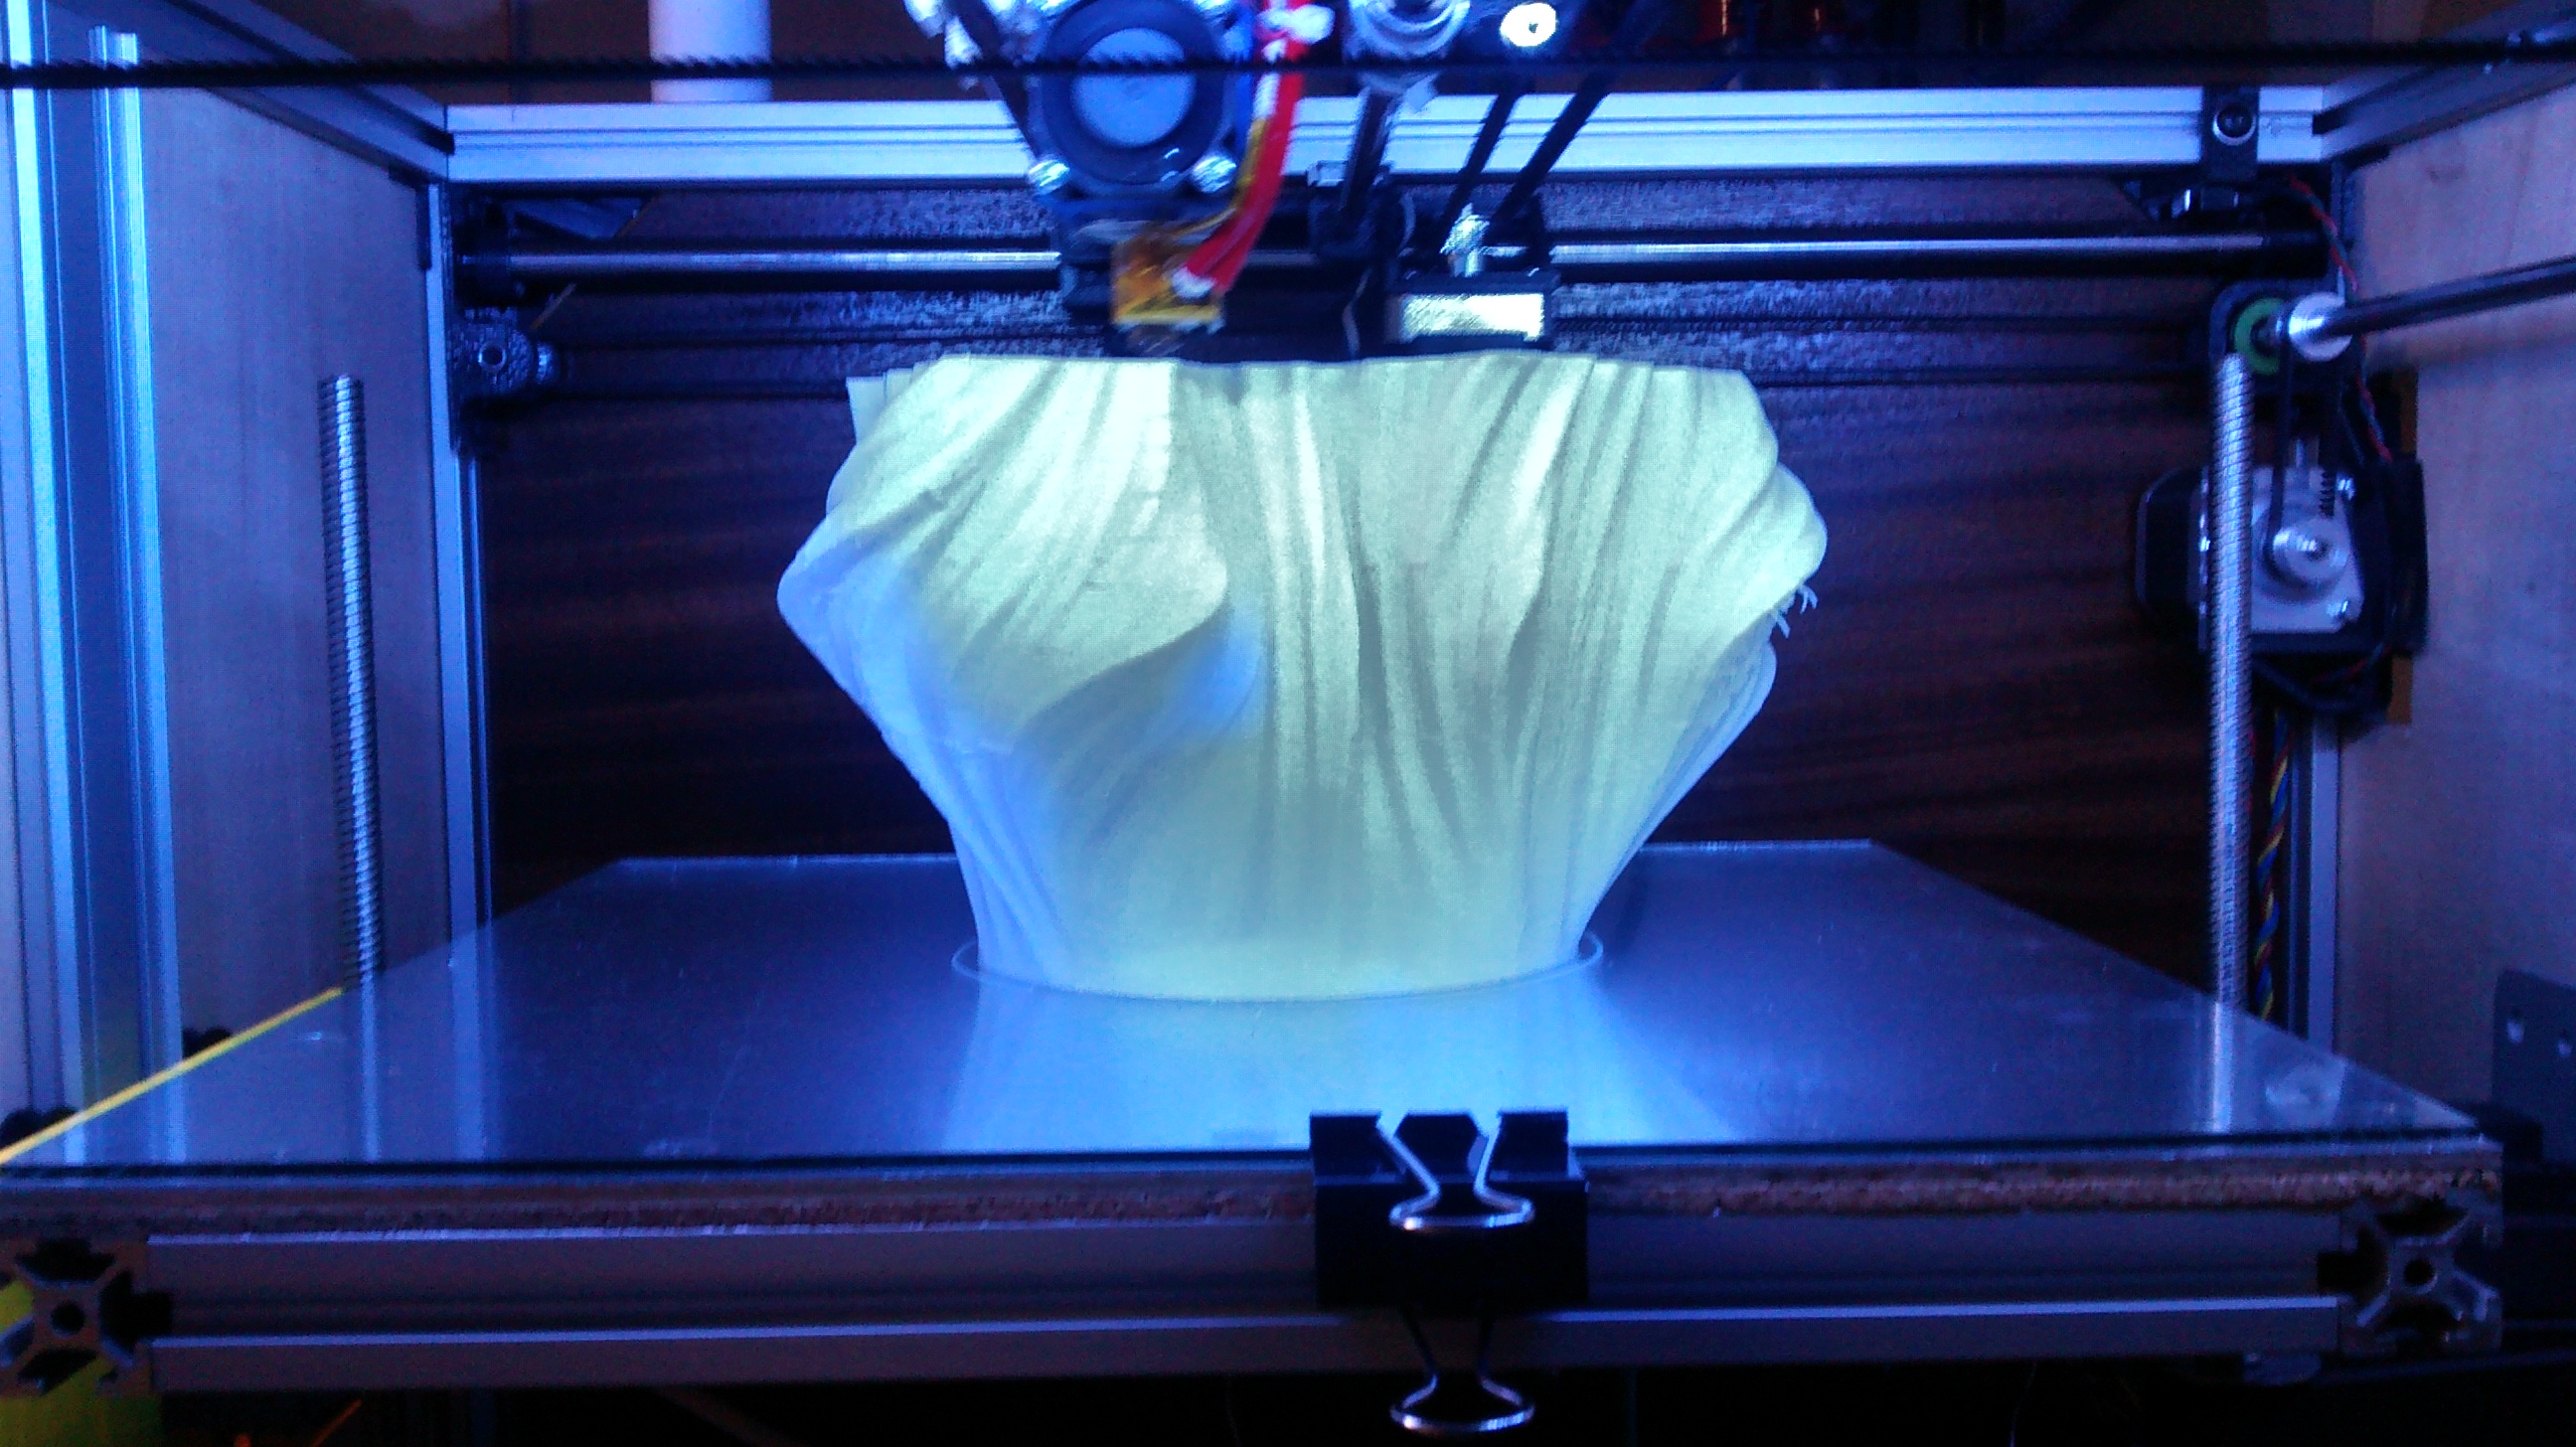
After this major revision, I printed off a vase from Thingiverse with a 2 perimeter wall. The layers began to separate after about 40mm getting worse toward the top. Overall, the print seems to be consistent which means the print head movement is good. Once the enclosure is completed I’ll print another vase with the same settings for a comparison with a heated build chamber.
I’ve got some calibration issues.
Just need to fix the xy axix calibration, add a roof and front door, and mount a spool holder on the back.
Printed with my Solidoodle 2 speed settings with 2 perimeters. Scaled 150% to 7 x 7 x 9 inches
A little filler and a paint job could transform this print into something even better. Cost was about $5.00 in plastic (85 cm3) and 6 hours to print.
Eventually the chair caster wheels had to be replaced with a lazy susan bearing. The lift was working pretty good but I had to play with the output settings a little bit to prevent it from moving too quickly downward.
Overall, I think this would eventually work but the camera would lose track of the person if it moved too high. I need to add a tilt mechanism to capture the top of my head, the automatic hole filler in Skanect would leave a dimple instead of a dome. Everything was just too finicky to keep going.
I was able to get decent enough results but not good enough to warrant purchasing the software. I might revisit this project but if I do it will probably be to create a camera dolly that rotates around the person.