3dScan – Lift Motor Drive

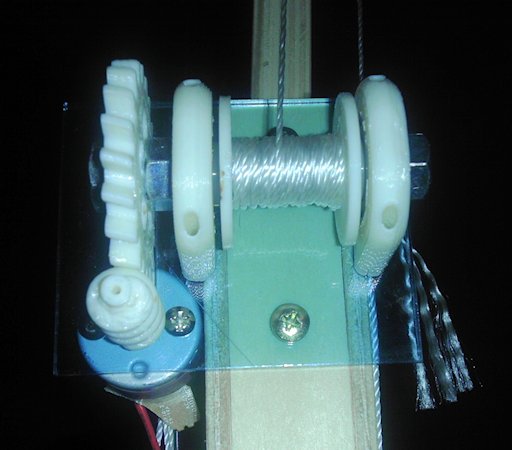
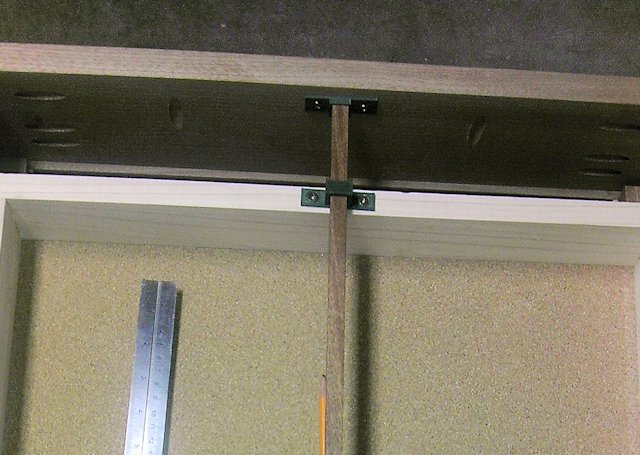
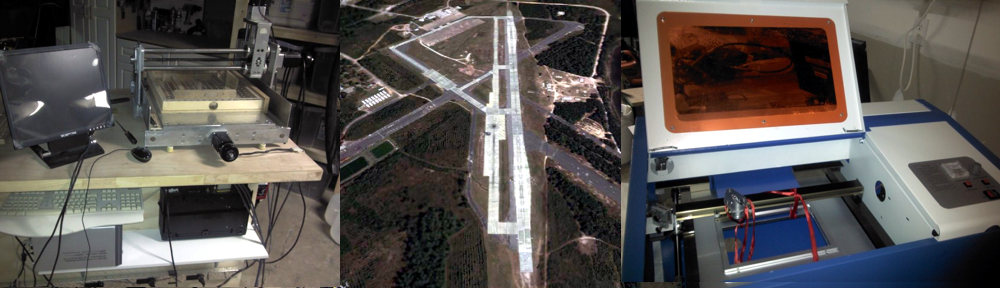
I was able to finish up the drive for the vertical movement.  The motor pulls the trolley up via a pulley.  Movement up is very slow and I had to PWM the the downward travel to even things out.  I definitely need to get a better motor if I manage to get decent scans with this rig.

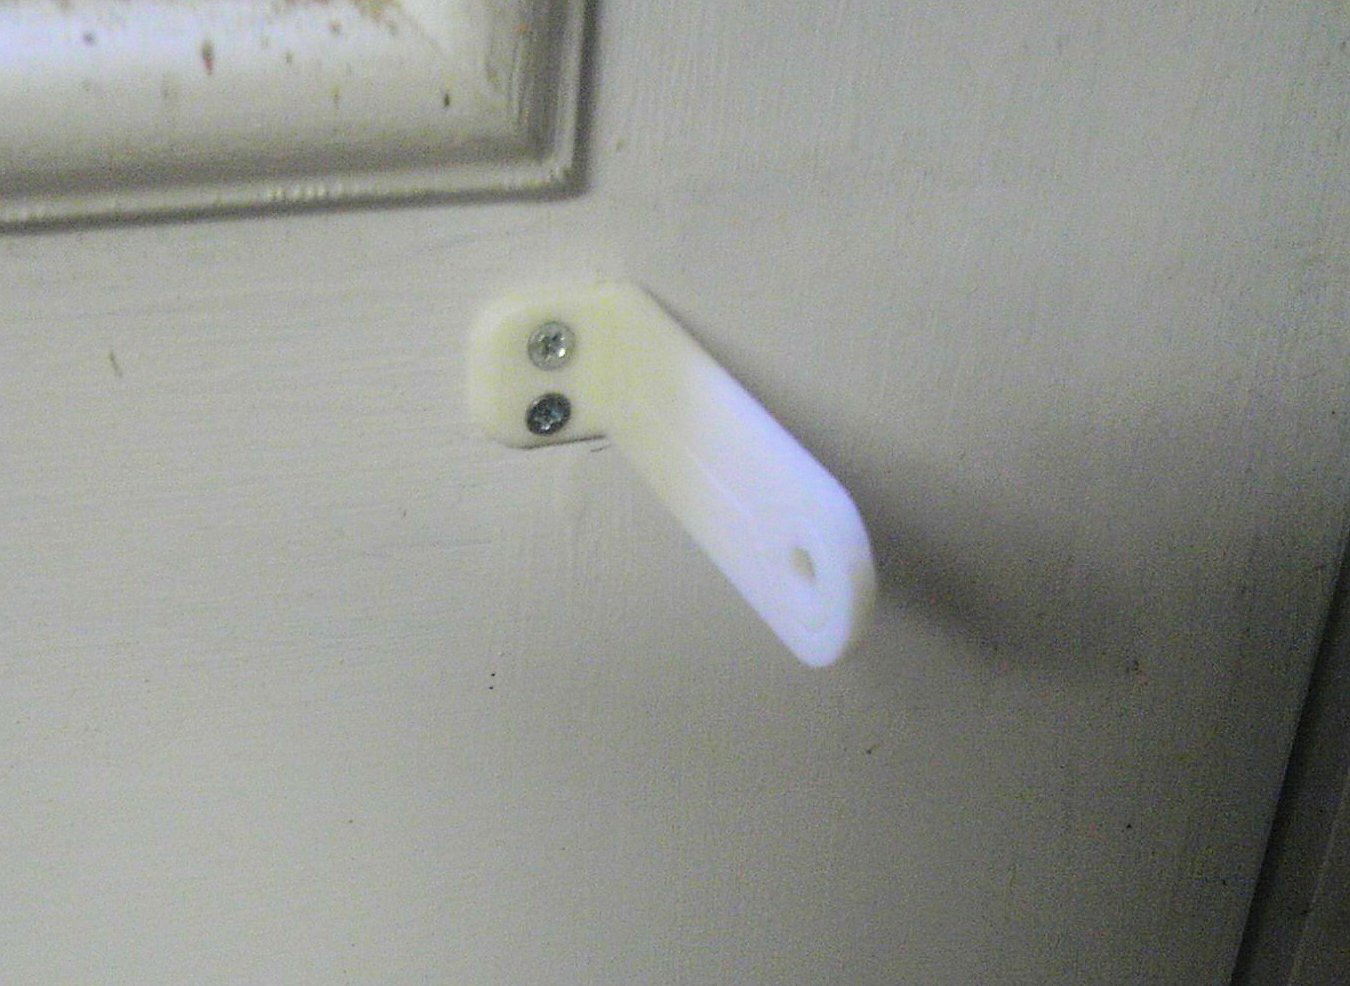
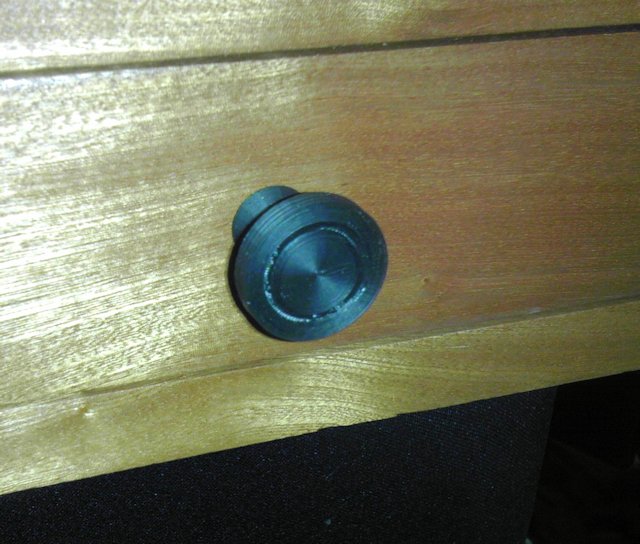
The first worm gear was too rough, I had printed it at .3mm.  The new one is printed at .1mm and that makes a big difference in noise and motion.  I had to run a pulley at the top to double up the line and roughly halve the load on the motor.  Still printing off the end-stop mounts but here’s a shot of where I am on the drive mechanics.

IMAG0657

The Controller Project – Wrap up

I was able to send off the last prototype with spare parts to a guy in Sweden.  I think it’ll make his gaming easier and more enjoyable.  I can’t thank Caleb Kraft enough for the opportunity to help.  Check out his good work at The Controller Project

Also, I received my toolkit and mat today.  I am impressed with the quality and compact packaging.  This is the perfect kit for working on the smaller scale electronics.  I could have used this when I replaced the screen on my cell phone.

toolkit

The Controller Project – the penultimate entry

My how this thing has grown out of control.  I was browsing the forum at thecontrollerproject.com and saw someone needed a way to use the front buttons on a console controller with one hand.  So here’s my solution for them.  Files and video posted to: http://www.thingiverse.com/thing:157678

IMAG0642


All those levers enable the player to control both sides with one hand.

Cool Beans!

The Controller Project – Video

Assembly video and function check now available at: http://youtu.be/HokVD6yf2xE

After perusing The Controller Project forums, I saw that another solution was begging to be made that pulls all the front buttons to one side so I’m currently printing another modification.

The Controller Project Contest Entry

Finished the initial design for the XBox 360 controller mod for The Controller Project contest.  Source files and instructions listed at Thingiverse:  http://www.thingiverse.com/thing:157222

This is sturdy and functional and can be printed on a 6 x 6 printer bed.

Will post assembly and demo video later.  Any suggestions for improvement will be acted upon!  Especially if you are using this thing.

IMAG0630


IMAG0632

Blinds Keeper

I couldn’t find a set of those little clips that hold your blinds in place so they don’t thrash about when you open the door.  A few minutes with OpenSCAD and 18 minutes on the printer and now I have one more household project tackled!  It would have cost more at the store if I could have found them, and I’ve already spent more time looking at Lowes and online for these than I did making them myself.

Blinds Keeper (2)

Blinds Keeper

3d printed parts for my chess table

I’ve had some chess pieces for over 20 years that were too big for a normal chess table.  I set out to make a table that would accommodate the larger pieces.  During the construction, I realized that I didn’t account for drawer slides.  I wasn’t sure if the low profile slides would work and it seemed like a lot more effort to make them fit.  So I threw together a design in Sketchup and printed the mount and slide shown below.  This thing works great to center the drawer and prevent it from tipping or coming all the way out. It also saved me about $30 for a pair of slides.

IMAG0181

While I was at it, I downloaded the DrawerPullMaker.scad file from thingiverse and whipped up a couple of knobs for the drawers.

IMAG0184

And some checkers for the kids. I made a derivative of the checker on Thingiverse so that I could add my own graphics. My kids love that they can pick their own design.

IMAG0191

IMAG0187

I blew the chance to use my CNC router to create some inlay work on the side panels. Now I’m looking at some options to 3d print or laser cut something to dress it up.

i2c Panel for the 3d Printer

Added a page for the i2c panel I made for the CNC Conversion.  This setup uses stock parts from Adafruit to get the i2c capability and the firmware from the Think3dPrint3d Panelolu 2.  I needed a second panel to run the CNC 3d Printer so I can leave the laptop available for the Laser!  Now to make an i2c breakout board for the Panelolu…